Week Five of my One Room Challenge has been a busy week, but I feel I don’t have much to show for it. Mostly because a lot of what I’ve been doing was organising, ordering and coordinating things ahead of next weeks final deadline. Not much you can see, but of the changes I have made that I can show you, here they are!
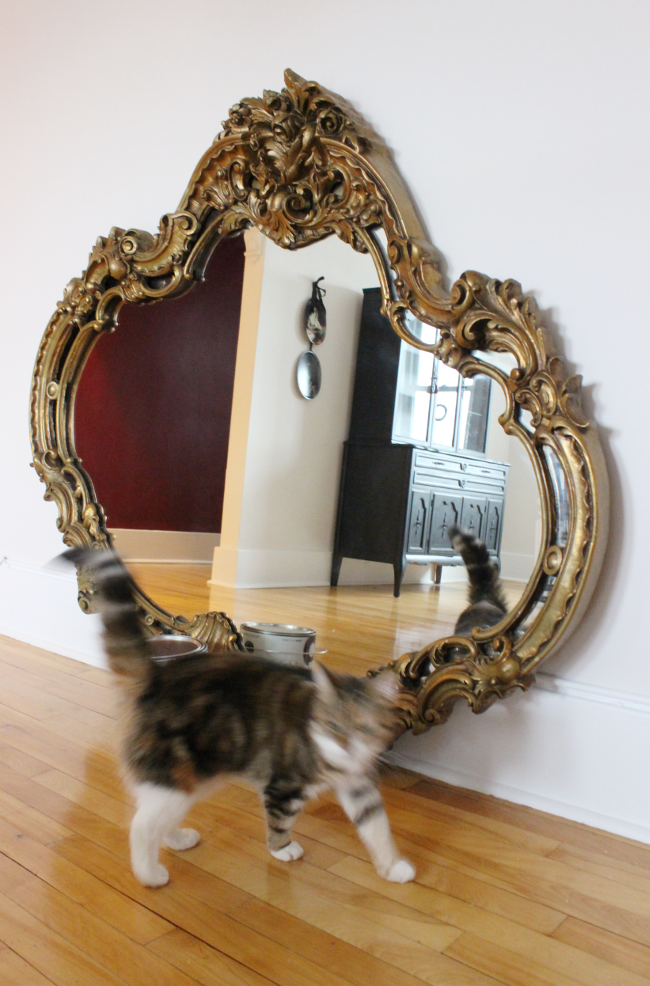
The first being that we finally got our hands on the 5’x4′ gigantic secondhand Victorian style mirror which I cannot wait to hang up [and which may not be as scary to hang up as I originally thought]. It is a beautiful beast and it might actually encourage me to brush my SAHM hair more often if I catch a glimpse of myself in it often enough. One who owns such a majestic mirror cannot possibly be seen with a 3 day old man bun perched on one’s head.
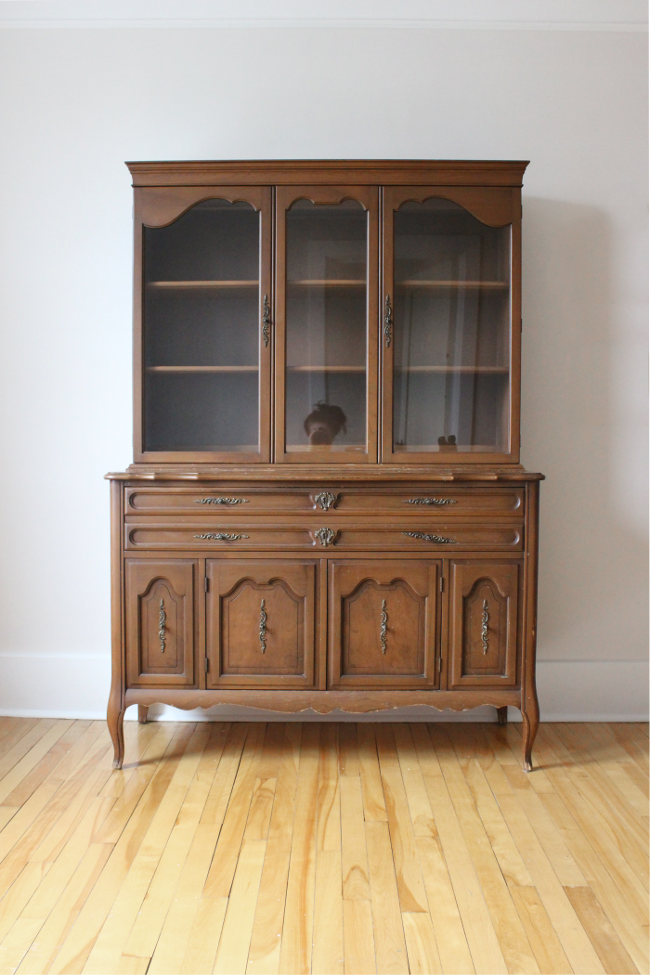
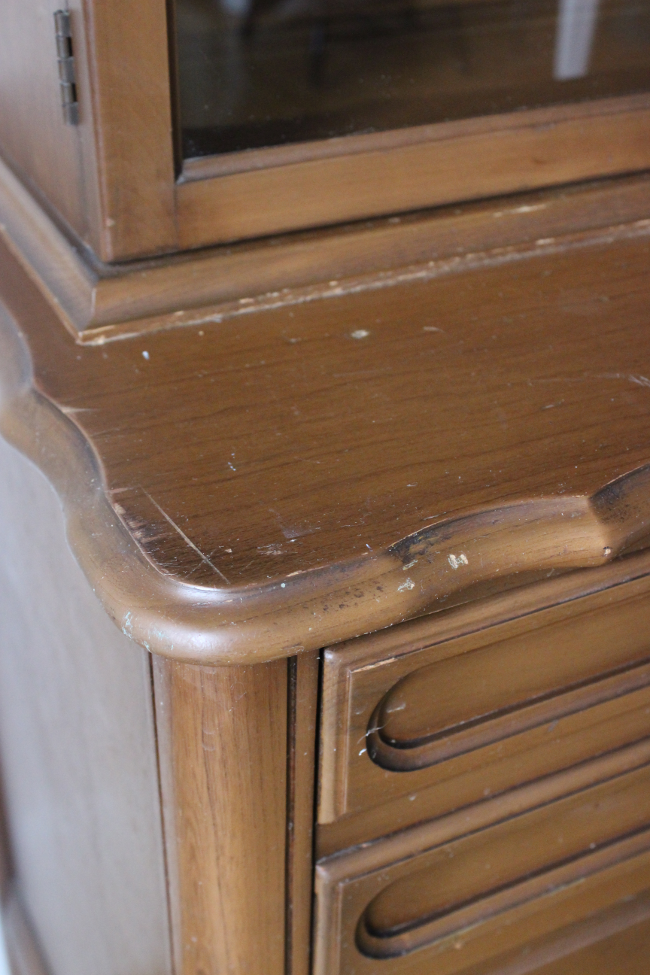
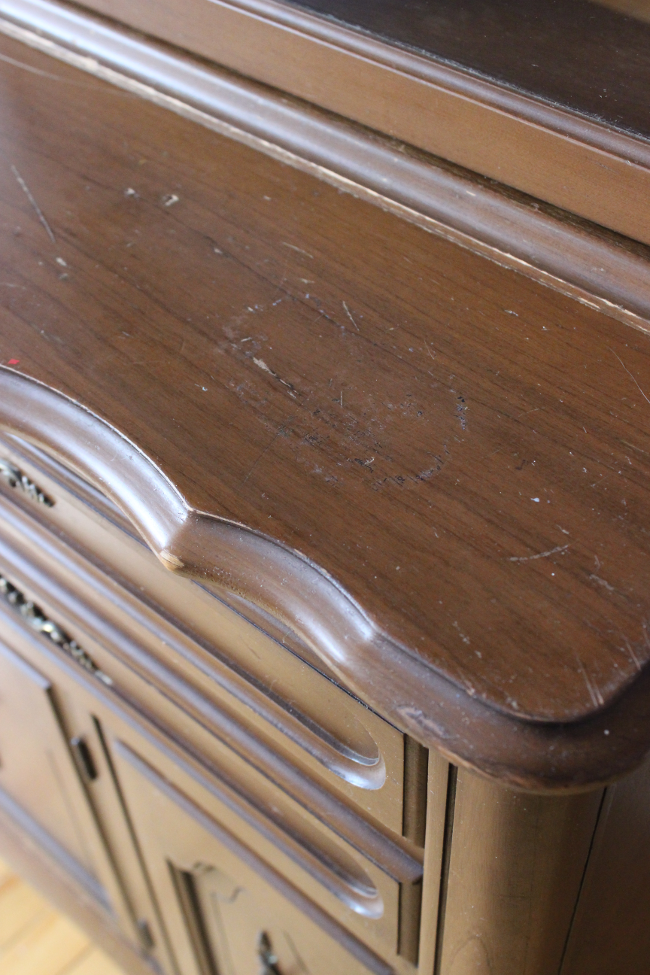
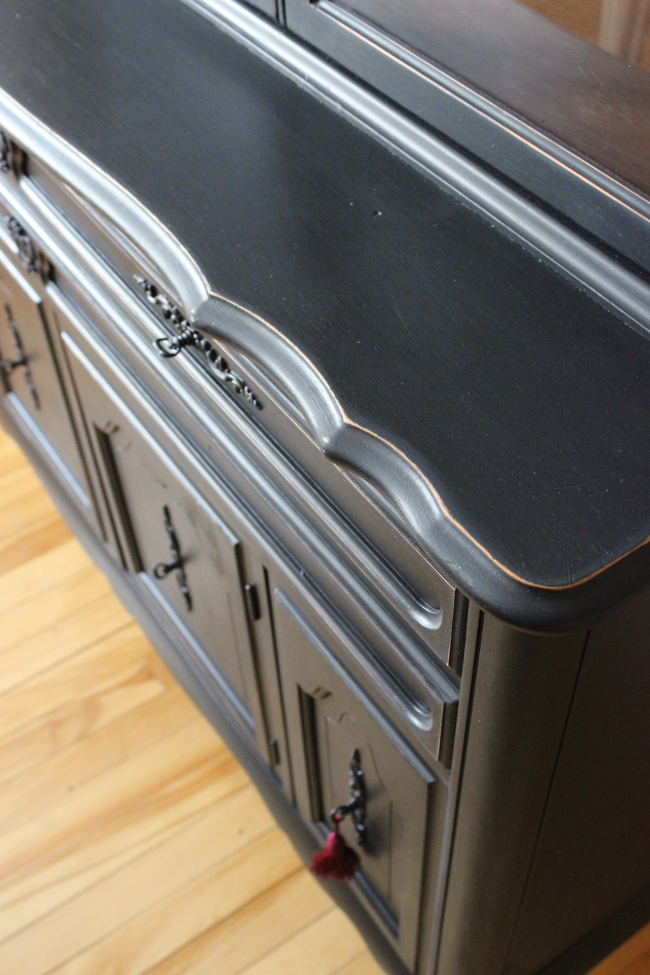
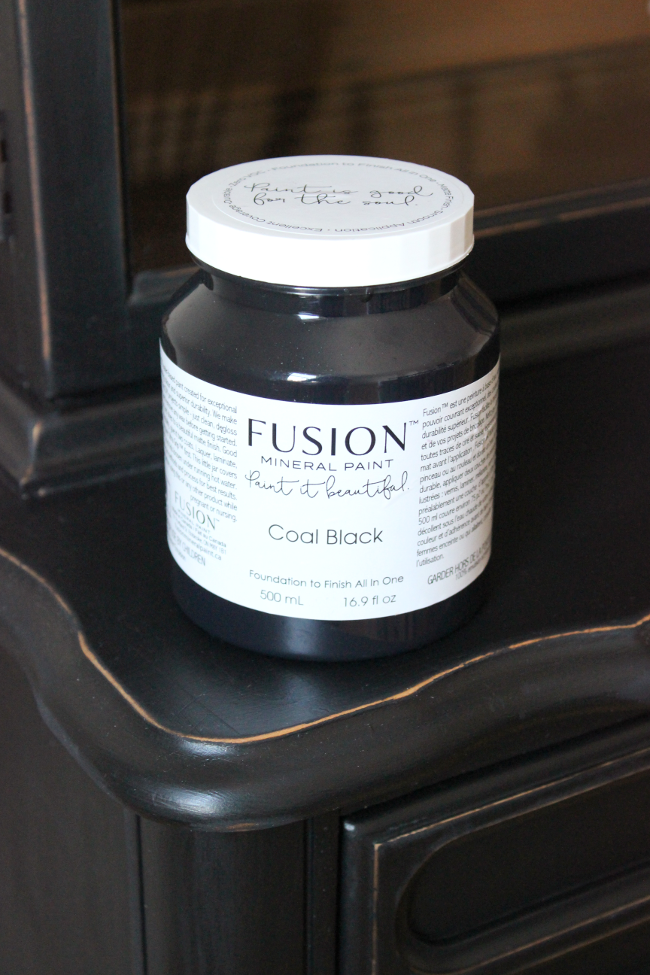
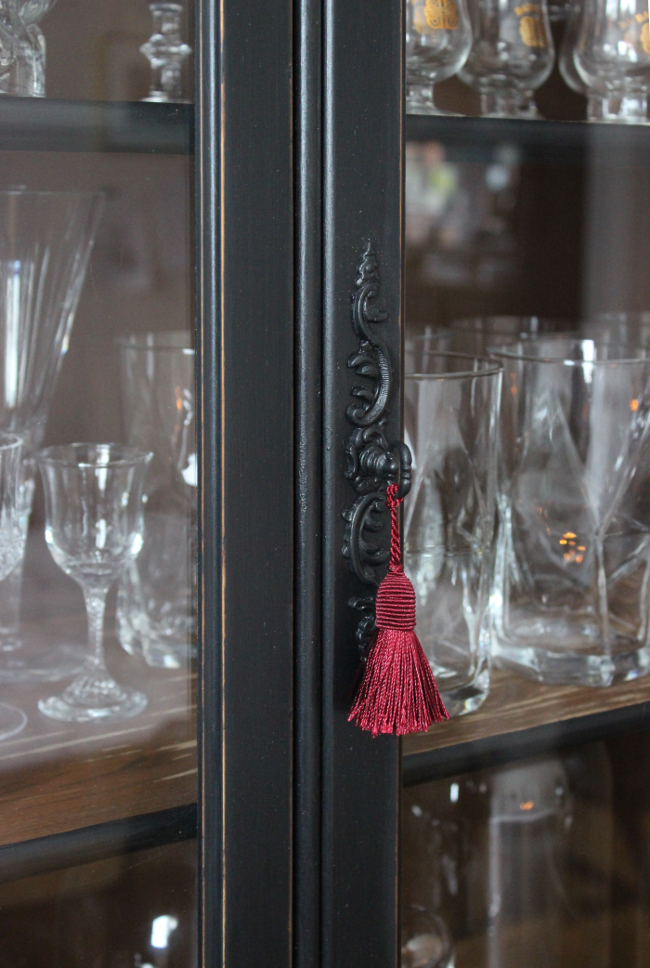
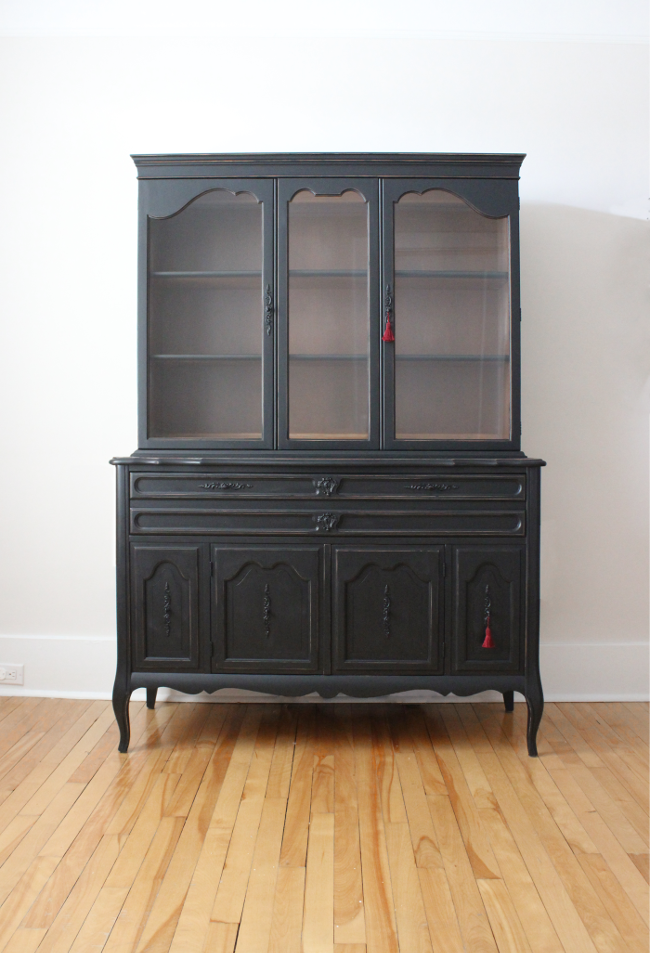
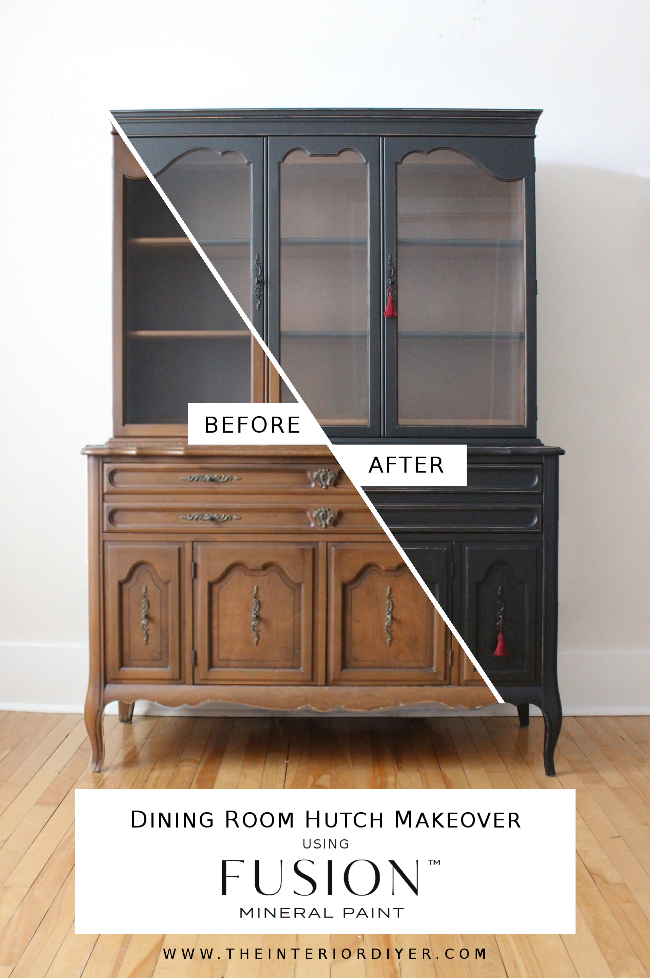
I also updated our dining room hutch with some Fusion Mineral Paint in their beautifully goth shade of Coal Black. Trust me when I say that photos of both the Victorian style mirror and the hutch don’t do enough justice to how nice they are IRL.
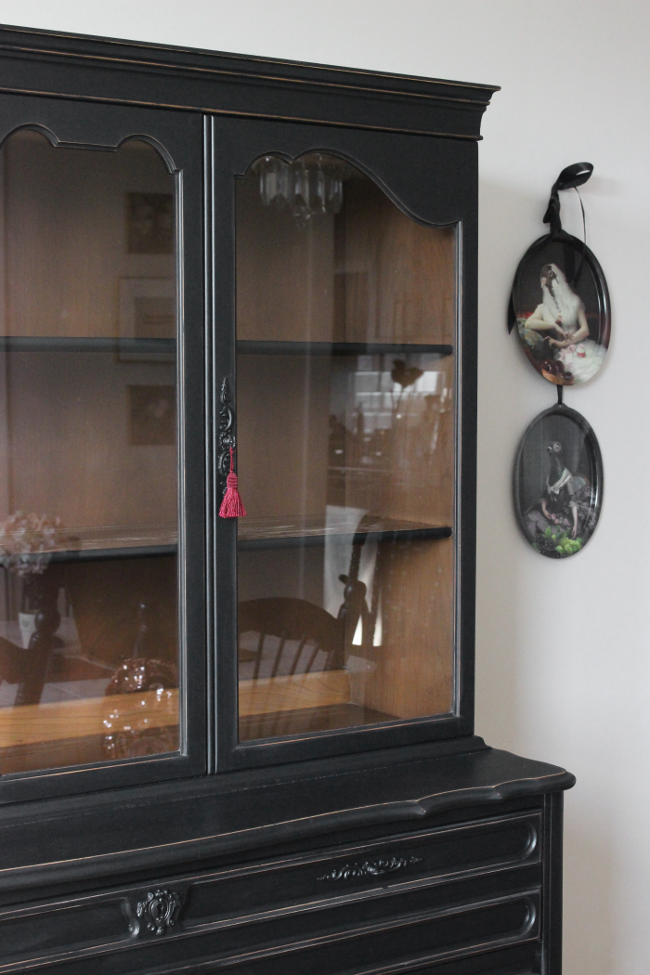
I really am in love with our dining room hutch now and I cannot wait to style it with all things pretty and shiny and secondhand and unusual.
Another thing I worked on this week was updating tiny and seemingly unimportant details. One of which being the messy cable system running down one side of the dining room [and hallway into the living room].
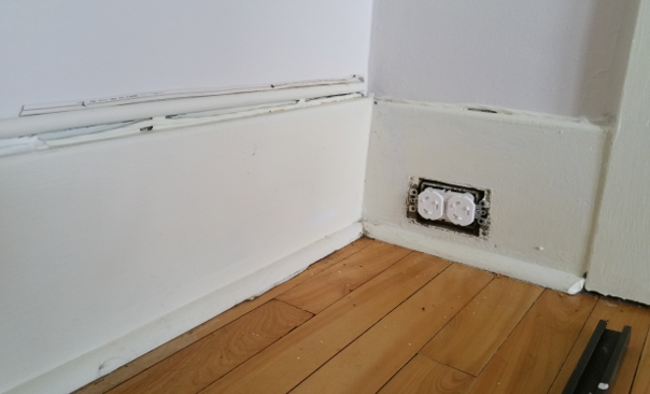
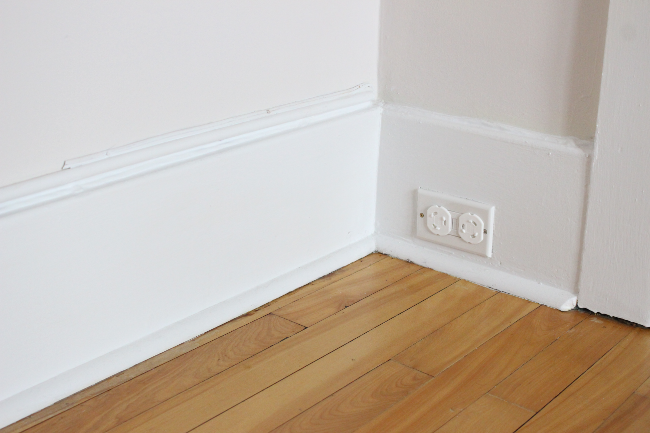
There are a lot of these cable tracks around our apartment. They’re along just one wall of the dining room, but in our living room they’re everywhere; even along the picture rail. As you can see above, there were a few layers of cables along the dining room wall. I knew I’d be painting them white along with the skirting boards, but there were hundreds of gaps and random little junctions, all of which were generally driving me insane. So I bought some filler and filled in all the gaps. I let it dry for a day and then painted them along with the skirting boards white.
They’re really small details, but it’s updates like this that I actually love doing. They’re unnoticeable when it comes to the entire room, and no one would ever notice them otherwise, but you can be sure if I hadn’t filled all those wirey gaps, I’d be sitting every morning having my breakfast, one eye twitching at all the uneven and inconsistent gaps. Why are there so many wires to begin with? What were the people who lived here doing that they needed so many wires? Is this something I should be worried of? It’s now one of life’s many mysteries.
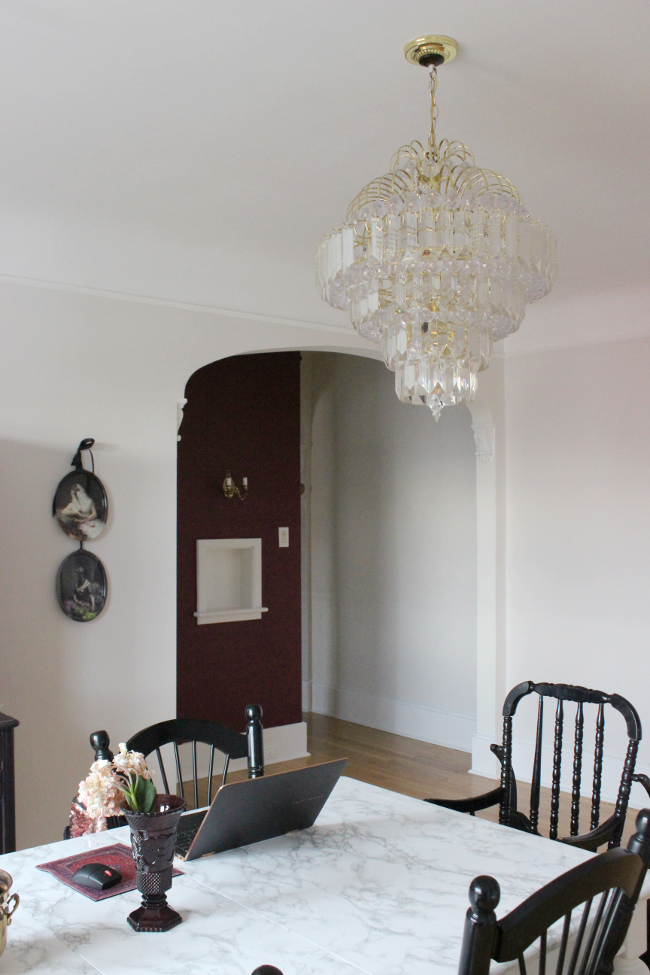
I also painted the hall walls to match the dining room. Again, something that is not noticeable at all, in any way. It took me an hour, but you’d never notice it. But if I hadn’t painted them, it would have been so very obvious with its big brown walls peeking around the corner trying to get invited into the dining room.
There are so many small details [and huge major ones] so put into place before next weeks One Room Challenge reveal. I feel like a lot of them are the same as I mentioned last week, but this week has been a lot of “X can only get done once X and X is done first” so there are a lot of things getting done, which I hope [OH PLEASE KNOCK ON WOOD] that everything will fall into place quickly once one thing after the other starts moving and getting done.
I really can’t wait for next weeks reveal. In a way I just want to see if the design I’ve had in my head all this time is any good. It could also be a giant, weeping mess of a disaster. Much like me. Another part of me is looking forward to the ORC to being over so I can watch a few Gilmore Girl episodes during Cora’s naps instead of being up a ladder. I think I will miss the ORC though because it’s pushing me to make big decisions quickly. To get things done every week and to stick to my plan. I’m excited and nervous about the next week. I just hope there’s more of the former and less of the latter.
If you’re curious, you can check out all the Week Five guest updates here!
Week One – Week Two – Week Three – Week Four – Week Five – Week Six