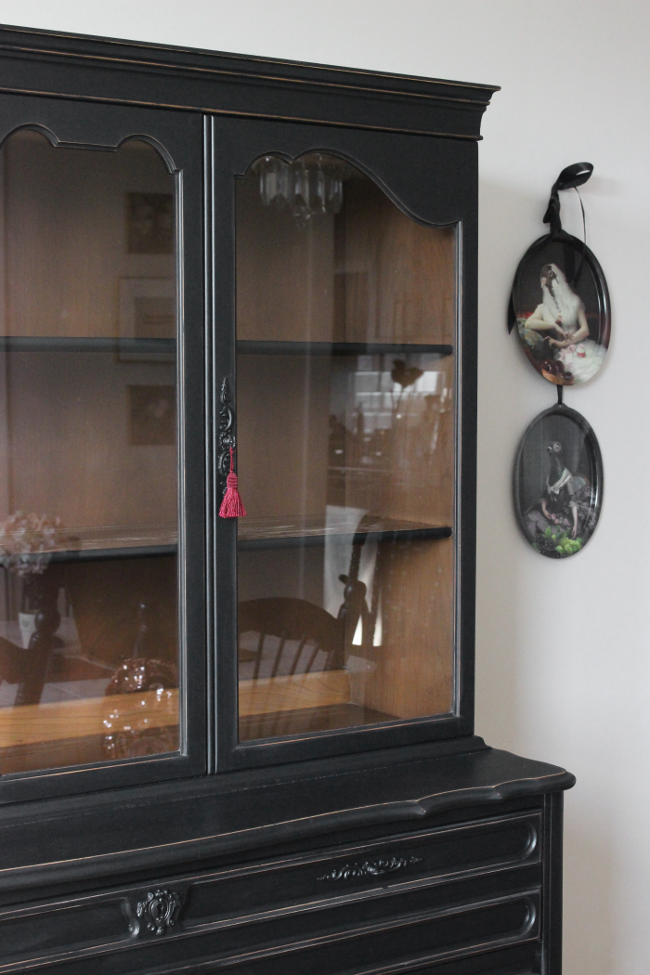
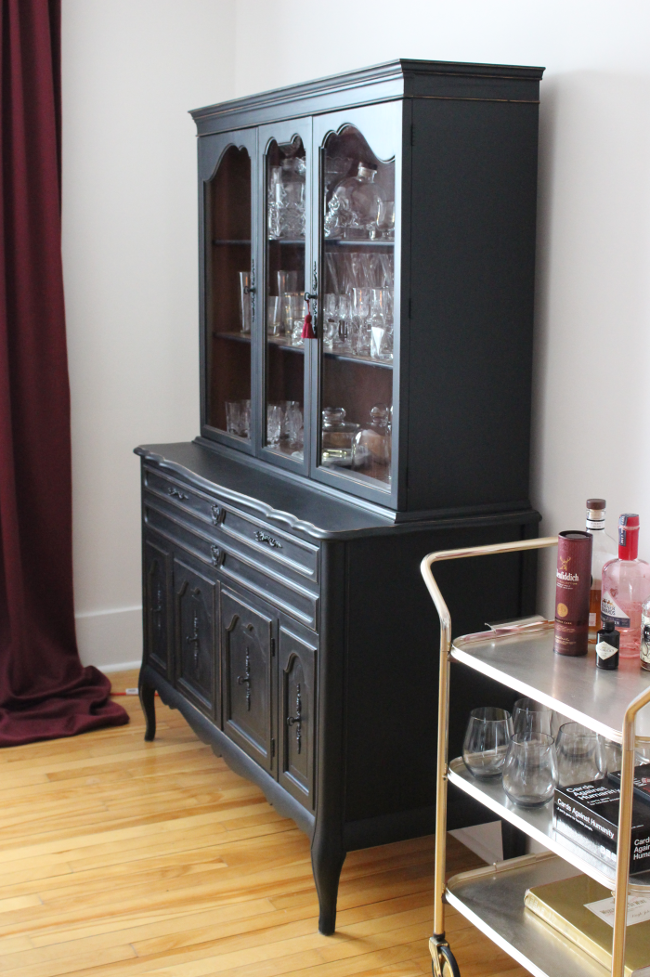
I really need to update some more pieces of furniture in our home because I am SOOOOOOO happy with how our dining room hutch turned out.
I wanted a display hutch for our dining room ahead of the One Room Challenge so I started looking online months ago because I knew that, especially when you’re looking for something specific secondhand, you need a huge head start as it most likely will not be something you will find in a week or two. Once again, Kijiji did not disappoint. I found this hutch advertised online and I loved the shape of it. The fancy little details are what really got me and I knew that while it didn’t look great as it was, it was a very sturdy piece and with a bit of paint and care, I could have it looking beautiful. A few phone calls later, the dresser was ours for just $30 [it was listed at $40, but I practiced my substandard bargaining and managed to get $10 off 💃].
I once again enlisted in GoFor‘s help to collect and deliver the dresser [and help carry it up the stairs] and that afternoon it was in our dining room just waiting for the One Room Challenge to happen.
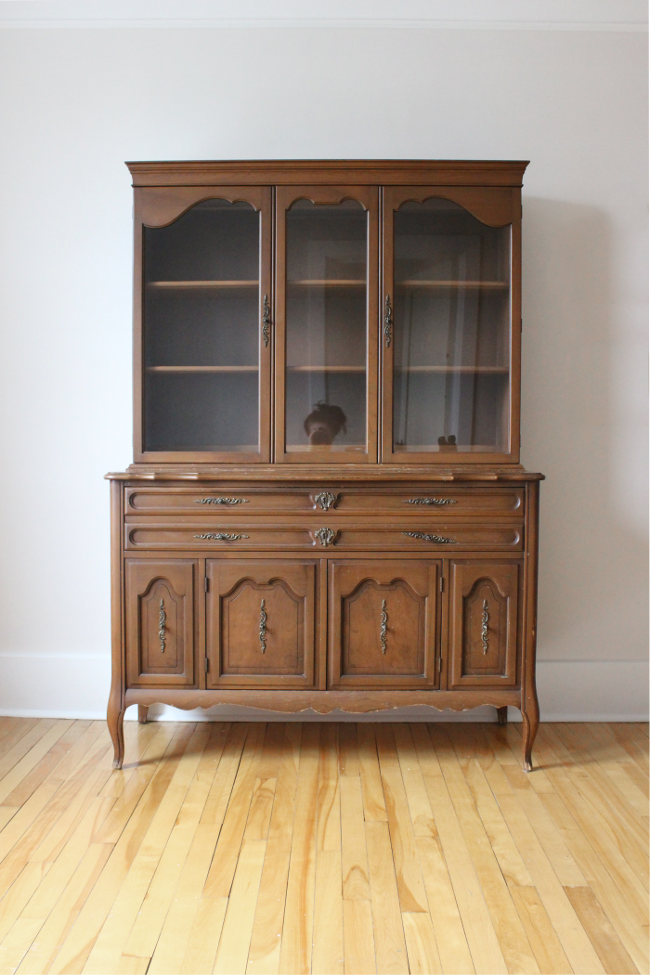
Giant lopsided SAHM hair making a special appearance. Haiii!
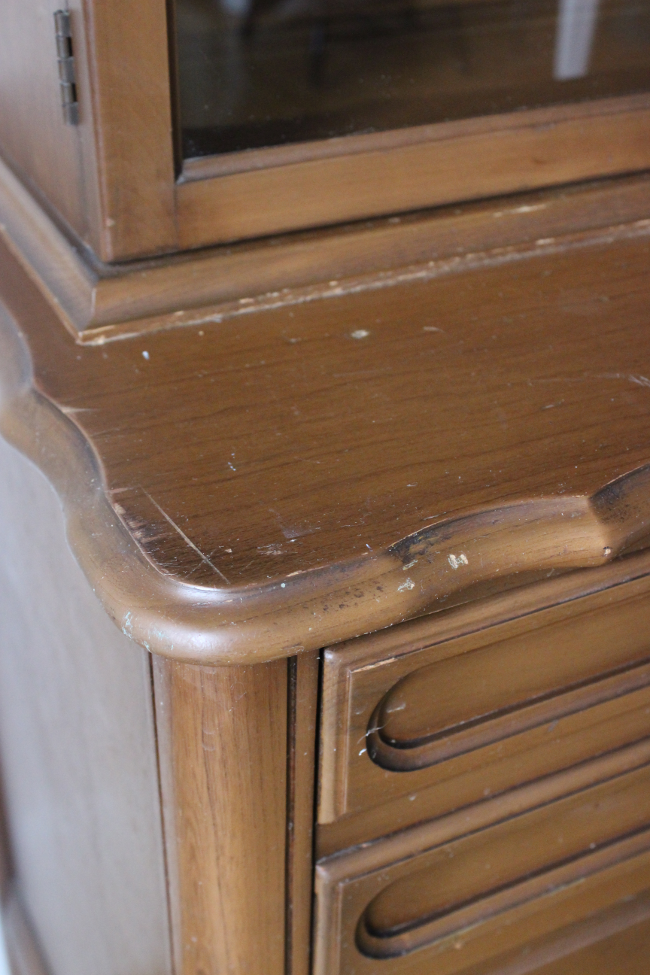
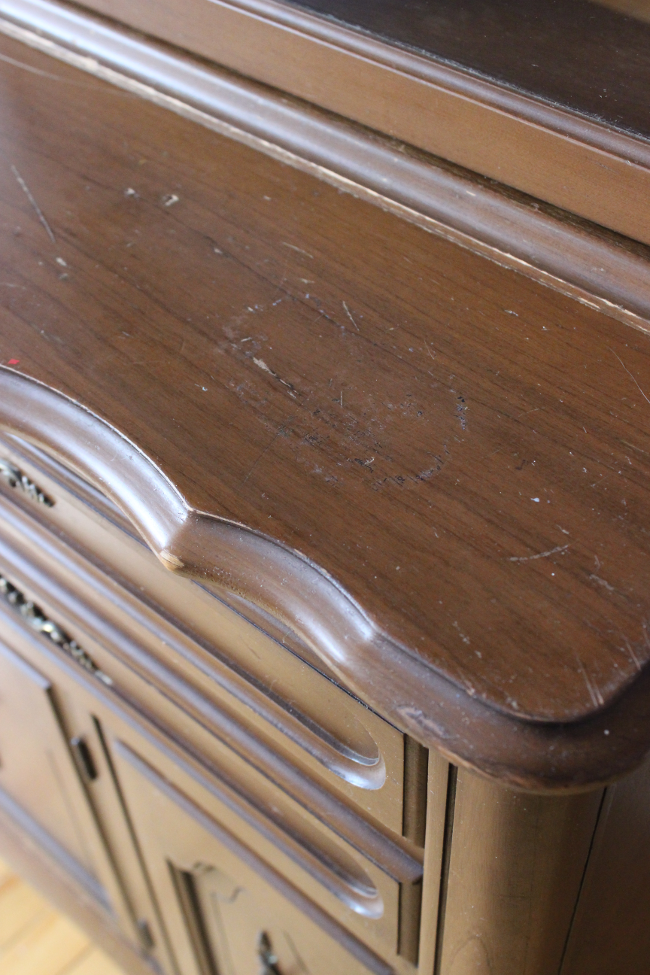
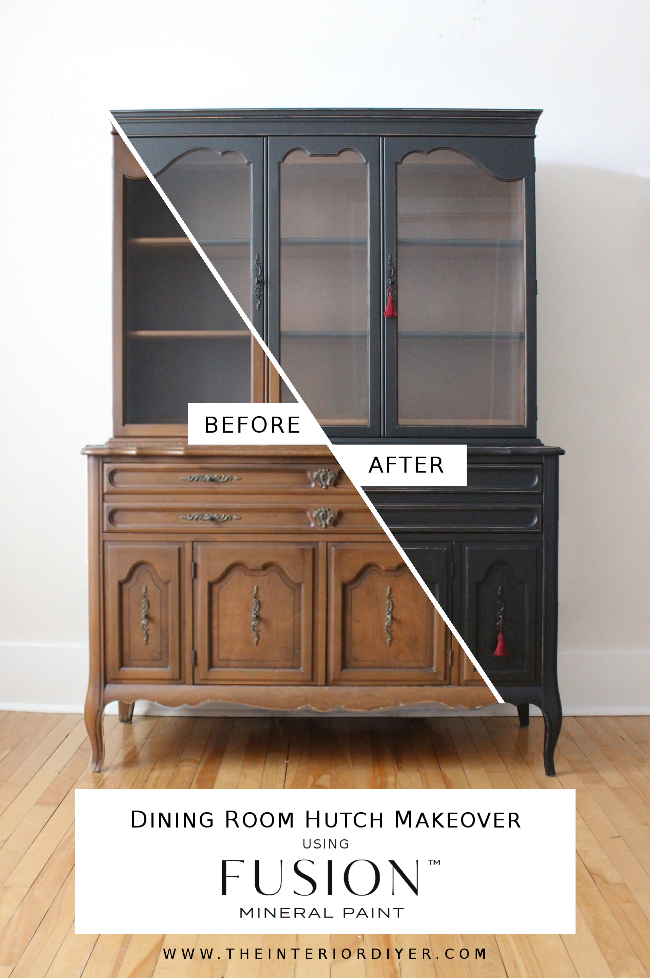
I knew from the condition and finish of the hutch that it was a perfect piece to be updated with paint. There’s nothing I hate more than seeing a beautiful piece of furniture with beautiful wood being mauled by paint. The worst ever; mahogany. Or really beautiful antiques. This hutch was neither of those so I knew I was perfect for paint.
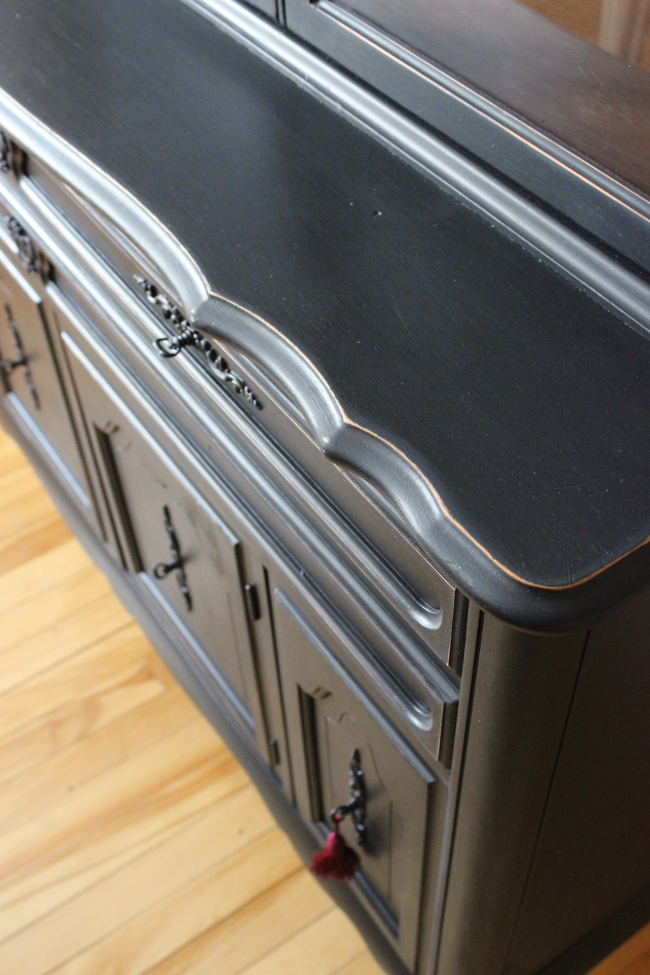
One of the first options that came to mind was to paint it black. But I didn’t want it to be overwhelmingly black, so I thought about lightly distressing it along its many edges.
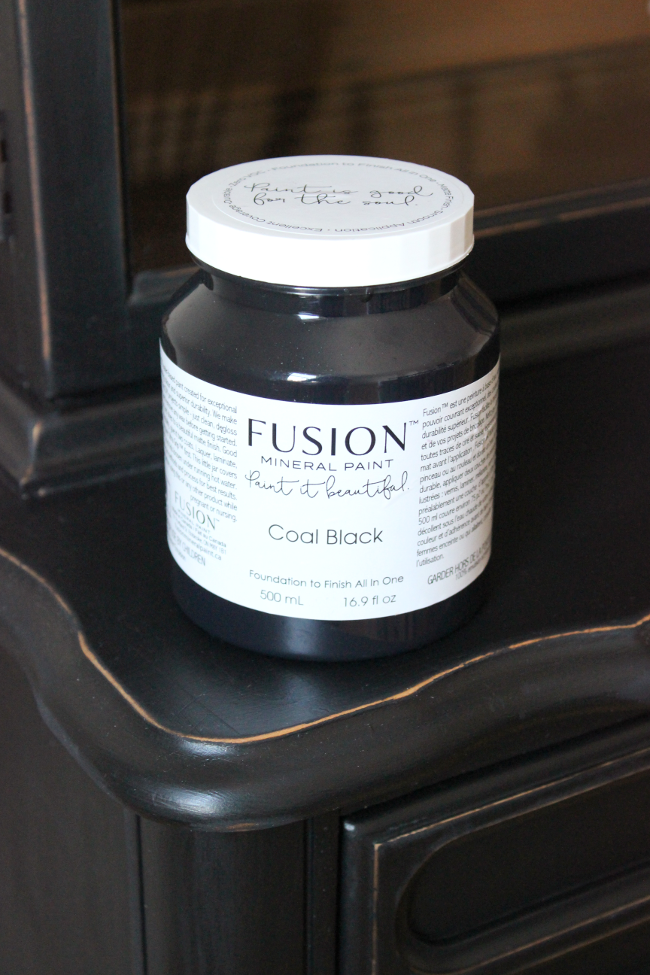
I had heard of the Canadian brand of Fusion Mineral Paint a few times since moving here, so I checked out lots of their customer projects and reviews. I loved the finish it gave and was convinced by all the reviews of their paint so I looked up our local stockist. I headed to Blue Bird Upcycle here in Ottawa and picked up a pot of Fusion Mineral Paint’s Coal Black.
I followed Erin’s advice for preparing the hutch, then painted two coats of Coal Black over the entire piece. I let it dry overnight then the next day I started distressing it with a piece of wet coarse sandpaper. It was looking so good that I distressed the entire thing in one sitting. It did take me about 3 hours [those curves around the glass were tough], but it immediately looking lovelier and lovelier is what kept me going.
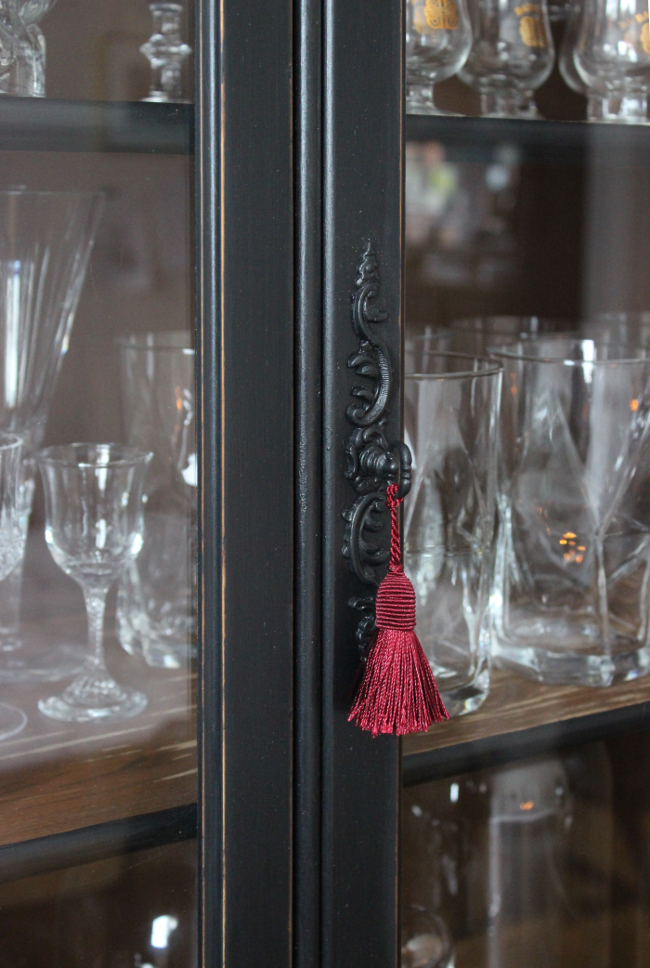
I had thought about replacing the hardware, but to be honest I liked the idea of the hardware taking a back seat. I really liked the shape of the existing hardware but it had seen better days and didn’t have a great finish, so I decided to paint over it all. I also never came to a decision about what to do with the inside of the hutch, so I left it untouched. I painted the edge of the shelves to make them stand out a bit more, but other than that, I did nothing. I kind of like leaving the original wood [or ‘wood’] finish inside the hutch. I think it warms it up a bit and makes it seem less harsh against all the black.
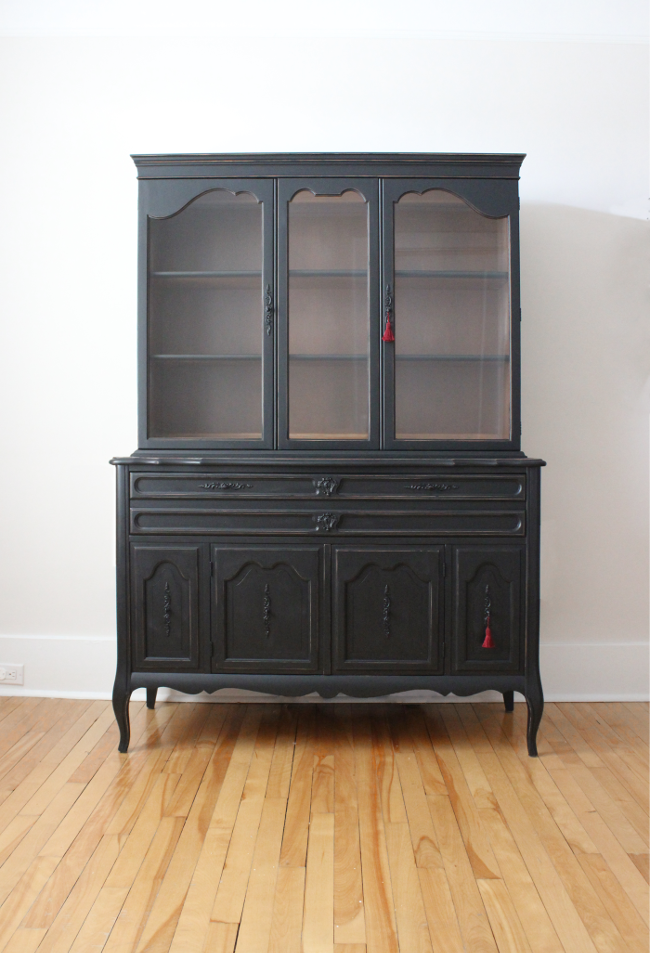
I really can’t wait to style our hutch properly and share it with the rest of the room for my One Room Challenge because our hutch looks so much better when you see it as part of the room. Not long now!

It looks amazing!
Distressing the edges was smart. I really like how the black instantly changes the details on the hutch. Not sure why this is so effective, but I really love it.
You have so many lovely pieces to put in it… It will look wonderful once you put your styling touch on it.
Author
I am so happy with how the distressed edges turned out. I wanted to paint it black but didn’t want this giant overwhelming black cabinet in the corner so I thought some wood peeking through might soften it.
I have the cabinet much more styled now! I’ve stuck to just putting glass in it for now.
This is amazing!!! That black colour is so nice – so much better than the damaged original finish. You’ve really transformed it! Also, I love the distressing you’ve done. I am a bit sceptical of distressing sometimes… the shabby chic look can go a bit over-the-top. You’ve done the perfect level of distressing, just to add some depth and character to the hutch. Good work, Carberry. Good work.
Author
Haha, thank you Maria! 😘
Oh I’m also so skeptical about distressing furniture! I think this was the first piece I’ve ever distressed, and I really love it. I think distressed furniture can be a bit too over the top at times and you’re so right, there is a skill to knowing when to stop!
This is so lovely. Great job! I just painted a short dresser in Coal Black but wanted a top coat finish for the top since it will get the most use. I wondered if you sealed or coated your hutch with anything? Fusion’s Clear Tough Coat says it’s not good over dark paint. Thanks alot!
Author
Thank you, CJ! I actually didn’t use any kind of sealant or coating on the hutch once I was finished painting it. Since I distressed the finish a bit, I didn’t mind if it saw more wear and tear. Having said that, in the 5 months since I’ve painted it I don’t think there are any additional scratches on it.
Did you seal the surface? It seems to have a some what semi-gloss appearance, but this may be the finish of the Fusion Paint. Looks absolutely fabulous! Nice work!
Author
Thank you, Shari! It does look very faintly glossy, but that’s just the finish from this paint. I didn’t seal it at all. But that’s because I didn’t mind it looking worn. If you’d prefer a sleeker finish, you might want to seal it.
I hope that helps!
It looks fantastic. I have plans of doing exactly this with the coal black with a narrow buffet in my new place (as soon as I find one). I also have to say THANK YOU for mentioning how you dislike covering beautiful wood with paint just for the sake of it. I feel the majority of furniture makeovers these days are so against anything wood and half the time the before photos of the bare wood are nicer than the “mauled” paint refinish. I’m all for a good refinish like this project though!
Author
OMG YES. Thank you!!! Seeing beautiful, intricate pieces of furniture being attacked by paint makes me so sad. I’m so glad I’m not the only one that cries when seeing some people’s furniture “makeovers”. Insert eye-roll here.
Beautiful!! Did you prime before painting it black?
Author
I didn’t prime it. I painted the FMP Coal Black straight onto the hutch. Otherwise, you’d see the white primer in the distressed sections.
I did this update exactly two years ago and it has held up perfectly since.
I’m curious what brush you used? I am painting a table top and cannot get a smooth finish. Fine brushstrokes are apparent. I have tried a little paint and a lot of paint as the tutorials on their website are conflicting. I’m using an Annie Sloan two inch synthetic brush. I also tried rolling it and a Staalmester brush. I’m tired of painting and sanding! I am beyond frustrated with it.