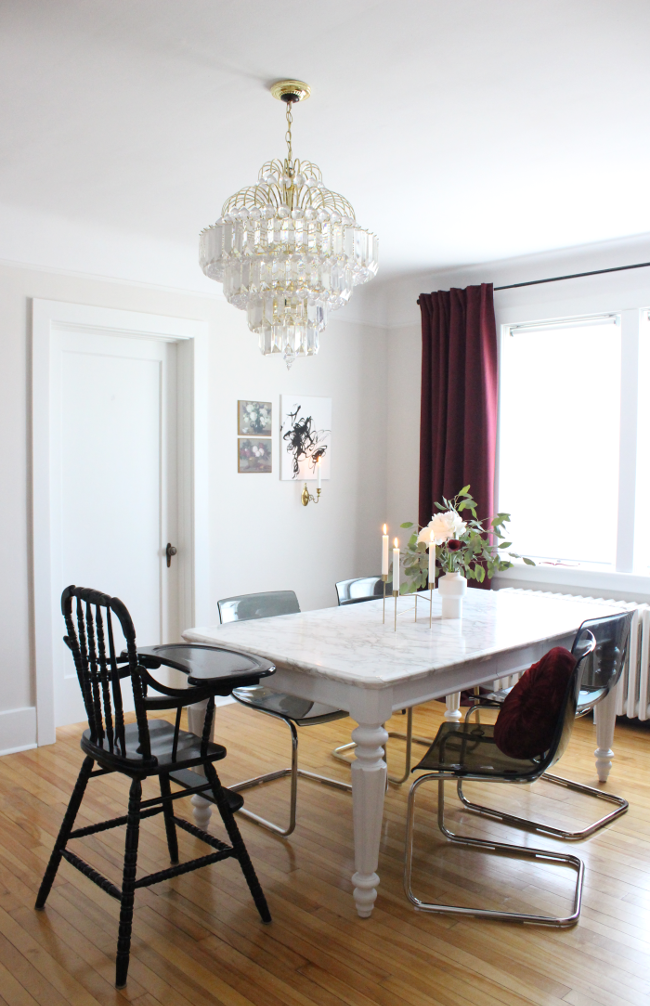
This is it. I’m full of a strange mix of relief and excitement. The final week of the One Room Challenge is here and I am SO EXCITED to finally share our dining room! It’s finished and ready and I honestly love it.
For anyone who found me here today thanks to the One Room Challenge, hi! I’m Alex. My husband and I, our daughter and our two cats emigrated to Ottawa [Canada] from Dublin [Ireland] six months ago. Six months ago we had nothing. I mean sleeping on the floor and all sharing the same bottle of water kind of nothing. I’ve been slowly making our rented apartment a home, so when the Spring 2018 One Room Challenge came around it was the perfect excuse opportunity for me to make our dining room, the room we spend the most time in, a bit more homely.
I’ll be including a full source list at the end of this post in case there’s anything you see and would like to know where it’s from! I’ll either link to where I bought it or to where I blogged about it. And if you’d like to know more, feel free to ask!
I was eager to try and source as many things as I could for our dining room secondhand. Because when you’re starting from nothing, everything is hella expensive. I turned to secondhand websites like Kijiji and real life thrift stores like Value Village and The Salvation Army to fill our dining room.
I updated furniture and fittings with paint, contact paper and lazy patches of Sharpie markers when no one was looking.
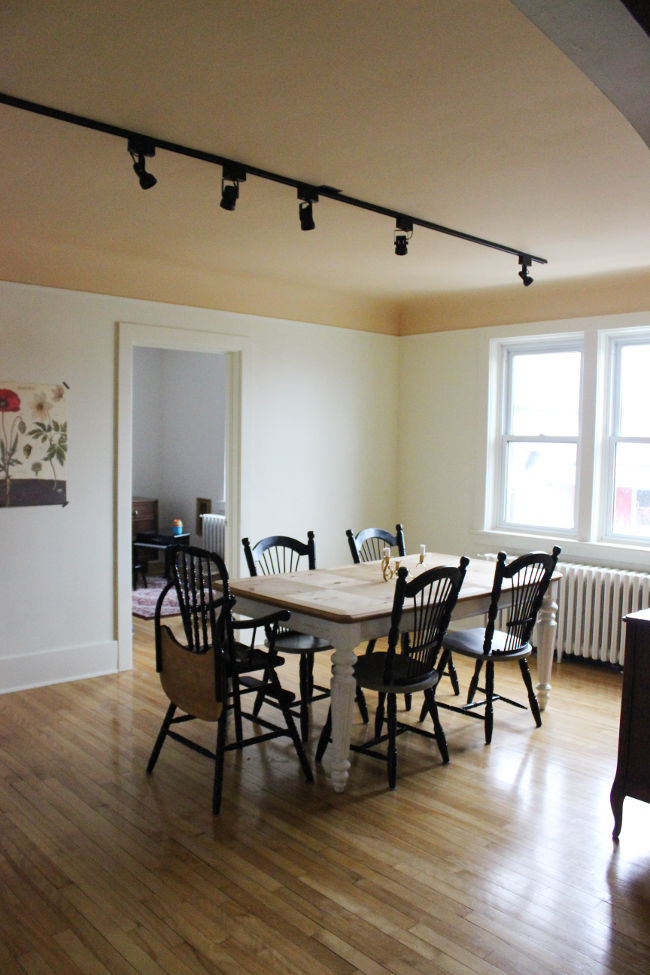
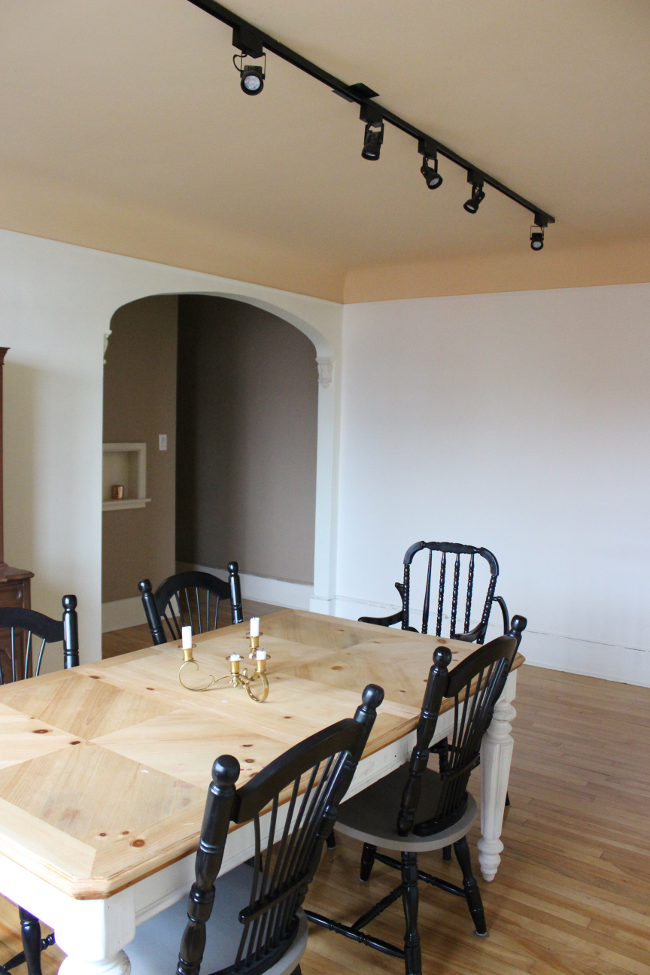
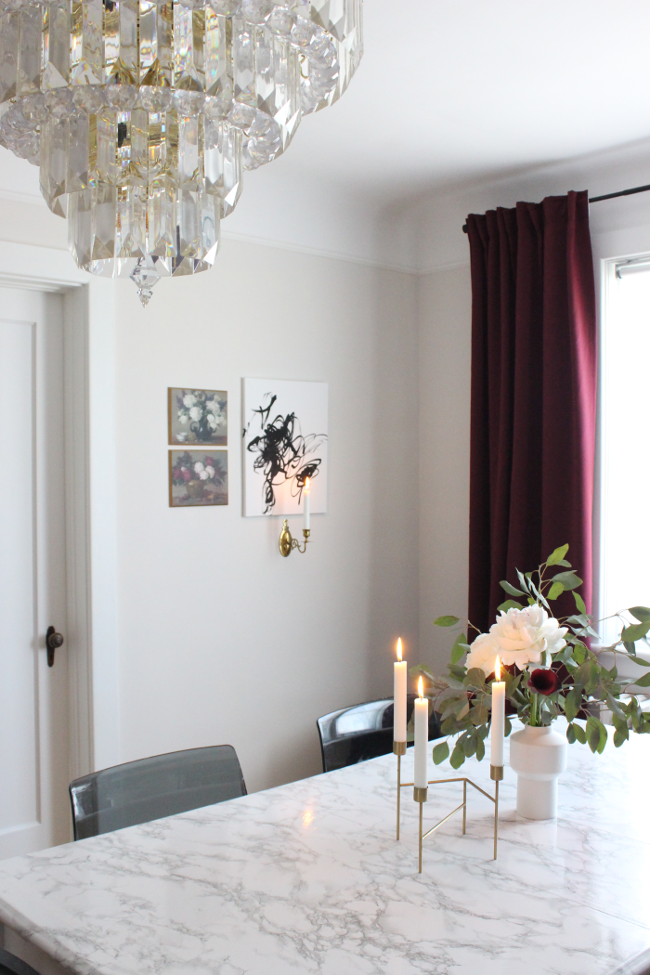
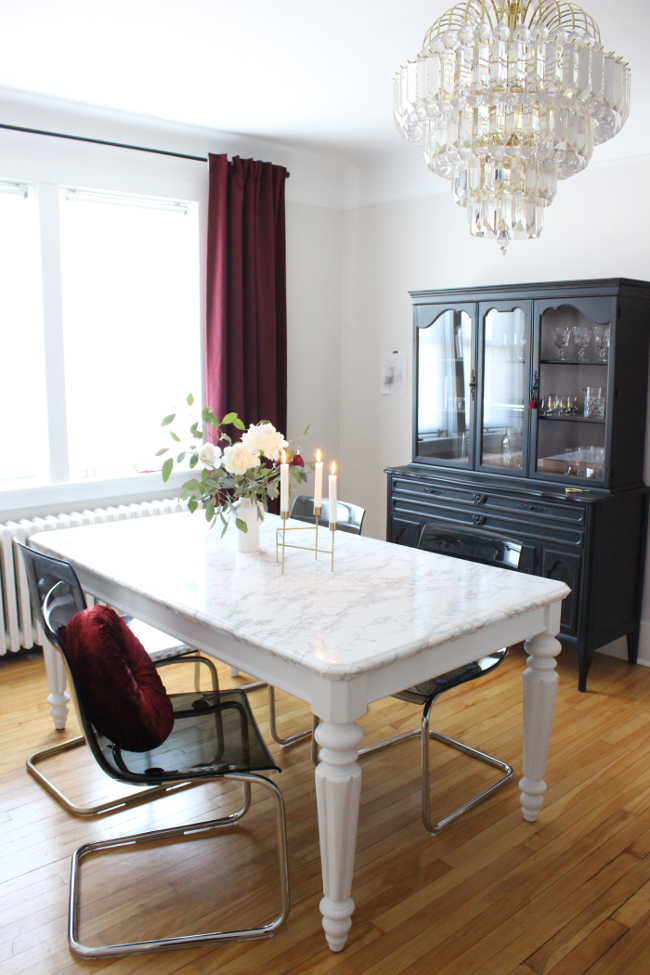
Our dining room gets a lot of light during the day and as I spend most days working with a toddler close by, we spend most of our day in the dining room [as the kitchen and Cora’s bedroom are both next to it]. I wanted this space to be somewhere bright and inviting. I do love dark design and I’ll always love dark spaces, but I don’t think going dark would have worked in such a bright space. I did add some darkness with my most favourite burgundy paint, but I added it in a dark part of the room.
It took me a long time to choose the right colour for the dining room walls. It was something that needed to work with burgundy [that was non-negotiable], but it also needed to work with and compliment the kitchen cabinetry which can be seen from the dining room as well as the hardwood floors throughout. It was a tough task, but I found the perfect nearly-greige paint ‘Kitten White’ by CIL Paints. I can’t stress how perfect it is IRL.
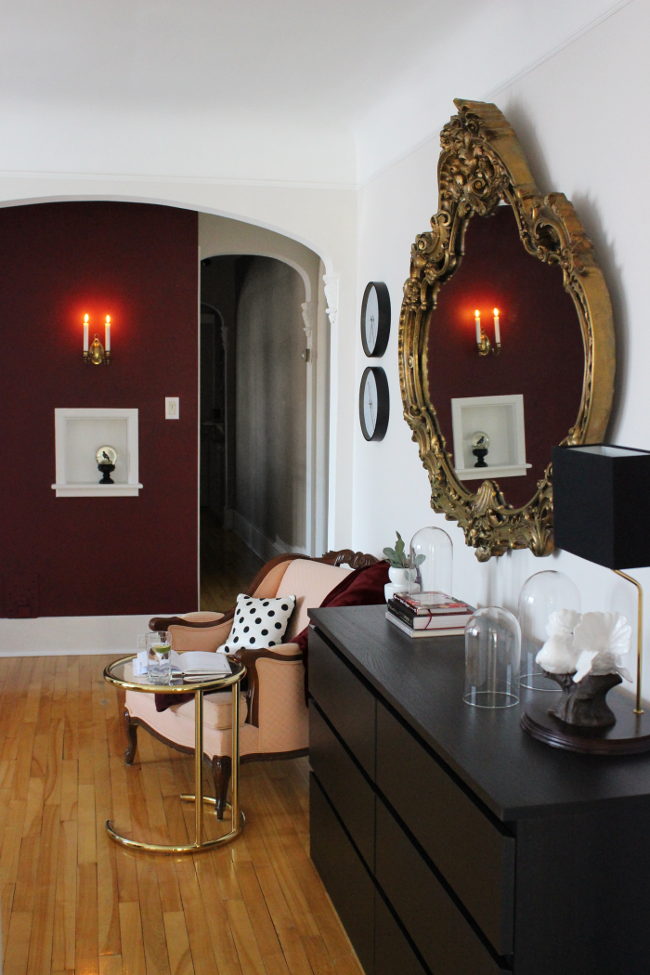
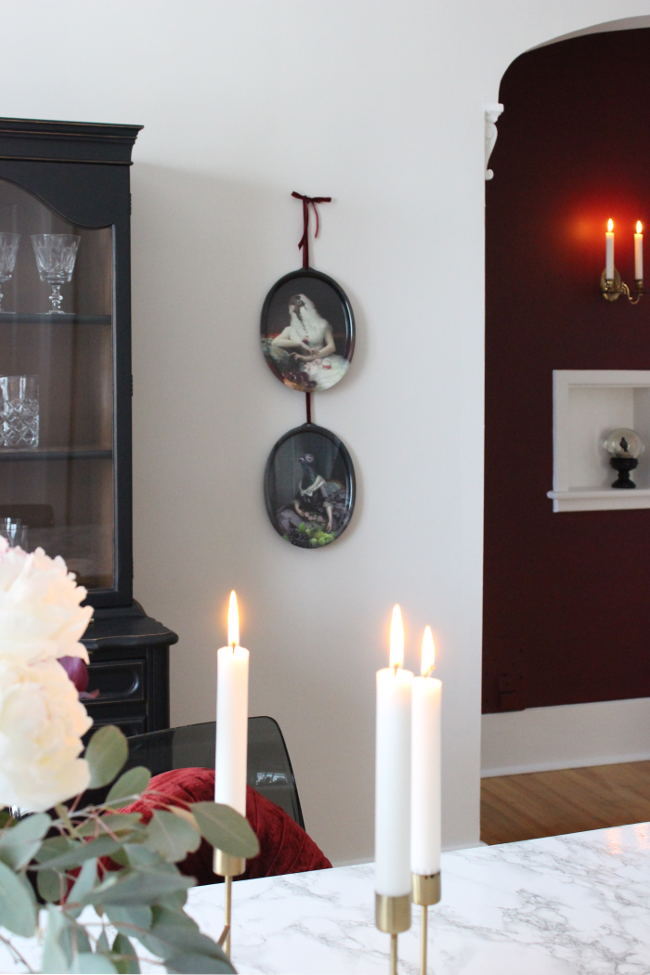
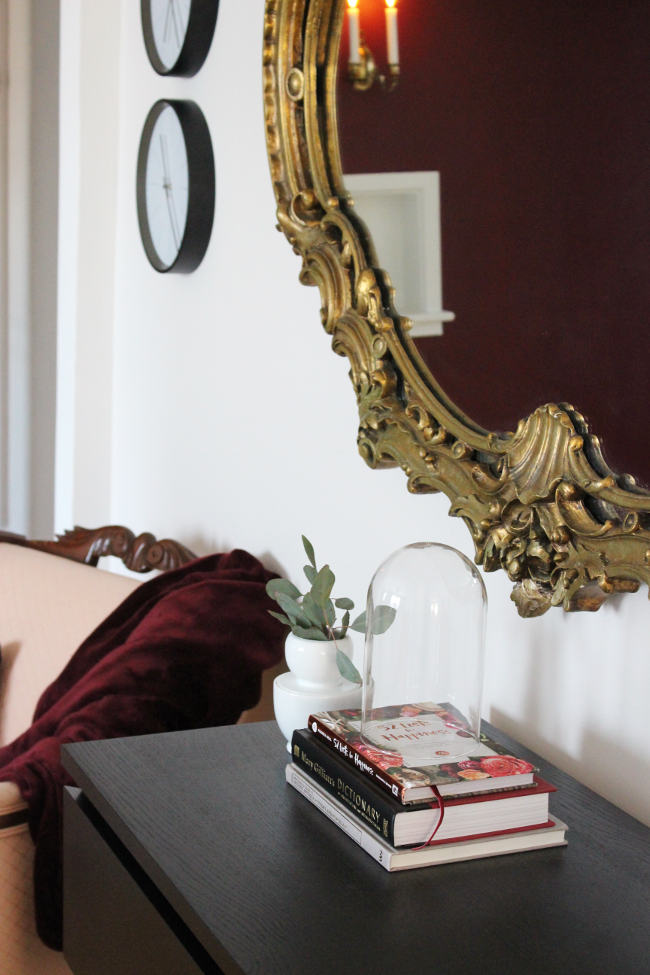
This little vignette has turned out to be my favourite spot in our dining room. And it was one of the last places I focused on. It was one of those uggggh what will I do with this corner? corners, but with some artistic help from Cora one afternoon, I put this little group together and I love it so much.
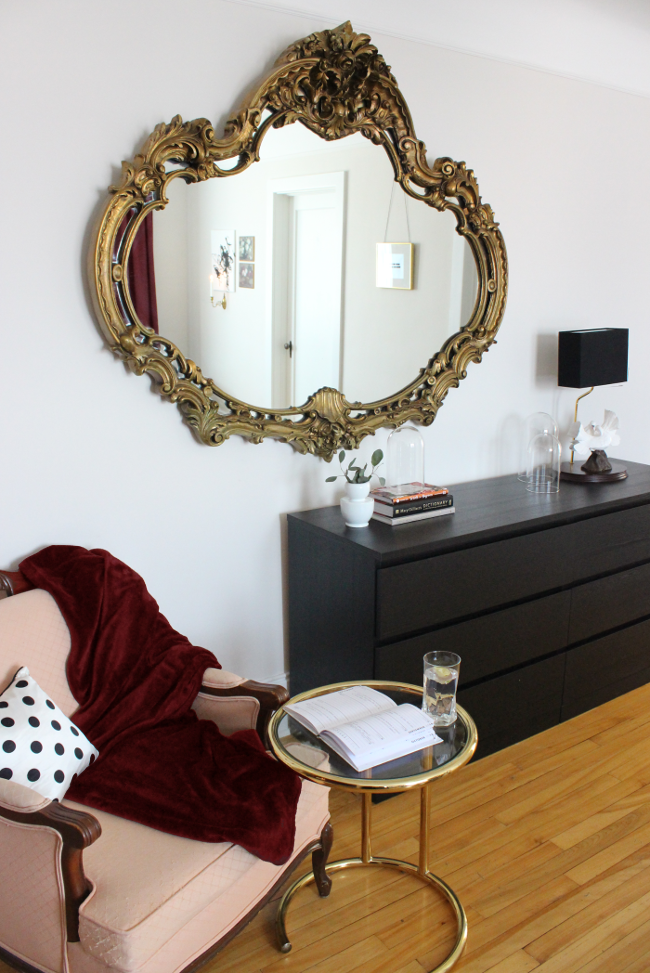
I can’t write this post without mentioning our Victorian style mirror. We managed to successfully hang it this weekend thanks to two 200lbs hooks [overkill by about 350lbs, but they help me sleep soundly at night so long story short, do whatever makes you sleep better]. I tightened the wires at the back a few times before getting our mirror at just the right height. At 4 feet tall and 5 feet wide, there wasn’t much wiggle room with where we could hang it, so I’m thanking the construction gods that there were two studs along the main wall perfectly centered for our mirror. Anyone who sees it in real life is blown away by how big it is. I don’t know how, but it comes across as smallish in photos. This thing is huge. Like, the size of a human person. I’m just so happy we have it looming over our every meal now.

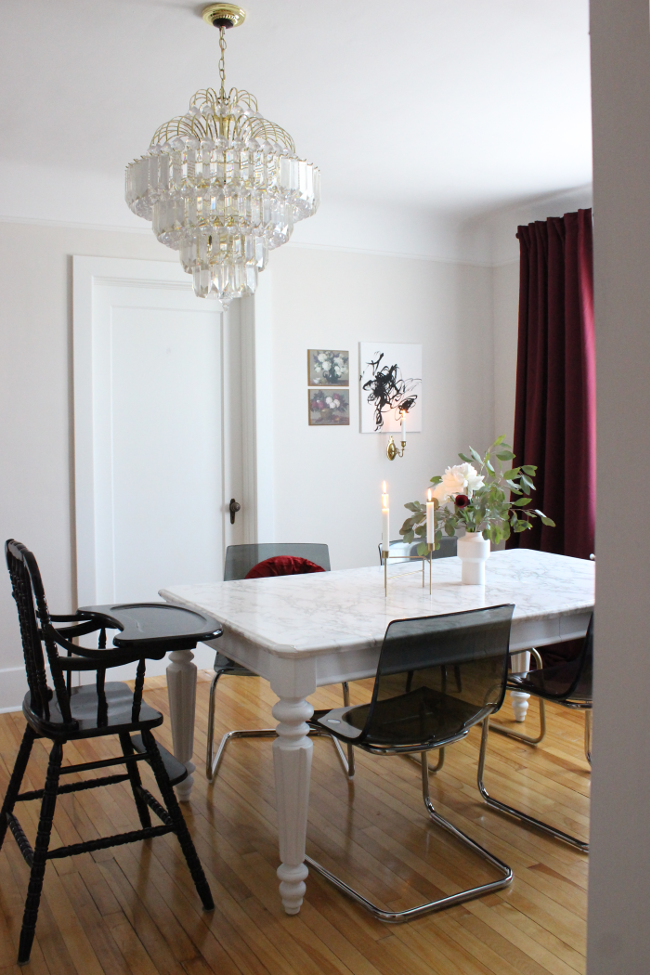
I’m not going to lie, my first One Room Challenge was tough. It didn’t help that I picked the biggest room in our apartment and that I chose to partake even though our belongings didn’t arrive from Ireland until Y E S T E R D A Y, so yeah, it was stressful. But, it worked out. Yes, I had to compromise with a lot of things [not being able to put a swag on the chandelier and center it over the table, not having enough time (or energy) to paint the rest of the hallway and you can see that in some pictures, etc], but it worked out. And the moment it was finished I was so happy with it. It felt comfortable and it felt like us. It was tough but what project isn’t? I’m a very firm believer in creating a space you love to live in for the sake of your mental health. And I for one am tore up from the floor up about our dining room.
Thank you to Linda for letting me partake in the One Room Challenge as a guest participant. The support, encouragement and community that I’ve seen and experienced from the ORC is so encouraging. Especially knowing I wasn’t the only one crying into my glass of wine at the end of Week Four when the panic really started to set in. It’s been an amazing experience and I can’t wait for the One Room Challenges to come.
You can see the full list of the One Room Challenge Spring 2018 guest participant room reveals here!

Entire source list for our dining room as it currently is …
Wall colours – ‘Classic Burgundy’ and ‘Kitten White’ by CIL
Victorian mirror – secondhand via Kijiji
Dining hutch – secondhand via Kijiji, updated with Fusion Mineral Paint in ‘Coal Black’
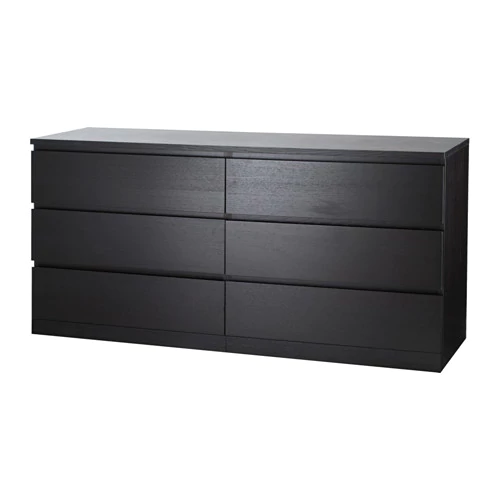
Malm 6-drawer dresser – via IKEA
Tobias dining chairs – originally from IKEA, but bought secondhand via Kijiji
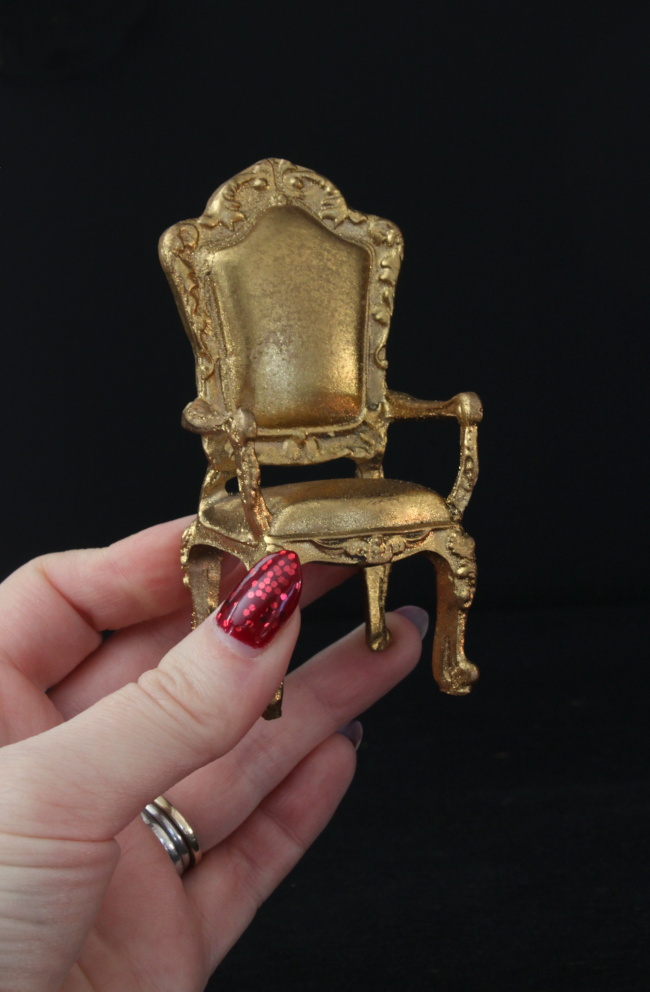
Gold circular side table – secondhand via Kijiji
Bird portrait trays – via iBride
Dining table – secondhand, updated with marble contact paper [tutorial coming soon]
French provincial style armchair – secondhand via Kijiji
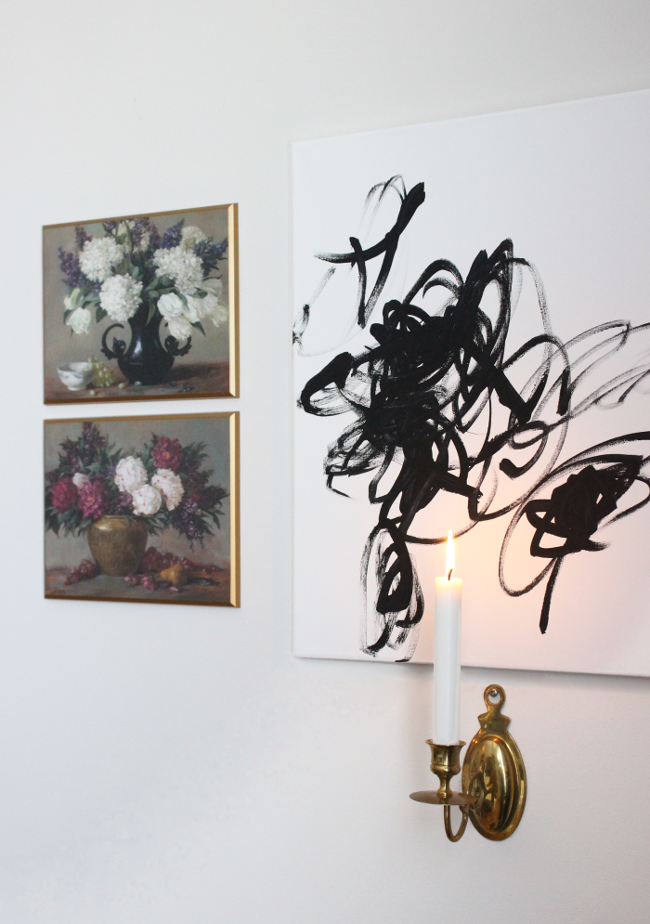
All floral artwork – secondhand via Value Village
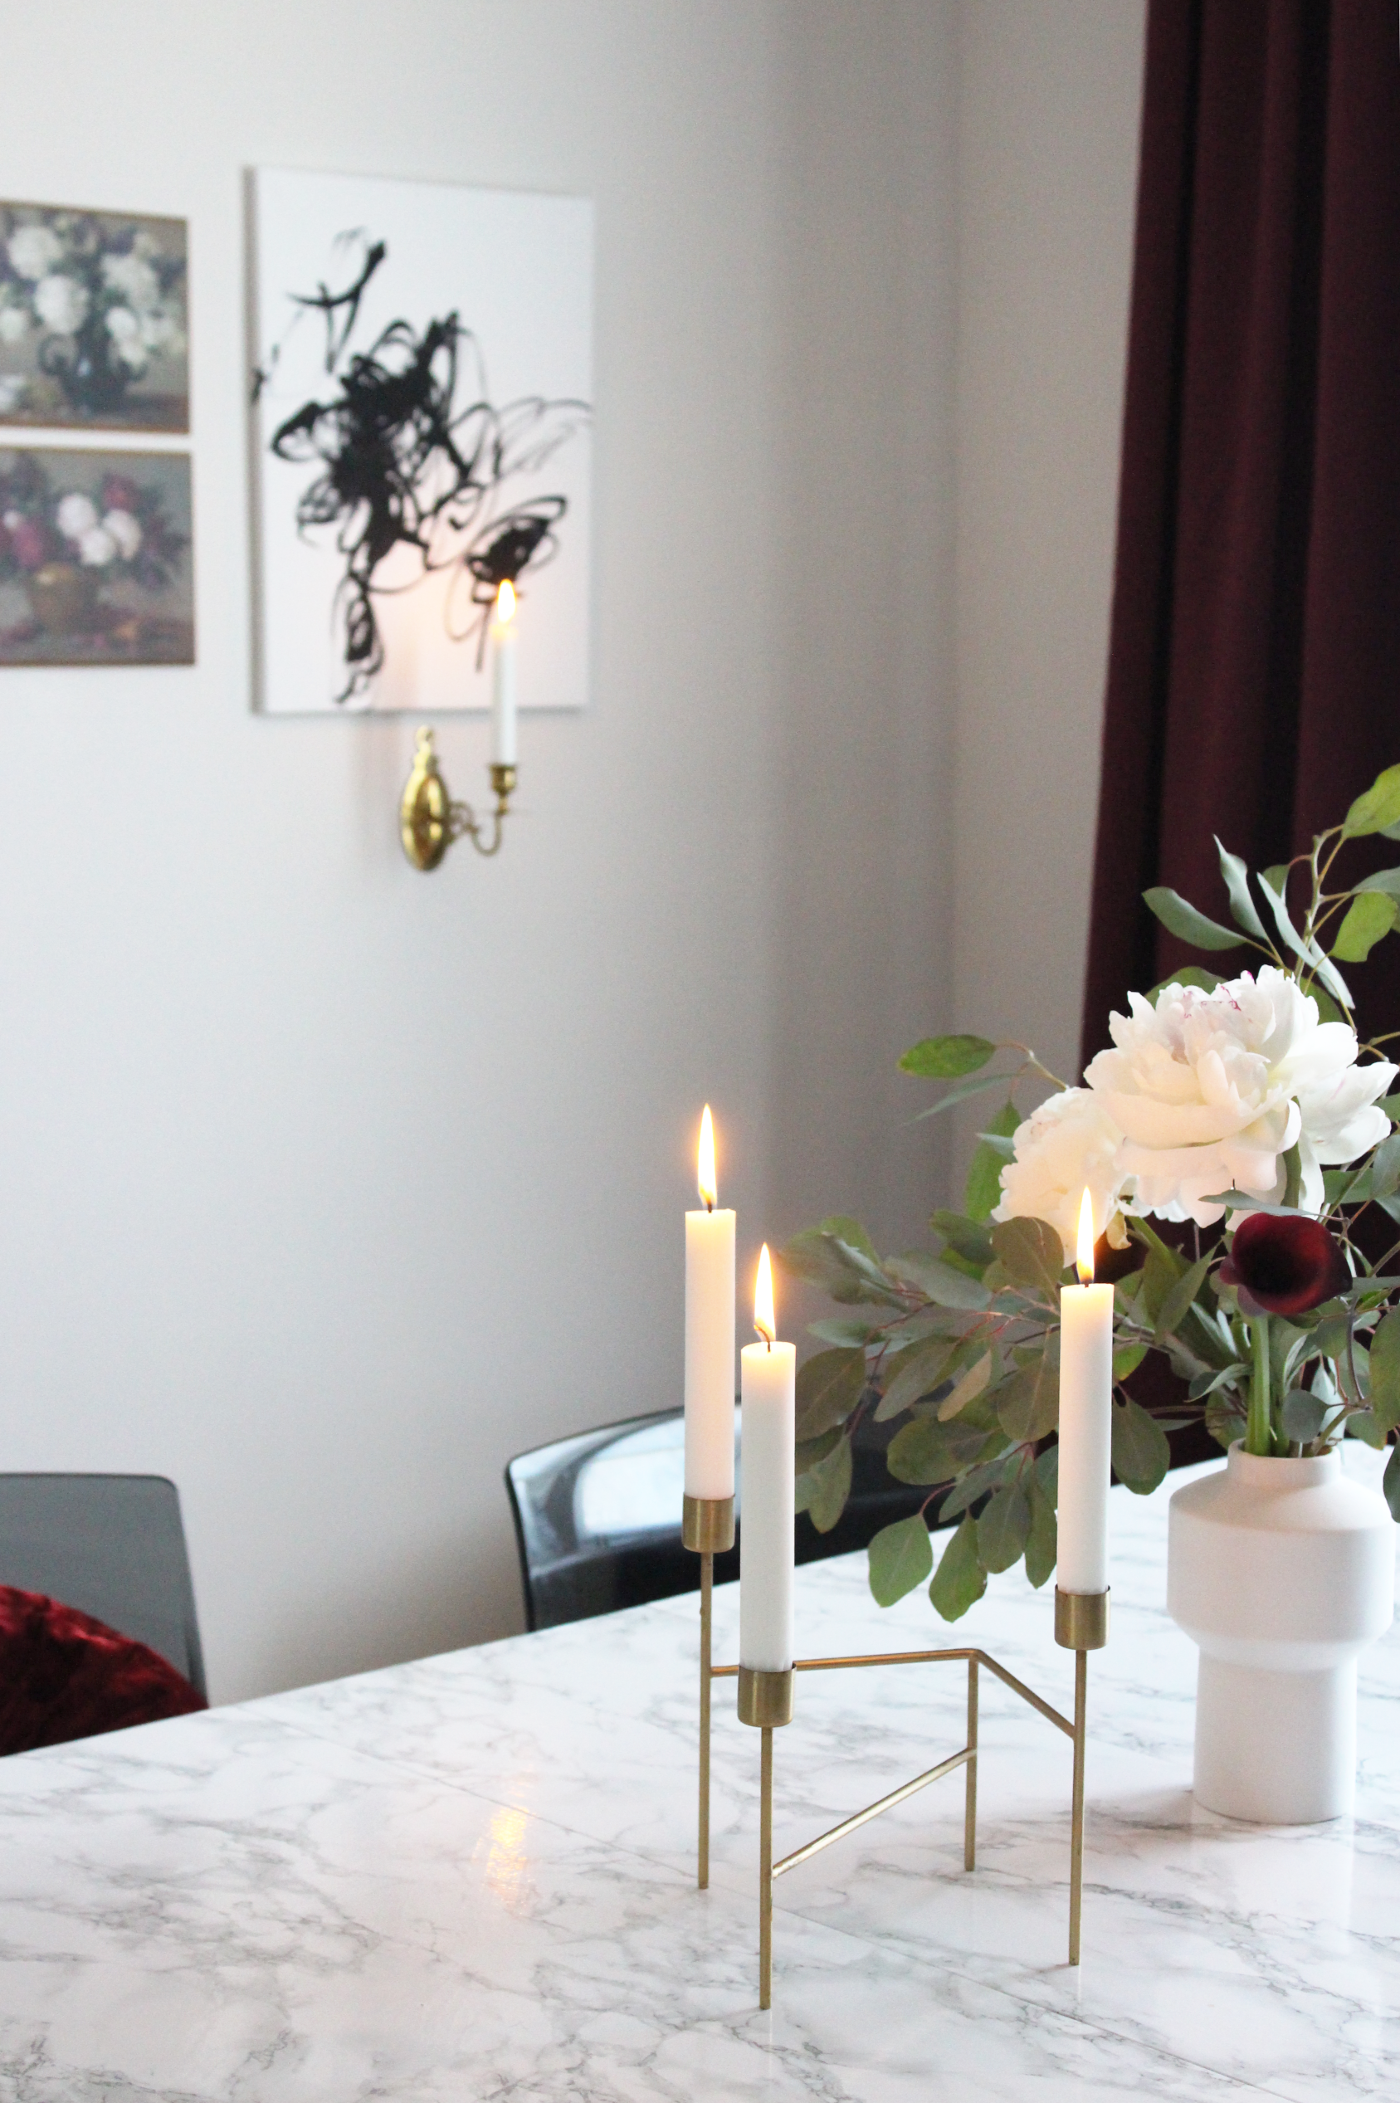
Candle sconces – both secondhand via Value Village
Burgundy curtains – discontinued IKEA
Skogsklover roller blinds – via IKEA
Black high chair – secondhand via Kijiji
90’s chandelier – secondhand via Kijiji
Black and white abstract artwork – painted by Cora!
Baby Schylling piano – from Target, but bought secondhand via Kijiji
Cloches – given to me by my excellent blogger friend Pat
Wall clocks, x2 – via EQ3
Glasses in dining hutch – either thrifted or discontinued IKEA
Gold lucky wishbone objet – via Chapters !ndigo
Tassles – via Home Focus
White posey vase – via EQ3
Brass candle holder – via Article
Shop this look!
![CIL Kitten White]()
CIL Kitten White
![Lowe’s Marble Contact Paper]()
Lowe’s Marble Contact Paper
![CIL Classic Burgundy]()
CIL Classic Burgundy
![EQ3 Posey Vase]()
EQ3 Posey Vase
$12.99
![IKEA Tobias Chair]()
IKEA Tobias Chair
$99
![iBride Isild Tray]()
iBride Isild Tray
€52
![Indigo Lucky Charms Wishbone]()
Indigo Lucky Charms Wishbone
$12
![EQ3 Watch Wall Clock]()
EQ3 Watch Wall Clock
$29.99
![iBride Rosita Tray]()
iBride Rosita Tray
€52
![IKEA Malm Black Dresser]()
IKEA Malm Black Dresser
$199
Week One – Week Two – Week Three – Week Four – Week Five – Week Six!