As part of my seemingly never-ending saga to update our rental, one of the rooms which is unfortunately ignored decor-wise the most is our bedroom. Which makes zero sense because it’s the room we spend the most time in.
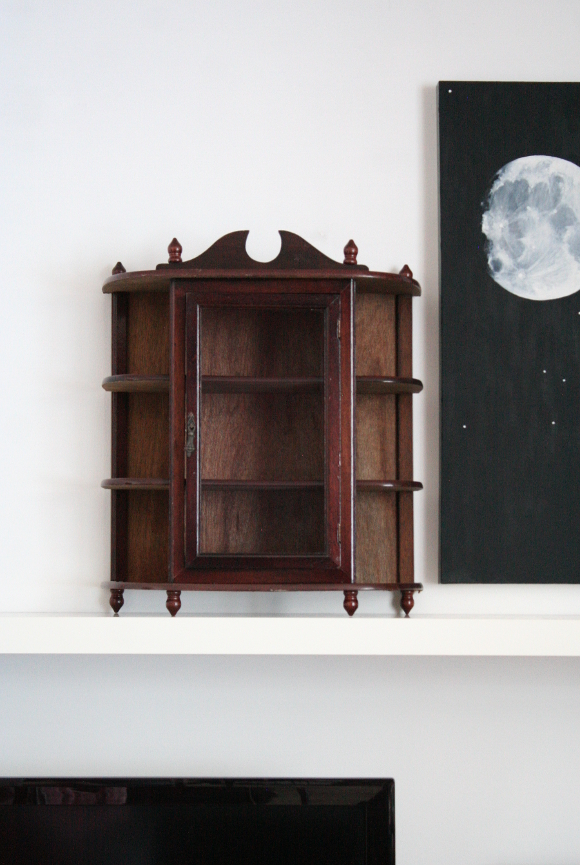
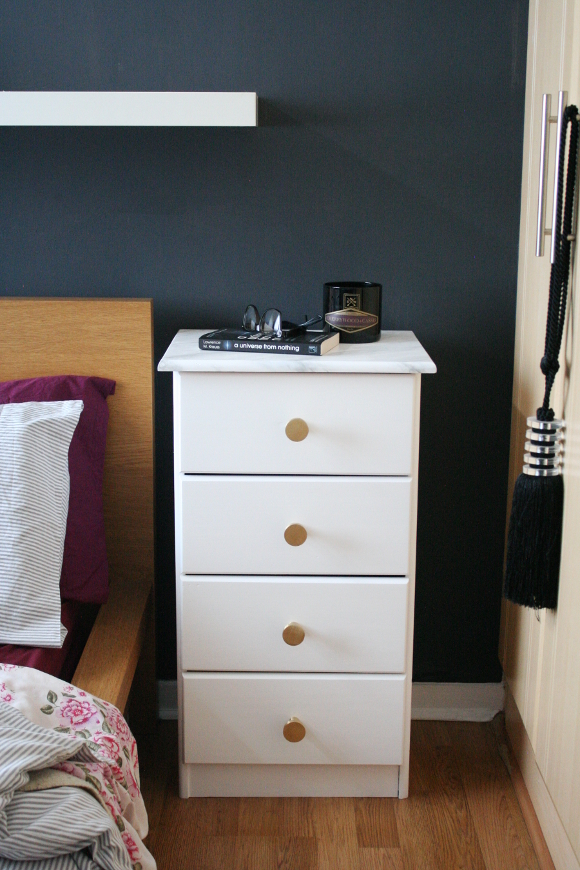
Our rented apartment didn’t come with bedside tables and as you can imagine, that was tremendously awkward. We needed bedside tables mainly for storage so they had to have a lot of drawers and a good sturdy shape. Earlier this year I kept an eye on adverts.ie for a set of bedside tables I could update and eventually found a pair for €9 each. SOLD! They had a faux wood finish which was a bit bleugh, but they had a great shape and I knew I’d eventually update them. As a reminder, here’s what they looked like before [try not to be jealous of our glamorous bedside light situation] …

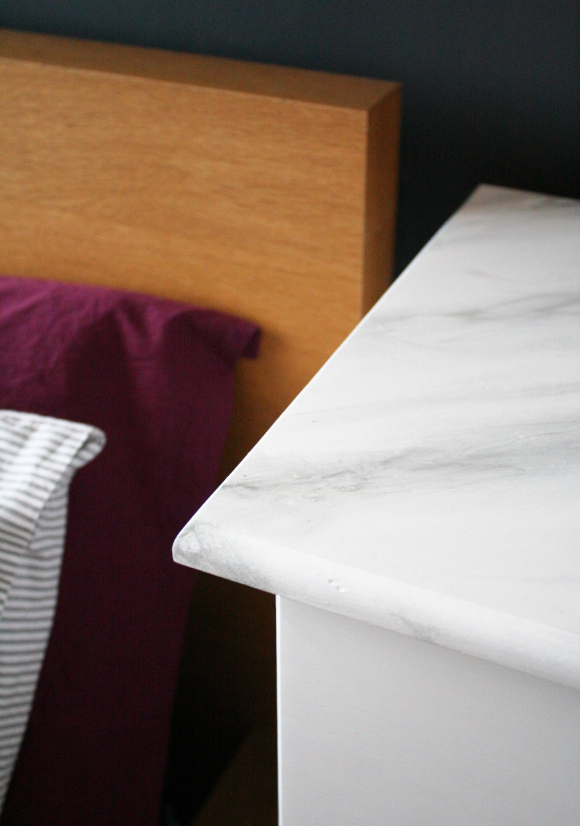
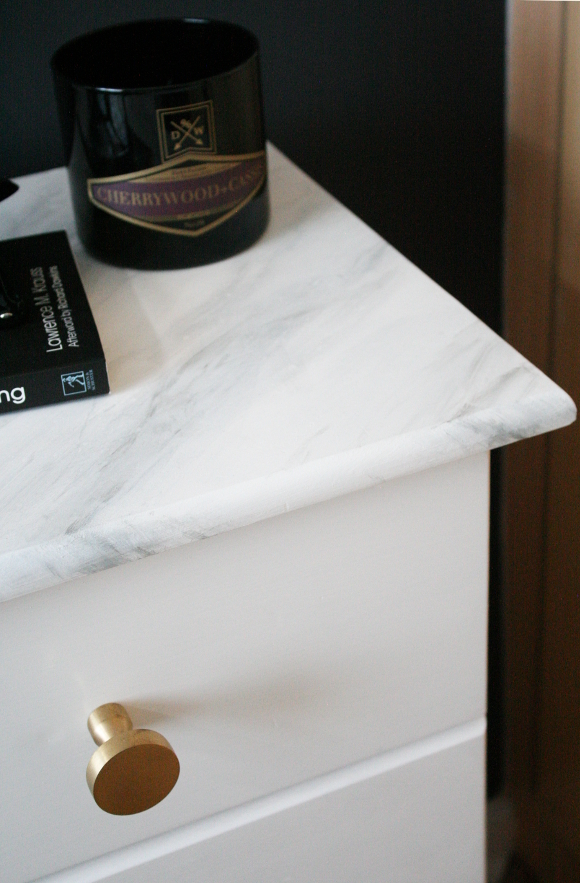
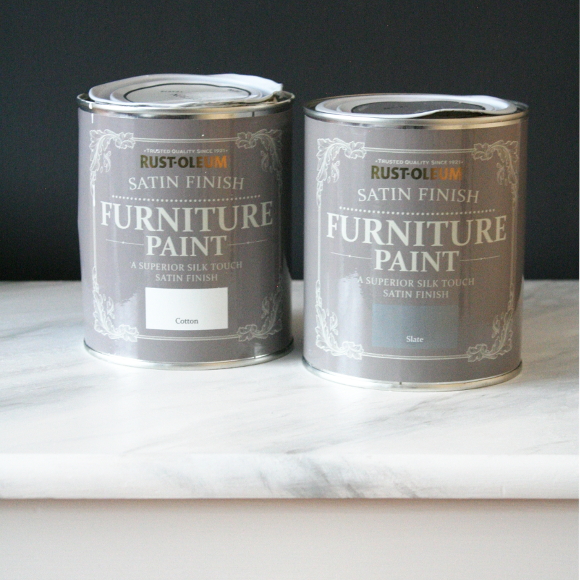
I’ve worked with Rust-Oleum before, so when they got in contact about their new line of furniture paint and asked if I had some furniture I’d like to update, I immediately thought of our bedside tables. I also like to make more work for myself, so I thought why not try my hand at creating a faux marble effect for the top too? I panicked as I started, but I have to admit, they look absolutely incredible. Even Robert has said a number of times “I cannot believe that’s not actually marble“. I did not pay him to say that.

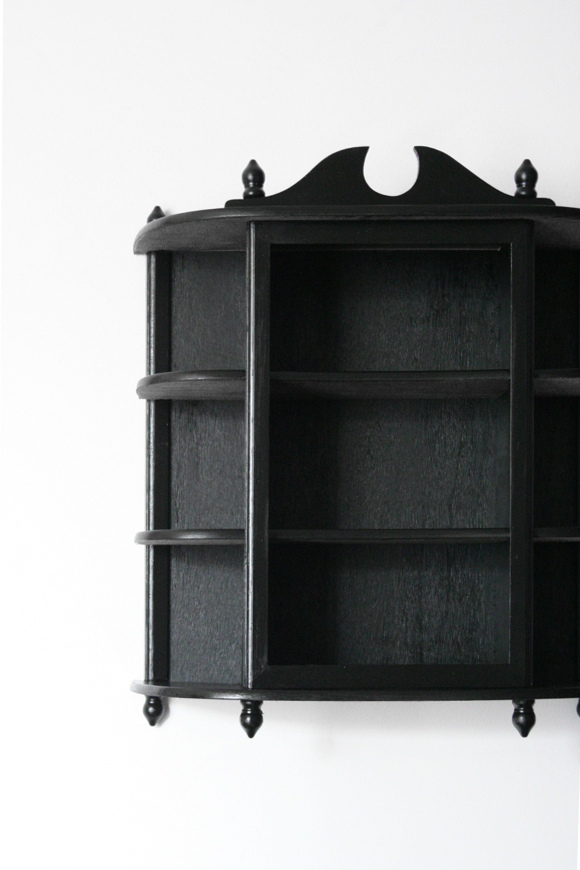
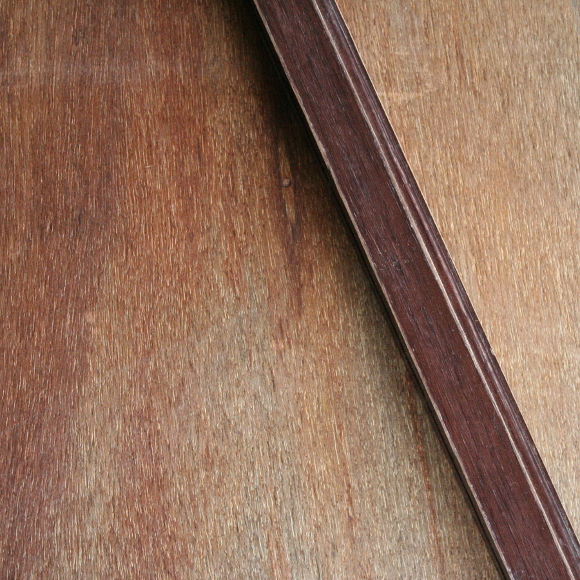
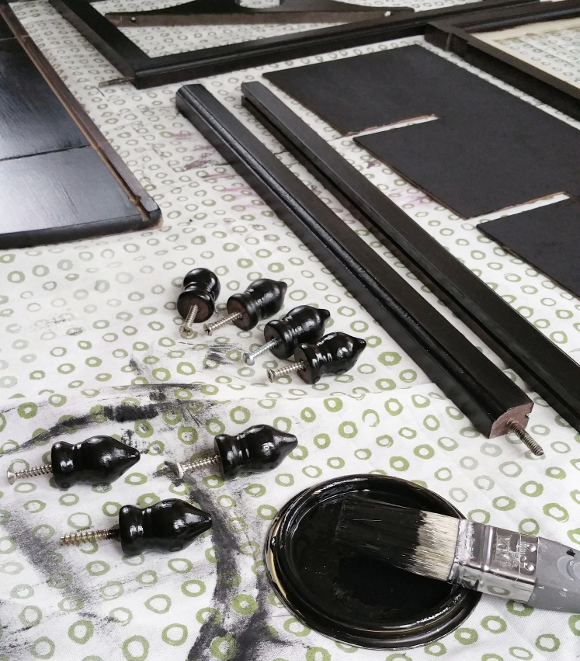
I began by disassembling the bedside tables [took the drawers out and the handles off] and gave everything 3 coats of Rust-Oleum’s ‘Cotton’ white furniture paint. The reason I painted 3 coats was to ensure I covered the dark wood knots for an even finish all over [you can see the original finish and knots on the inside panel below. What a difference some white paint makes].


I then started on the faux marble top. Here’s how I did it …
1. I began by painting a layer of white paint in the same direction I wanted the grain of the marble to go.
2. Using Rust-Oleum’s ‘Slate’ grey, I roughly marked the main marble bands across the top of the bedside table.
3. Using a dry brush, feather the ‘Slate’ grey paint into the white paint. This gives a base to the faux marble look. This doesn’t need to look perfect, but smooth strokes do look the most convincing.
4. Dip your fingers in some water and flick little droplets onto the top of your bedside table. This sounds mad, but trust me.

5. Using a rag or piece of kitchen towel, dab off the excess water droplets. What this does is lift a very soft layer of paint and reveals the white paint underneath [as seen better in the picture below]. You can feather this again with a dry brush to smooth any imperfections.
6. Add further detail to the faux marble effect by using the ‘Slate’ grey with a thin paint brush and adding subtle marble veining throughout. You can soften any bits with either a dry brush or with a wet finger. Mix things up and see how it best works for you. Remember – the less perfect it looks and the less symmetrical the pattern, the better.

I let the bedside tables dry with the drawers open slightly and nothing on top for a minimum of 24 hours to ensure the paint dried completely. I couldn’t resist getting new handles for our bedside tables too, and at a whopper of a bargain.
I really am impressed with the finish from Rust-Oleum’s furniture paint. It dries very quickly which means my initial 3 coats of paint were done and dry in under an hour. I have a good amount of paint left over after painting each set of bedside tables, so I’ve had my eye on our IKEA step stool for repainting it white and doing a similar faux marble finish on each of the steps. Well lush!
I really am impressed with the finish from Rust-Oleum’s furniture paint. It dries very quickly which means my initial 3 coats of paint were done and dry in under an hour. I have a good amount of paint left over after painting each set of bedside tables, so I’ve had my eye on our IKEA step stool for repainting it white and doing a similar faux marble finish on each of the steps. Well lush!
UPDATE: see our updated IKEA Bekvam step stool here!


Before you plan on buying a new set of bedside tables or furniture, just think of all the sad furniture out there in need of a home. They can not only look fabulous but feel fabulous and loved once again. Think of all the second hand furniture and their potential … All they need is love. Okay, less sap. Thank you again Rust-Oleum for helping me update our sad bedside tables! Happy Friday, friends xx
Disclosure – this blog post was sponsored by Rust-Oleum, who also sent me the necessary paint for updating our bedside tables free of charge. As always, all words and opinions are my own. I only work with companies I like and of course, think that you will too. Thank you for supporting the companies that support The Interior DIYer.