Operation de-uglifying our storage heaters

When I look back at all the work I’ve done to bring our rental apartment to where it is, I’m pretty proud of myself. Repainting the entire apartment. Updating the kitchen and bathroom. Sanding, prepping and repainting all the yellowed doors and skirting boards throughout our apartment was a tall task, but worth it. Even though we’re only renters and don’t own our apartment, I take pride in knowing our landlord is over the moon that we’ll be leaving our apartment in better condition than we found it. I like a good project, no matter how remedial and non-glamorous it is. 

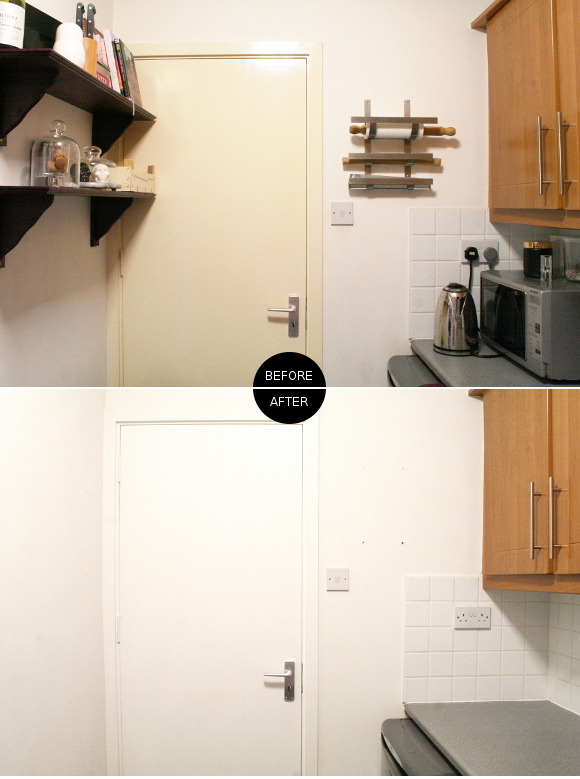
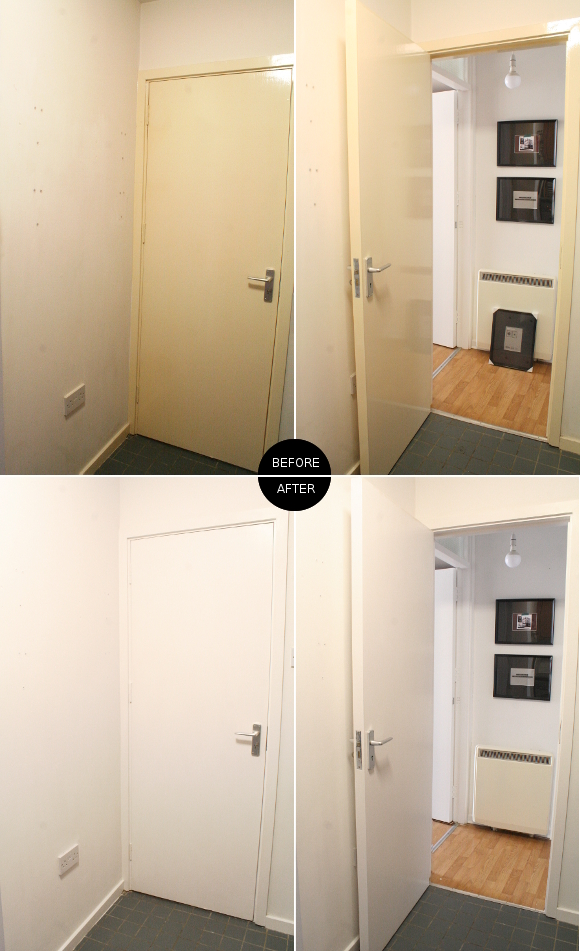
Now that all the skirting boards and doors are no longer yellow, the only remaining major eyesores were the heaters. And boy, were they eyesores …

With the most epic of timing, Rust-Oleum got in contact with me and asked if there was a product of theirs I’d like to try out. I did a quick search on their site and when I saw their radiator enamel spray paint, I knew I had to try it. 

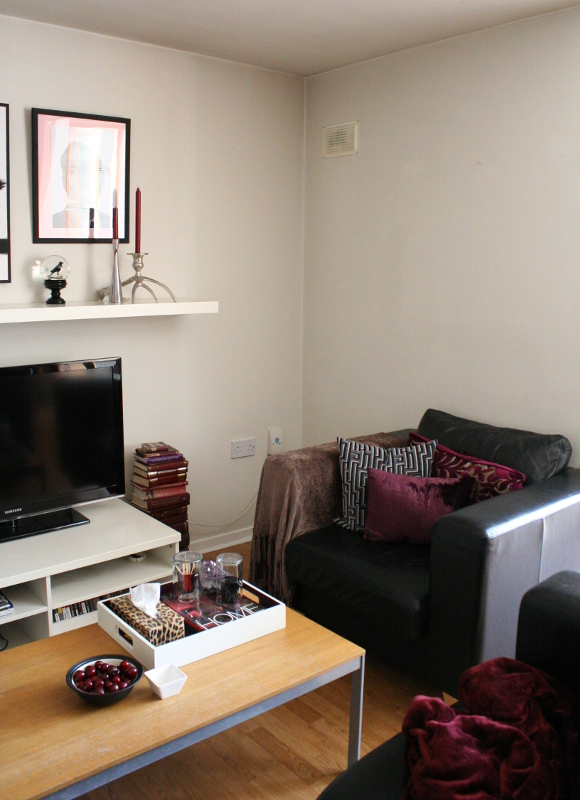
The most noticeably yellowed heaters in our apartment are the two in our living room and one in the hallway. There are two more [one in each bedroom], but they’re nowhere as obvious. Once my Rust-Oleum paint arrived I got to work. I asked Dad DIYer to help with dismantling one of the storage heaters with me so I could see how easy it would be to dismantle the rest of them on my own. Storage heaters are full of bricks and I as I explained in my upcycled vacuum cord pendant post, anything electrical make me all kinds of nervous. I felt a lot better knowing my dad was helping out. 

NOTE: please read all manuals that come with your heater / radiator before disassembling them and disconnect the mains where necessary. But you guys knew that.

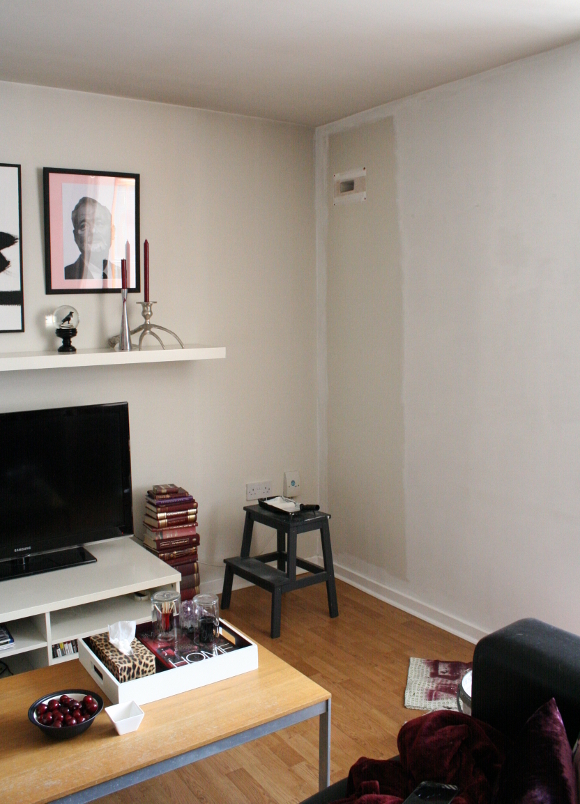
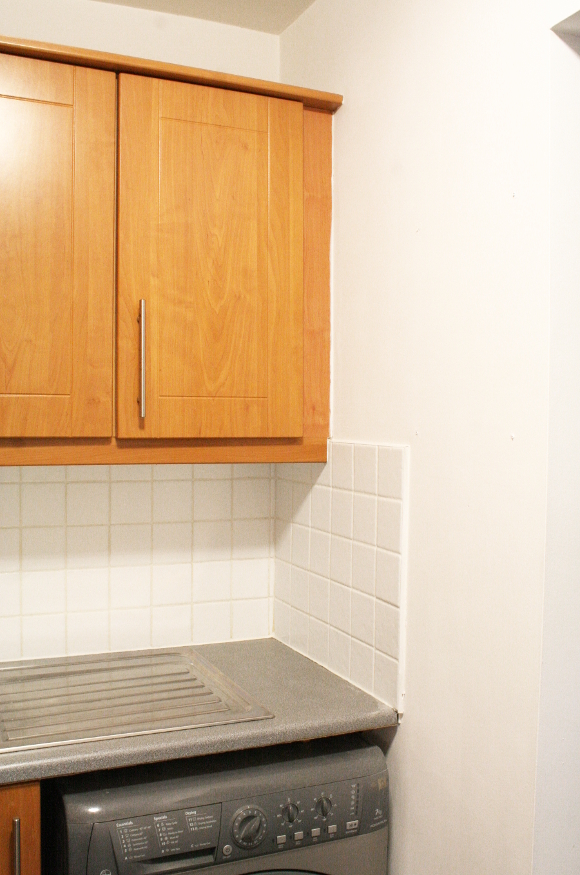
We dismantled both the front and top panel on the storage heater for spray painting. Ideally, I was hoping to disassemble the entire heater to spray paint it elsewhere, but we were stopped in our tracks when we discovered the heater was on brackets that were bolted under the floor boards [which you can better see in the last picture]. So I was going to need to paint the side panels indoors. 

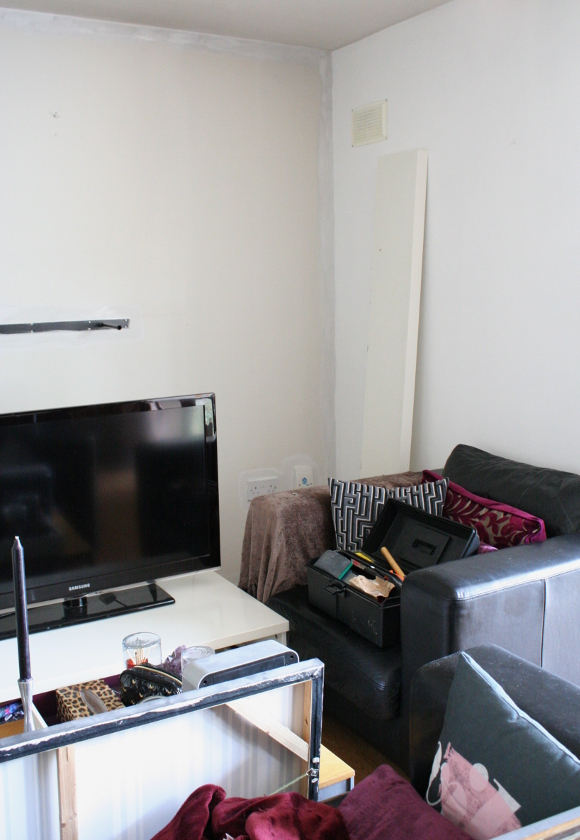
Before long the heater looked like a Mr. Bean special. As advised by Dad DIYer, I taped a giant plastic bag around the exposed side panel [not pictured] and spray painted within the bag so the overspray didn’t get everywhere. I then took the remaining panels outside and gave them 2 coats of  Rust-Oleum’s white radiator enamel paint, let them dry and reassembled the heater again. 
TIP: cover any text or instructions on your heater with masking tape before you spray paint. Because remember, you won’t be the only one using them now or in the future.

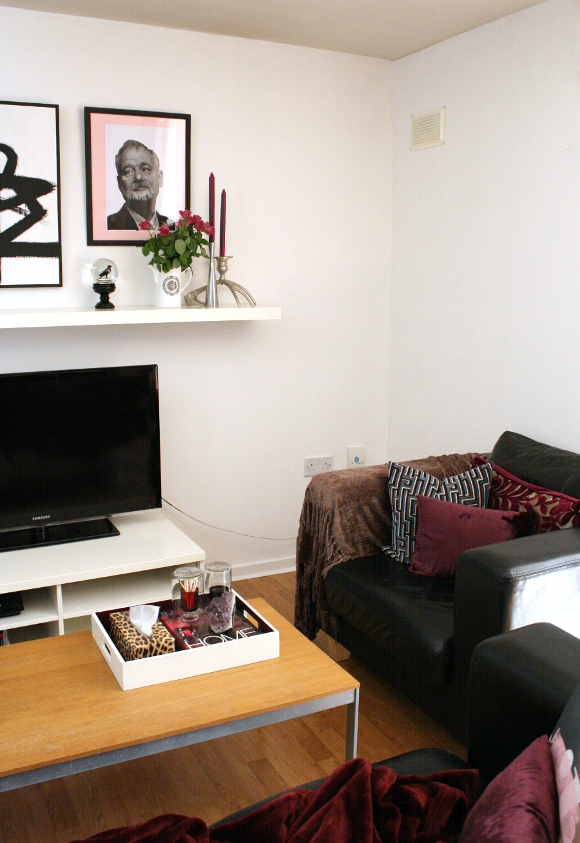
Since it took a bit of planning to paint the one heater, it’s the only heater I’ve repainted so far. But I am very much looking forward to our heater[s] doing what they’re supposed to – disappear into the background, not be a focal point and keep us warm. I for one am so happy with the result. No more fugly radiators! I know, I’m easily amused.

Thank you again, Rust-Oleum! 

Disclosure – Rust-Oleum generously supplied radiator spray enamel free of charge to help in my never ending quest to update our rental. As always, all words and opinions are my own. I only work with companies I like and of course, think that you will too. Thank you for supporting the companies that support The Interior DIYer. 

Living room update – one wall at a time

Four years ago when I repainted our living room I chose Crown Paints swans a’swimming paint in an attempt to tone down and make the horrid yellow paint on the doors and skirting boards less obvious. In my defense, the monumental task to simply paint all the doors and skirting boards WHITE didn’t occur to me until years later, so I basically lathered the living room in beige. It was fine. But now it isn’t really. 

Since I’m partial to dark wine colours, the beige-y walls didn’t compliment them very well and it gave off a feel of being dirty. You may think from the photo above that our living room looks not too bad. Well, that’s because that’s the after picture. This is the before … 

The storage heaters in our apartment cause smoke damage to all of the walls, particularly so in the living room. Due to the vent being in this corner of the room, in the winter all the hot air tends to collate in this corner, hence the staining being so bad. It’s only once you really look at it that you realise how bad it is. 
So in my recent burst of painting, I decided to also repaint the living white. It’s a daunting task as our living room is on the big side, so I broke it down and painted it one wall at a time, one week at a time. Because to be honest, the idea of painting such a large room in one go is stressful for me. So I figured hey, why not just do one wall at a time?

First up, the small wall behind the single seater couch. Goodbye horrid heater stains.

After two coats of paint and a couple of days, I tackled the wall behind our TV next …

So far, I’ve only painted these two walls, but they’ve already made such a difference. There are things I need to change, such as the TV cable, spray paint the vent which is glaringly yellow now that the walls are white, and one thing I’m certainly avoiding mentioning to people in person, but I’ll say it here. The ceiling. It’s discoloured from years of storage heater ‘smoke’. It’s only obvious how discoloured the ceiling is once I point it out. Depending on how long we end up staying there, I may. May. May end up painting the ceiling, but it’s the absolute last thing on my list. I have an idea how awful painting a ceiling would be. So let’s pretend it looks great, yeah?

I’m itching to mix things up in our living room now that it has some clean walls by rotating the accessories we have to give our living room a newer feel. It’s been locked in this layout for about 4 years so it’s high time to freshen it up. 

But for now, Mr. Murray is pleased.

Also featured – Bill Murray print – crow globe  

Kitchen update – the bones

First up, thank you to everyone who let off steam along with me both online and off in regards to my rental rant last week. I’ve chosen to use my rental rage for good, and so this past weekend I channeled all said rage into bringing our rental kitchen into the 2000’s. It started so innocently on Saturday morning while Robert was asleep. “I’ll just reoganise the cutlery drawer … ” and as I gained momentum, much like Juggernaut, I was unstoppable. I whitened, sanded, scrubbed, stripped and painted our kitchen top to bottom in one day. I’ve got to say, even though I only painted everything white, it has made a world of difference. 
There are bare boned before and afters together below, but if you’d like, you can see a full room tour of what our kitchen looked like before here. Also, please note that our kitchen does not get any natural light, so my photos aren’t as wonderful as I’d like them to be. Yay, florescent lighting …

I started by taking everything off the walls and counter so I was starting with a blank canvas. I then tackled the more finicky task of bleaching the grout along the black splash. I normally clean it with an eco-friendly cleaner, but that never corrected the previous years of neglect [from the previous tenants]. I don’t use bleach unless I have to, so I figured this time wouldn’t hurt and I really had to go in with chemical warfare. I used thick bleach and a toothbrush and scrubbed all the grouting. I washed it off after 30 minutes, but I didn’t see the total effects until about an hour later. The grout came up beautifully. 

The kitchen hadn’t been painted during our time living here. I had white paint leftover from tackling the hallway a couple of months ago, so I got to work and repainted the walls next. That didn’t take long as there isn’t much bare walls. I recharged, then tackled the one thing I had been avoiding for months; the last door. I sanded the kitchen door, frame and skirting boards and painted them WHITE

Can we just have a moment of silence please, in honour of me sanding and painting the FINAL DOOR AND SKIRTING BOARDS IN OUR APARTMENT

I had to take the shelves down in order to open the door and properly paint both sides of it. The shelves will be going back up as we need them for extra storage. It’s a teeny kitchen. I cannot tell you how much I love our kitchen now that it’s not accented with that hot mess of high gloss yellow door.

But stay tuned because on Wednesday I’ll be sharing the fun bit [I think so at least] – the accessorising. I can’t wait to get in there and take a fresh look at our kitchen and reorganise it. Sometimes you just have to start from the beginning again. I picked up some extra goodies over the weekend that I cannot wait to add [and use!]. Woop! 

Kitchen update – beforemiddleafter