Storage cupboard spruce up

If a good storage or organisational before and after blog post doesn’t float your boat, I totally understand you scrolling past this one because this is going to do nothing for you. It is however something I’ve gotten ridiculous levels of enjoyment from, so I really wanted to share it. As of yesterday I finished giving our hallway storage an upgrade and so felt inclined to share. It didn’t cost me anything extra to update our cupboards [as I used leftover paint and supplies I already had] – it just took some time and considered planning. And ridiculous levels of nesting hormones. 

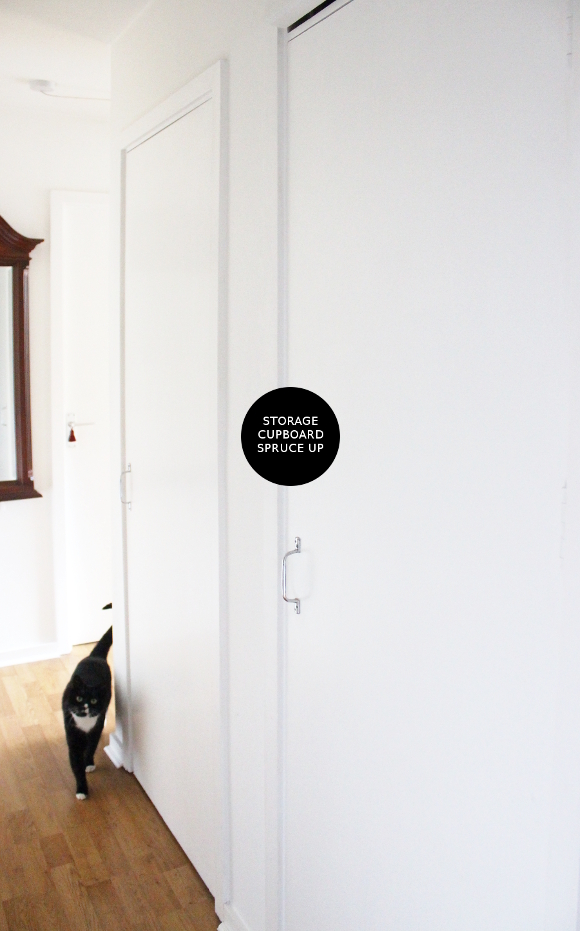
We have a number of storage cupboards in the hallway of our rental. Over the past two months I’ve slowly updated our coat and immersion cupboards [we have a third cupboard, but I’m saving updating that for a rainy maternity day]. Yes, they’re storage cupboards and no one really cares what they look like on the inside, but I do. I do. And I know. I know the horror of what lies behind those doors every time I walked past them. Those cupboards caused my nesting hormones to be personified [or animalised?] as a wild bear trying to get out of a shirt and tie. It was time. I wanted pretty storage cupboards so I got down and made them happen.

COAT CUPBOARD
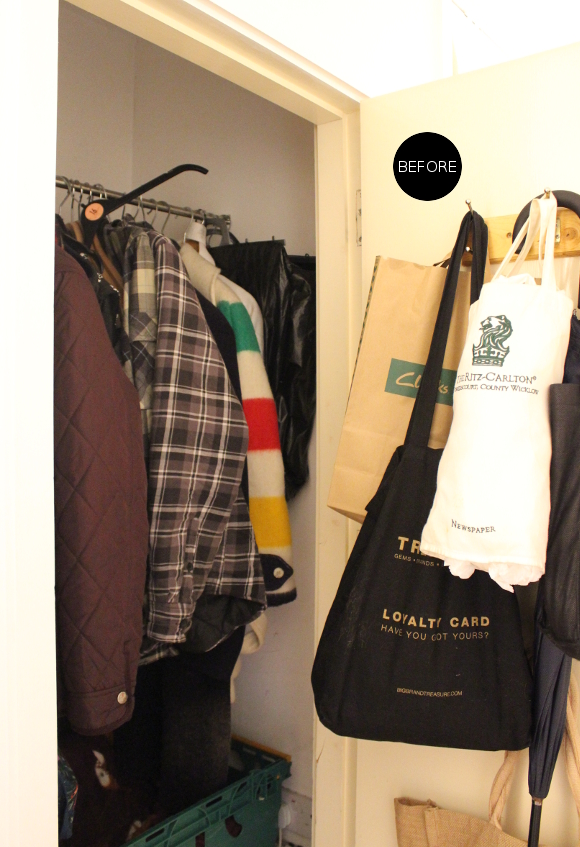
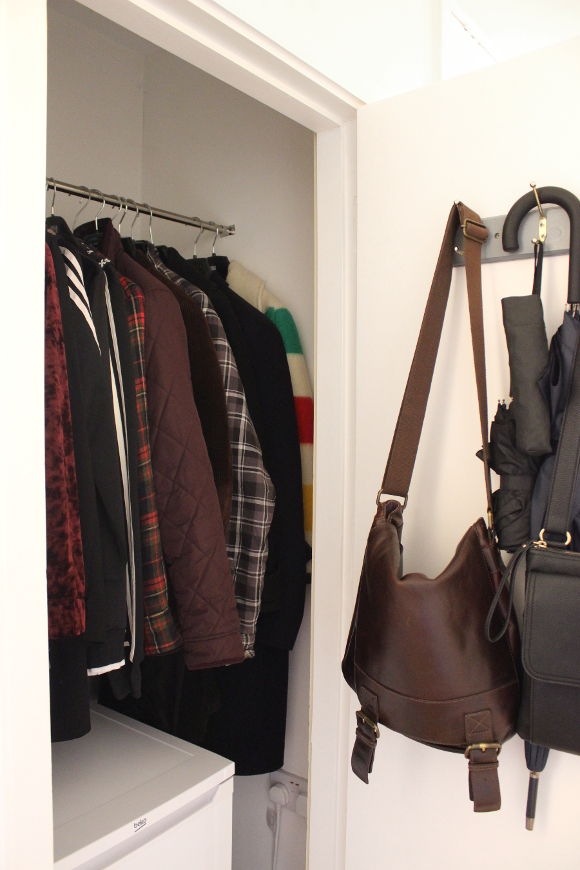
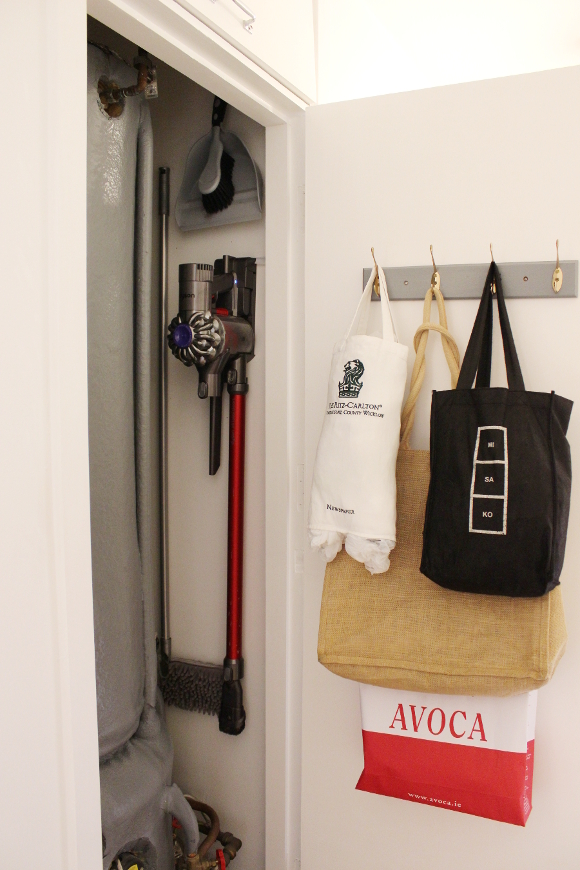
Early last year when I repainted the doors and skirting boards in our hallway, the only place I didn’t paint was the inside of cupboard doors [because they aren’t immediately seen]. De-yellowing and repainting the inside of the door and trim was at the top of my list. I then repainted the inside of the cupboard with leftover basic white paint, I tidied and donated some coats as well tackled the storage on the back of the door. At the time, everything was hanging from those three hooks on the back of the door – our bags, my bike bag, shopping bags, a bag of canvas bags and a plastic bag chute thingy. I decided to cut down and use the few hooks we had for things we use every day [umbrellas and bags]. We also added a medium sized freezer to the cupboard which will be perfect for lots of emergency / pre-made meals for over the next few months. And years. Until baby is 18, basically. 

p.s. See that Hudson’s Bay Company coat? I found it in our local charity shop for €5 last year [for those not familiar with HBC, their point (aka, stripe) blankets and coats are serious triple figures]. I’ve never worn it but I’m never, ever getting rid of it. Ever. Even if there’s a fire.
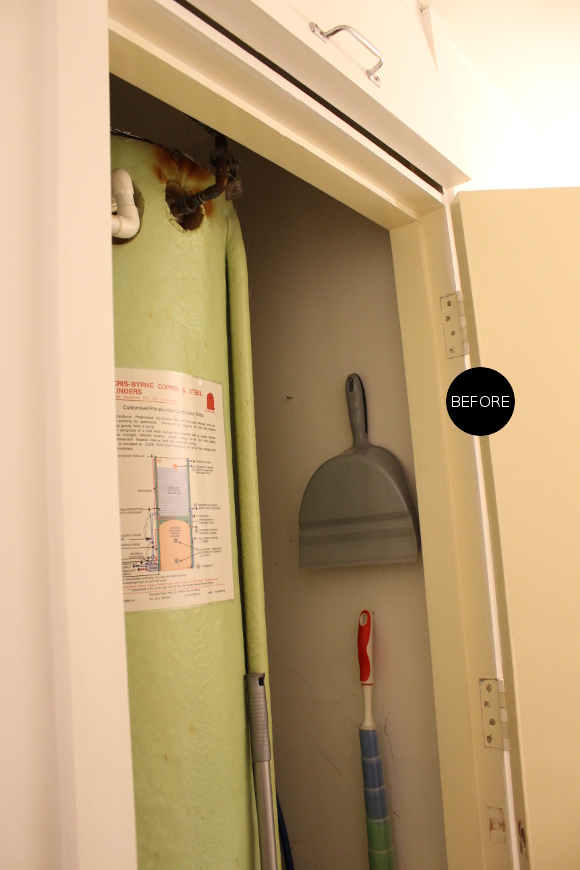
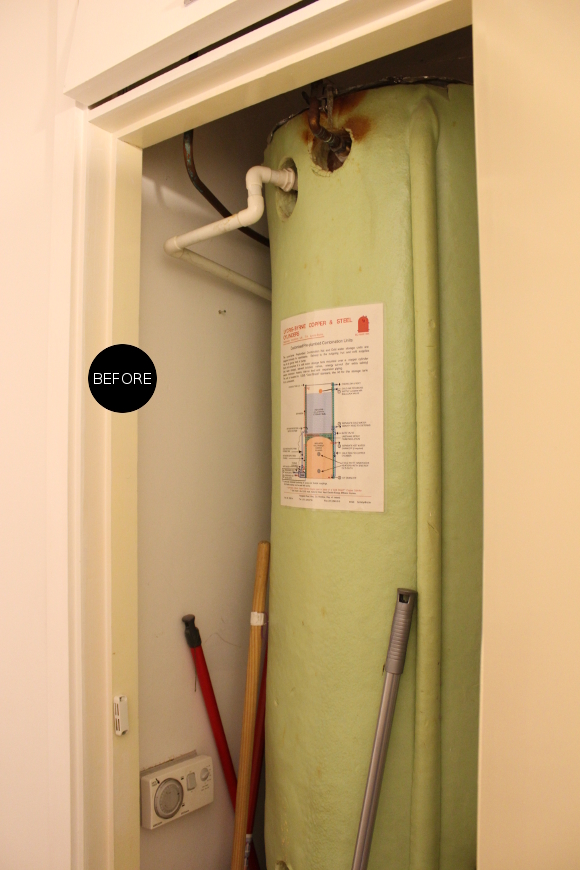
IMMERSION CUPBOARD 
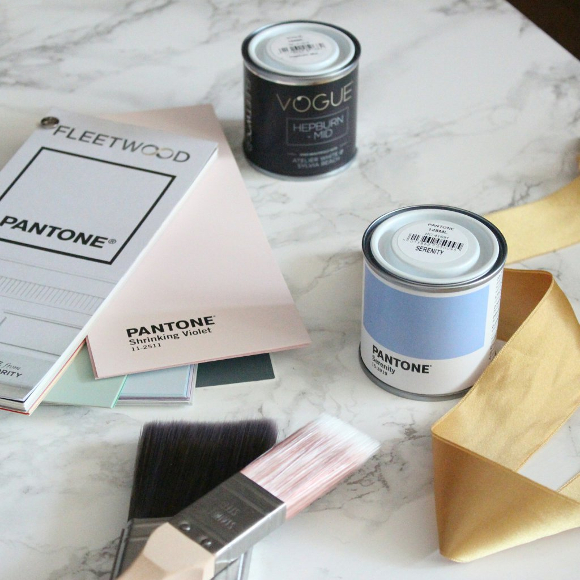
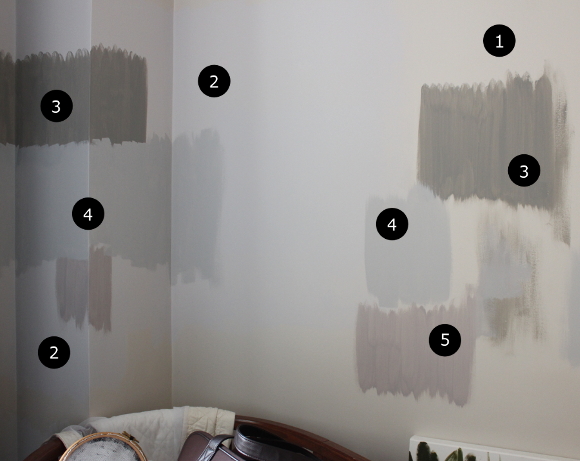
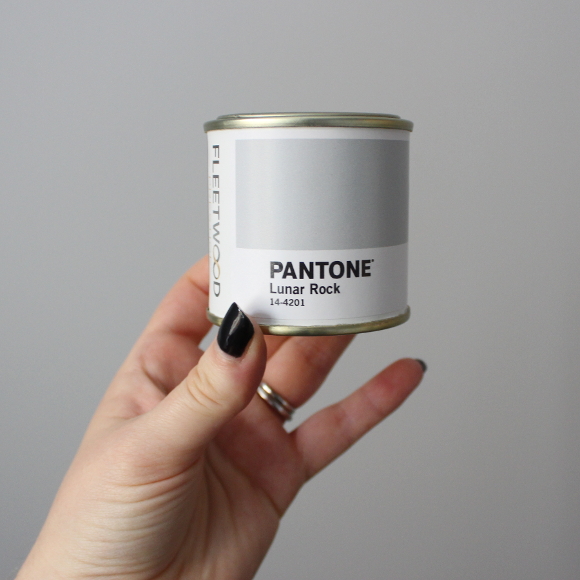
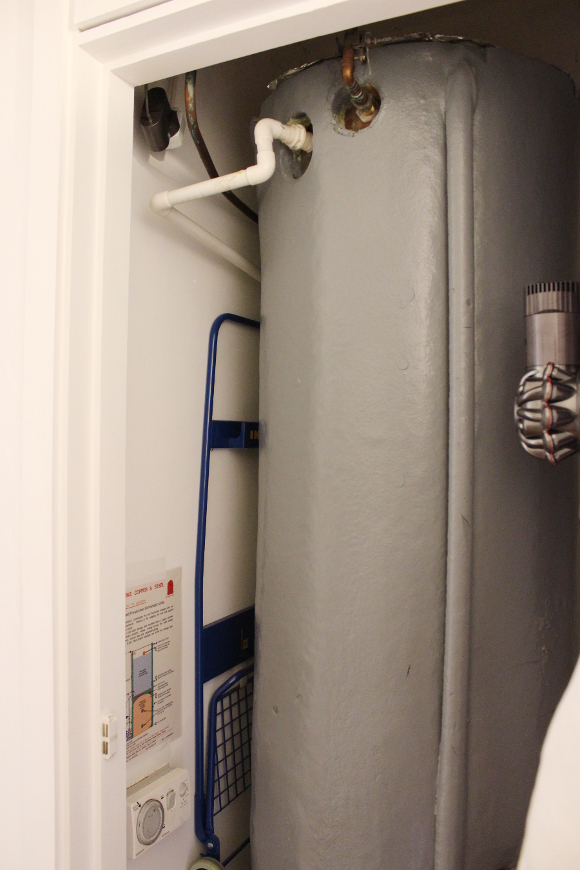
The original puke-green [actual technical Pantone shade] of the immersion foam alongside the yellowed door and trim really appealed to my eyeballs. I Googled it and Google said it was fine to paint this type of hardened insulation foam, so I grabbed a tub of leftover grey paint and added two coats. I also repainted the door and surrounding trim white, the door hook grey, inside the cupboard basic white and finally got around to hanging everything up properly. Our plastic and canvas bag storage was demoted to the immersion door along with a bag of Dyson attachments. 

I know this is barely pretty enough to be blogging about, but there’s something my sick mind finds therapeutic about making a neglected storage area pretty, functional and as much a part of our home as the rest of it. 

Picking paint for the nursery – Pantone FTW

A few months ago the lovely people at Fleetwood Paints offered for me to try their new Vogue and Pantone ranges. They didn’t have to ask me twice! I unfortunately couldn’t decide on a paint for a long time thanks to suffering from a serious case of indecisiveness my entire pregnancy [hence things being so quiet around here too]. After much thought I decided grey would be the best hue for the nursery. Grey not only goes with every colour, but when it comes to us eventually moving out, grey is neutral so I won’t have to repaint the nursery. I headed to our local Fleetwood stockist, MRCB Paints on Thomas Street, and got started. 

I took my time picking a grey. I have to say, the staff in MRCB were so helpful, especially re: my constant indecisiveness. It’s no wonder they won best Home and Design Shop for 2016! They deserve a patience award solely based on all my visits.

Our apartment is north-east facing so it gets very cold and unusual light throughout the day which I had a feeling wouldn’t make choosing a paint easy. I’d visit MRCB, pick a few tester paints, paint some patches throughout the nursery, let them dry, view the paint in the morning, afternoon, evening, good and bad weather and if I wasn’t 100%, I’d go back to MRCB, pick a few more testers and do it all over again. I think it took me 4 weeks to pick the right shade of grey, but I was fine with that as I didn’t want to rush into anything. Here’s one corner of samples to give you an idea of my thought process …

1. ORIGINAL WALL COLOUR – it doesn’t look half bad here, but the original wall colour was a weird washed out pink / brown / beige disaster. It complimented absolutely nothing about the room. So, no. 
2. PANTONE ‘NIMBUS CLOUD’ – I was so excited to get started I nearly bought a 2.5L tin of this paint. Luckily I didn’t as Nimbus Cloud turned out to look quite cold and blue in the nursery due to the light the room gets. It’s hard to tell from this picture, but trust me. Paint doesn’t act normally in this room. 
3. VOGUE ‘KENSINGTON DEEP’ – I wanted to see what a darker grey would look like, and for this room, a darker grey didn’t really work.
4. PANTONE ‘LUNAR ROCK’ – just one tone deeper than Nimbus Cloud, I was hoping this would be the right mix of warm and neutral grey. And luckily, it was perfect!
5. VOGUE ‘GOTHENBURG DEEP’ – we grabbed a tester of Gothenburg Deep along with Lunar Rock to see what a pinker hue would look like, but we both loved Lunar Rock once the final testers went up. 

Throughout the room I had at least 3 more test patches in different grey hues, but I didn’t want to bombard you with very slight differing increments of grey. So I’m not going to. The important thing is that we got there in the end. Pantone’s Lunar Rock = perfect. 

That weekend I put two coats of Lunar Rock on one wall in the nursery. As I was finishing, my parents called and offered to paint the rest of the room / save me and my hips [yay PGP :/], so thank you Mom and Dad DIYer for painting the rest of the room!

I’m beyond delighted with how Pantone’s Lunar Rock turned out. It’s such a warm hue without leaning too heavily towards a specific colour. It goes so well with our second hand walnut crib [more details on the rest of the room soon!], compliments the flooring and wooden wardrobes, and works beautifully alongside burgundy, pink, green – basically every other colour I’ve added to the room. A huge thank you again to Fleetwood for offering for me to try your new collection and to MRCB for all your help and copious patience. 
Since painting the nursery last weekend things have been moving quickly and I’m so excited the more it comes together. After all, T minus 3 weeks until bebe arrives! 
DISCLOSURE – while this blog post is not sponsored, I did receive this paint free of charge from Fleetwood via MRCB. I only work with brands and companies that I like and of course, think you will too. Thank you for supporting the companies that support The Interior DIYer. 

Make It Yours – Meet the Bloggers

First up, a behemoth thank you for all your sweet comments and messages on our little announcement last Friday. All the feelings were and are happening all up in here (on top of a healthy dose of hormones = mini sob-fest! :P) xx 

This month I’m featured in an exciting mini magazine by Rust-Oleum included with the May edition of Your Home magazine; their Make It Yours mag all about fixer uppers and the people behind them. Yours truly is featured in the Meet the Bloggers section along with details on our basic secondhand bedside tables which I gave a faux marble makeover late last year.

It’s been 5 months since I updated our bedside tables and they’re looking as good as the day I painted them. I’ve repainted a number of pieces of furniture in our apartment to date using a variety of brands, and honestly our bedside tables have held up the best. Better than that actually as they’re still in perfect condition despite our level of wear and tear. I don’t feel obliged to say this because of the nature of this blog post; this is my honest opinion. I genuinely wouldn’t say it otherwise. I find their furniture paint exceptional and as I still have a bit of paint left over, I’ll be updating another piece soon.


You can find the Make It Yours mini mag along with the Your Home magazine on shelves in Ireland and the UK [and possibly elsewhere?] from now! And thank you again Rust-Oleum for featuring me 🙂