I am super excited to share that I will be partaking in this spring’s One Room Challenge as a guest participant! Pretty much since buying our first home last autumn I’ve been weighing up which room I would makeover first, and this time as a fully-fledged ORC participant [vs. when I participated in spring 2018 as a renter].

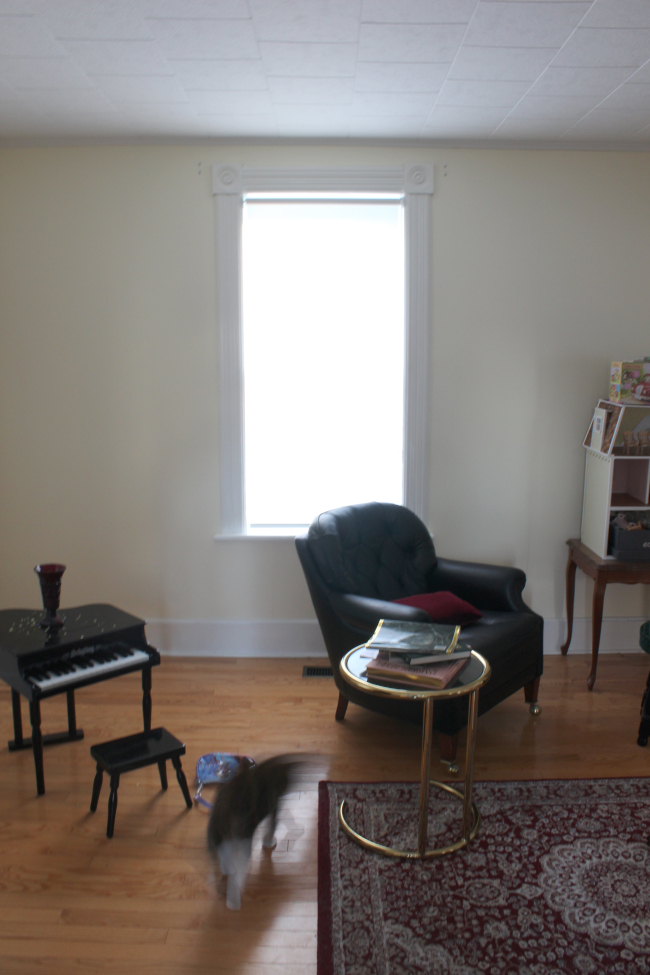
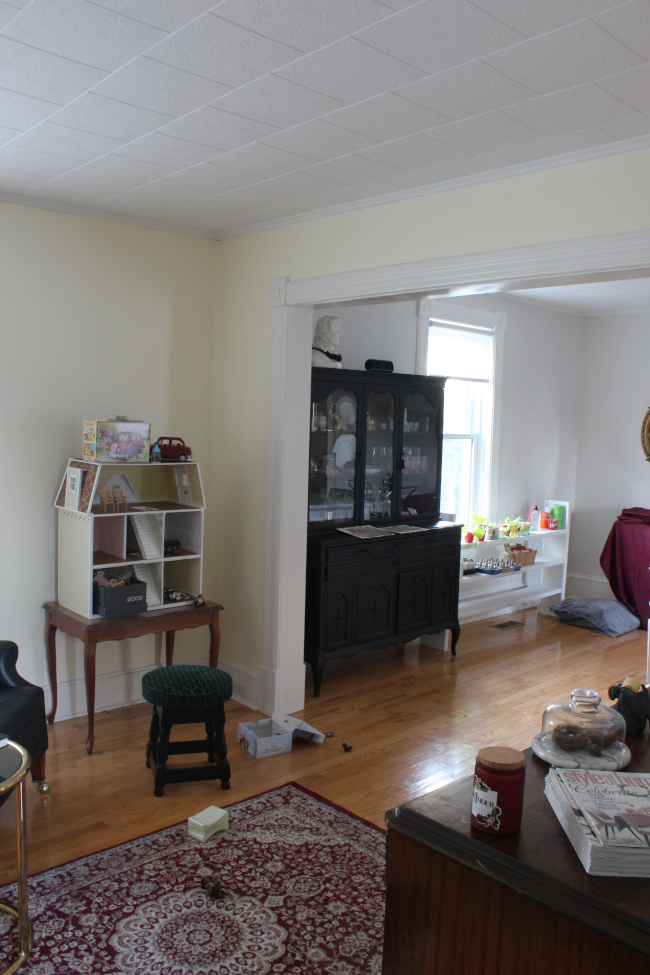
I decided to update the room we’ve called up until now the front room. We call it that because it’s at the front of the house and it’s a room. A room that serves zero purpose other than to be Random Furniture Limbo™ and somewhere to put Cora’s dollhouse. It’s basically is where furniture goes to die, but I want it to be so much more. I want it to be a room we want to spend time in.
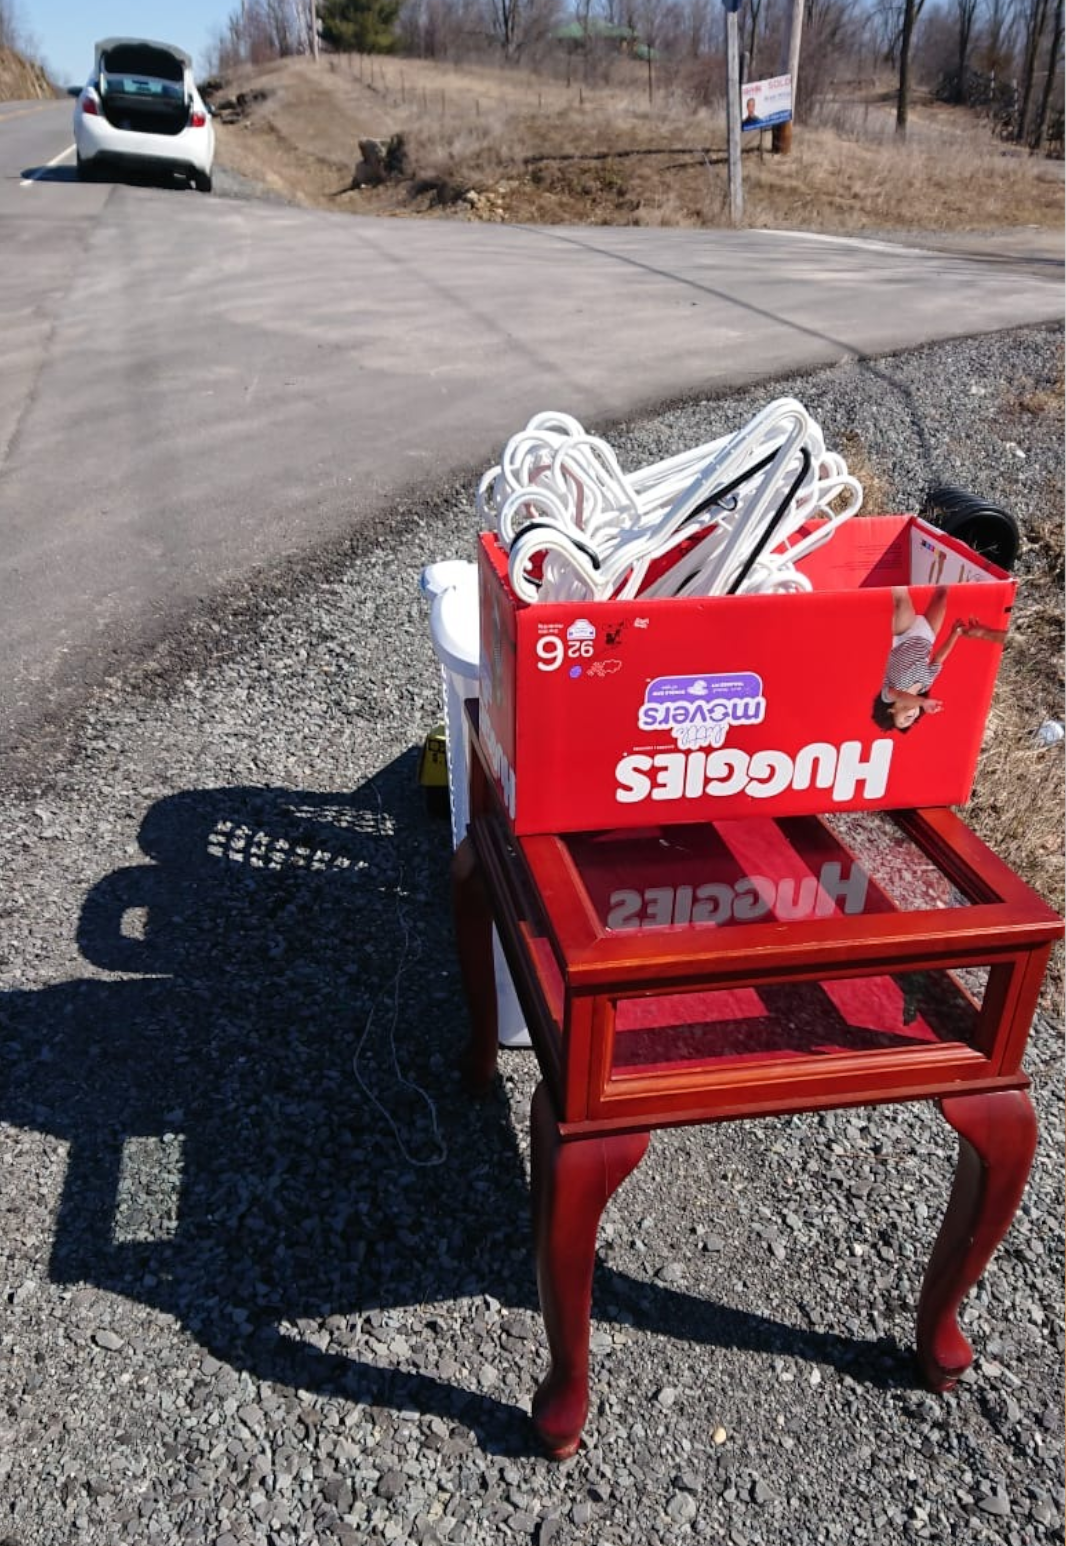
Before I detail my plans, I want to acknowledge that I am taking this project very seriously during the current COVID-19 pandemic. I will not be hiring anyone to come into the house to do work. I will be doing all the work [with help from Robert when I need a second pair of hands]. Anything that comes into the house will get the same treatment everything gets these days; it’ll be Lysolled within an inch of its life. Anyone who follows knows I prefer to source items secondhand. I will continue to do so as it’s very budget-friendly and I strongly believe it is more environmentally responsible than ordering brand new everything. Anything secondhand coming into our house will be Lysolled and where needed will sit for 2 – 3 weeks in our shed to be on the safe side and to kill off any unnecessary visitors. Because of the pandemic, we have 8 weeks to complete this ORC project vs. the usual 6. I am not going into this project being flippant. Trust me, I’ve thought of all the scenarios and have the stress-induced acne to prove it.
Now that that’s out of the way, onto my ORC!
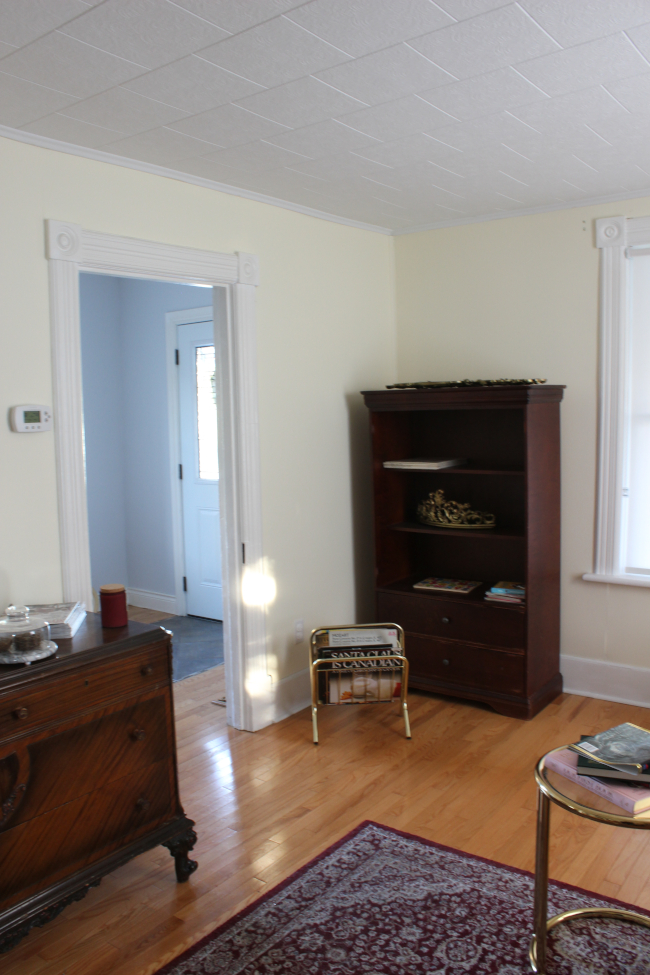
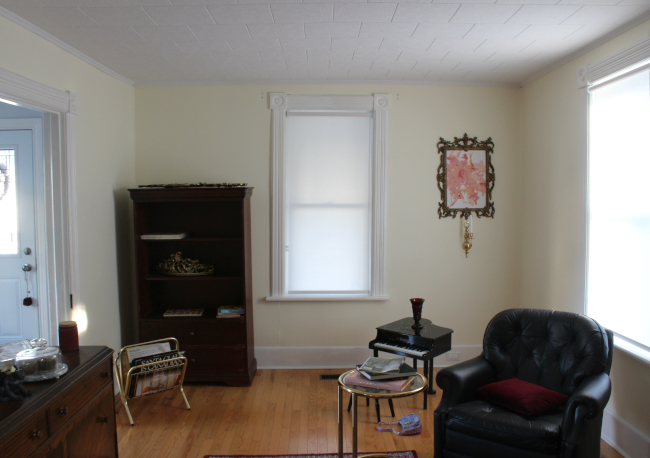
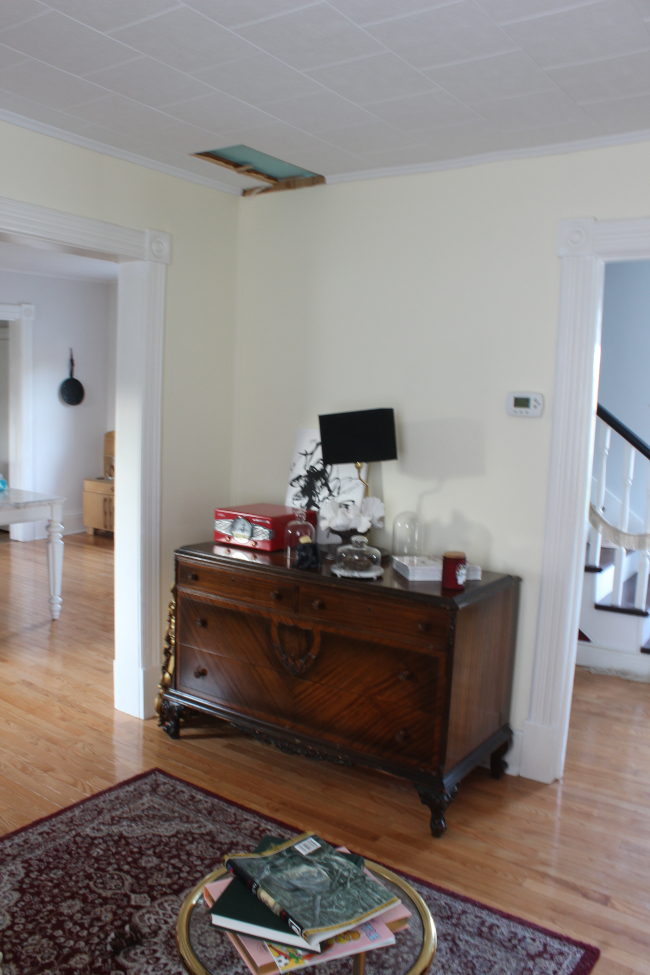
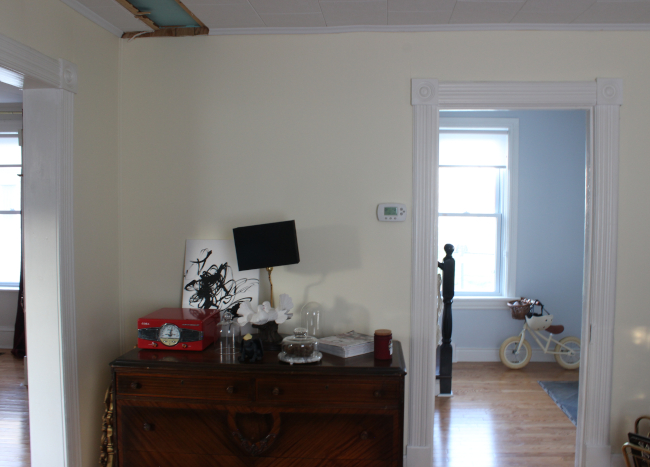
Our front room is okay at the moment. I mean, it’s livable. But I have big plans. The main items I want to achieve are:
CEILING AND WALLS
Both and all will be ripped out. The 50’s / 60’s style ceiling tiles will be removed, the faux wood grain panelling will be ripped out [the entire room has that 80’s wood paneled walls, but it’s been sneakily painted since so you can’t tell it’s there], and then on the exterior walls I will be insulating, drywalling, plastering, then adding the good-kind of wood paneling treatment on the walls and finally painting them all a dark, warm gray. It’s a tall task but it’s also a small room so I’ll take my time.
I’ll be partnering with the incredible team at Bin There Dump That, who very thoughtful offered to send a 14-yard dumpster to help with our renovation. It will be arriving tomorrow and I cannot wait to throw every single ceiling tile into it with a smile on my face. I’ll detail the whole process next week!
SHELVING
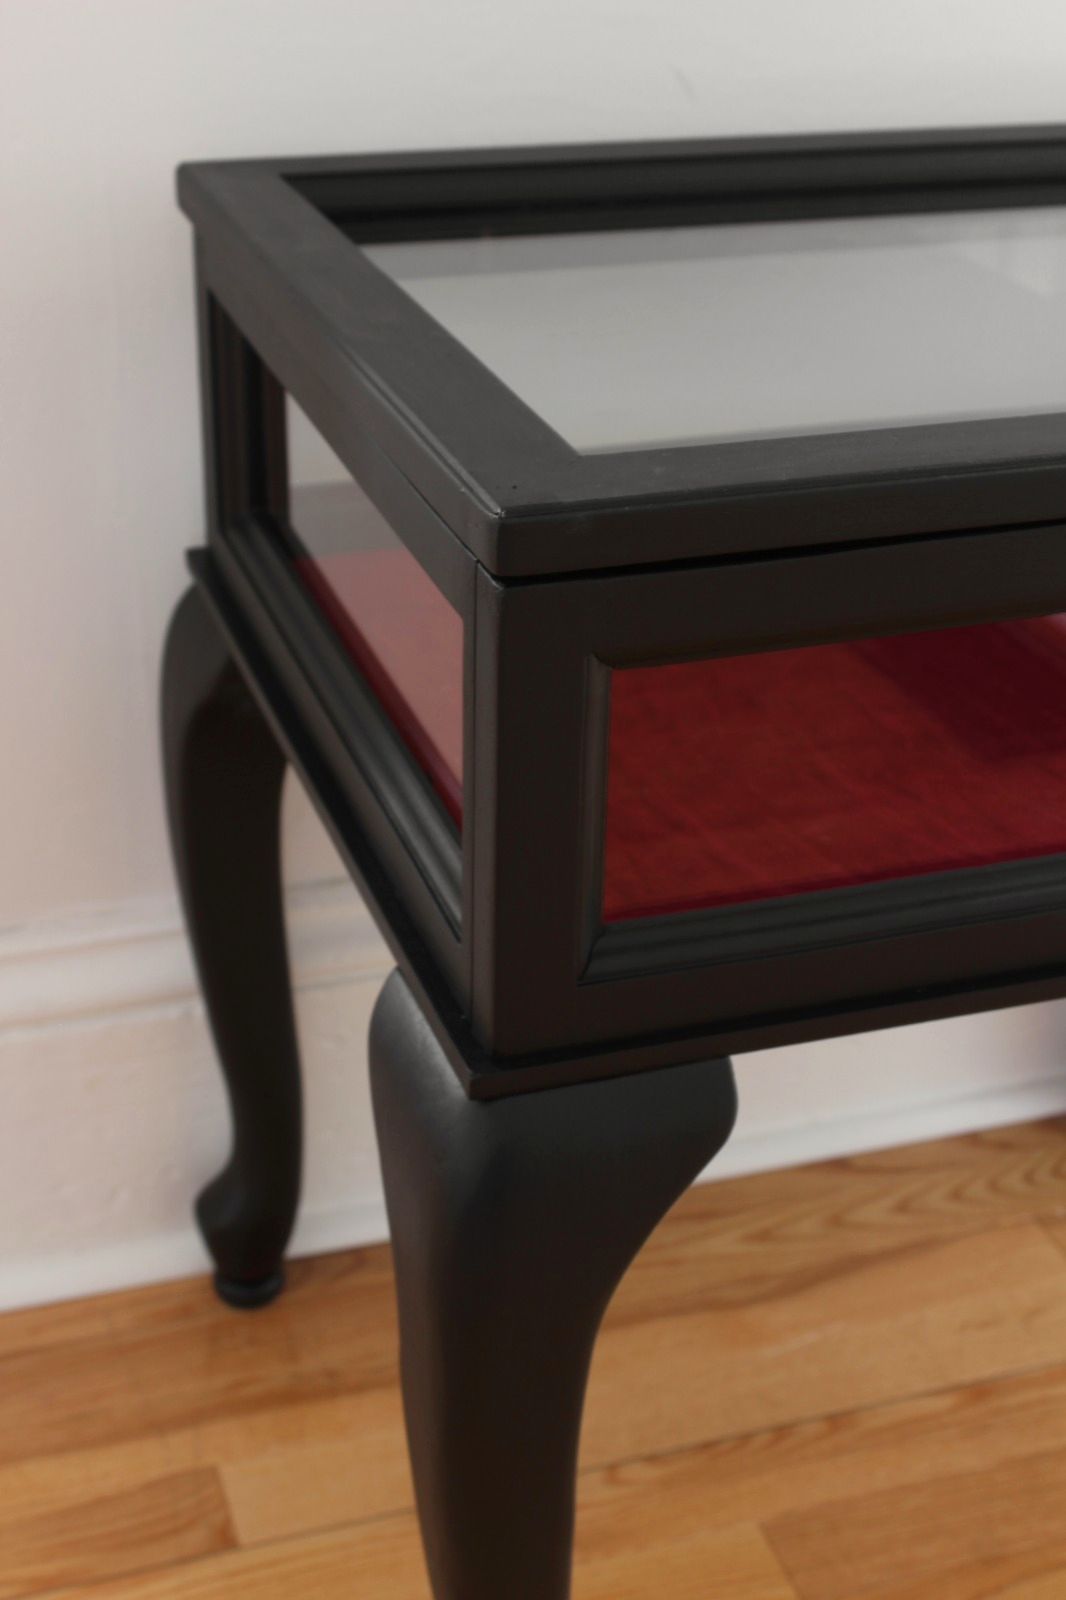
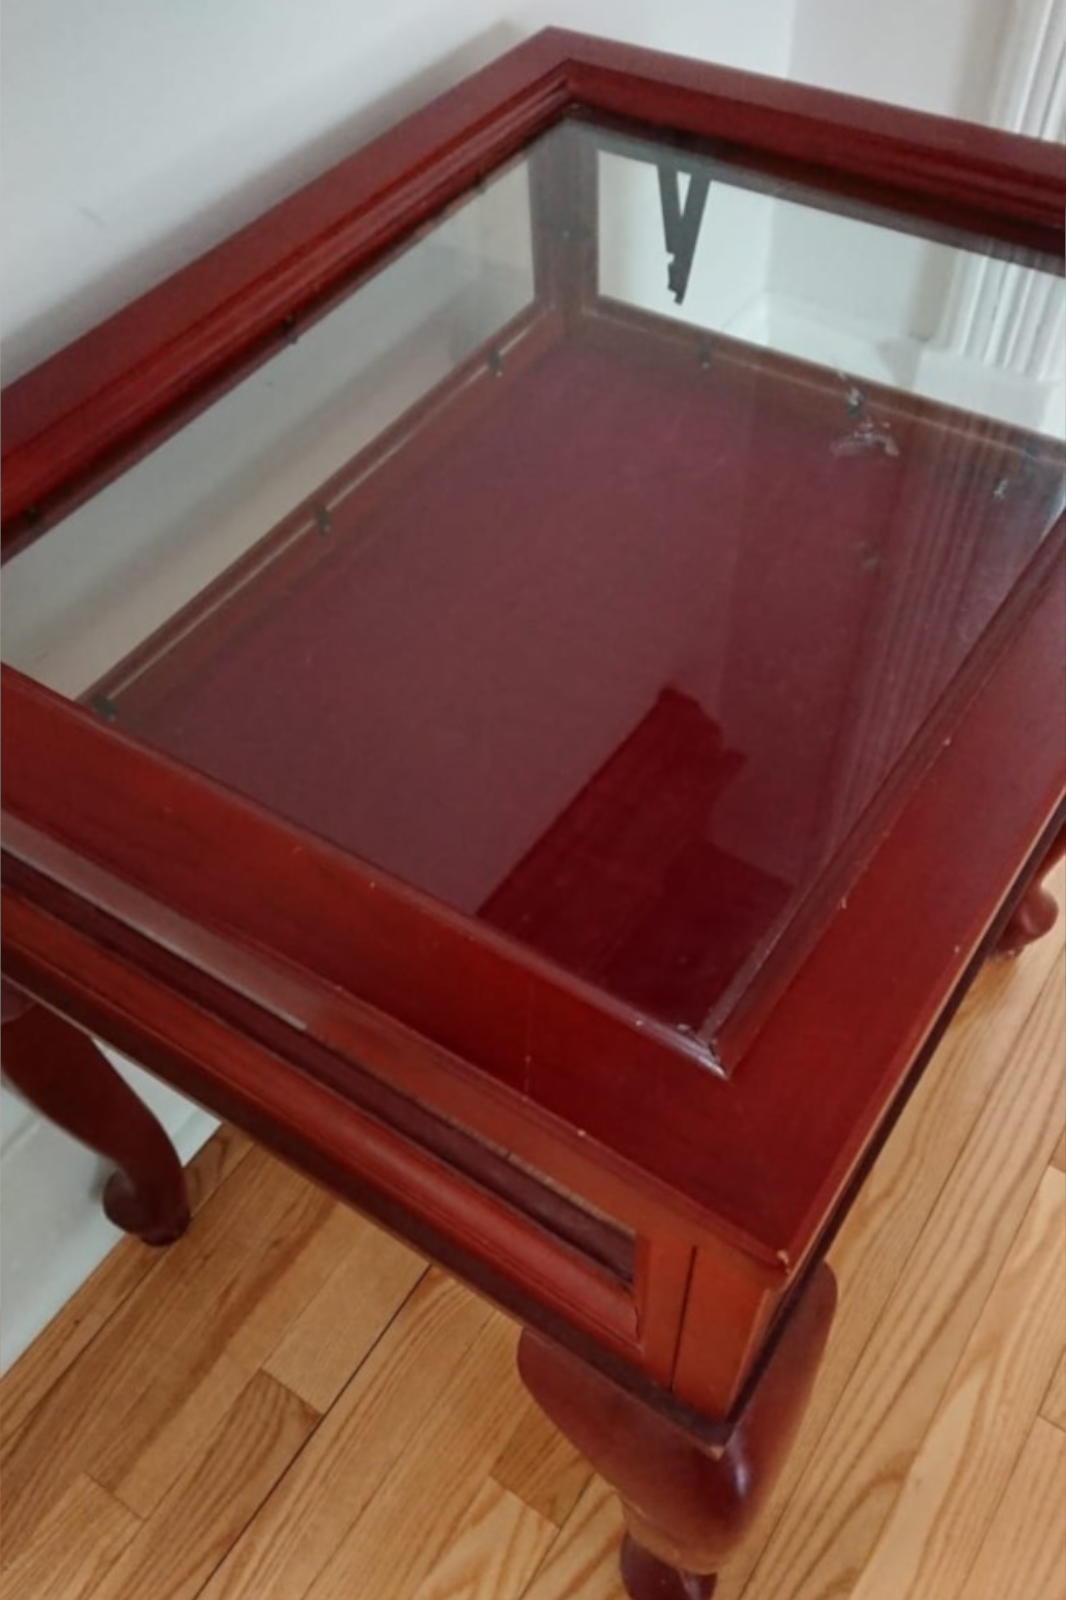
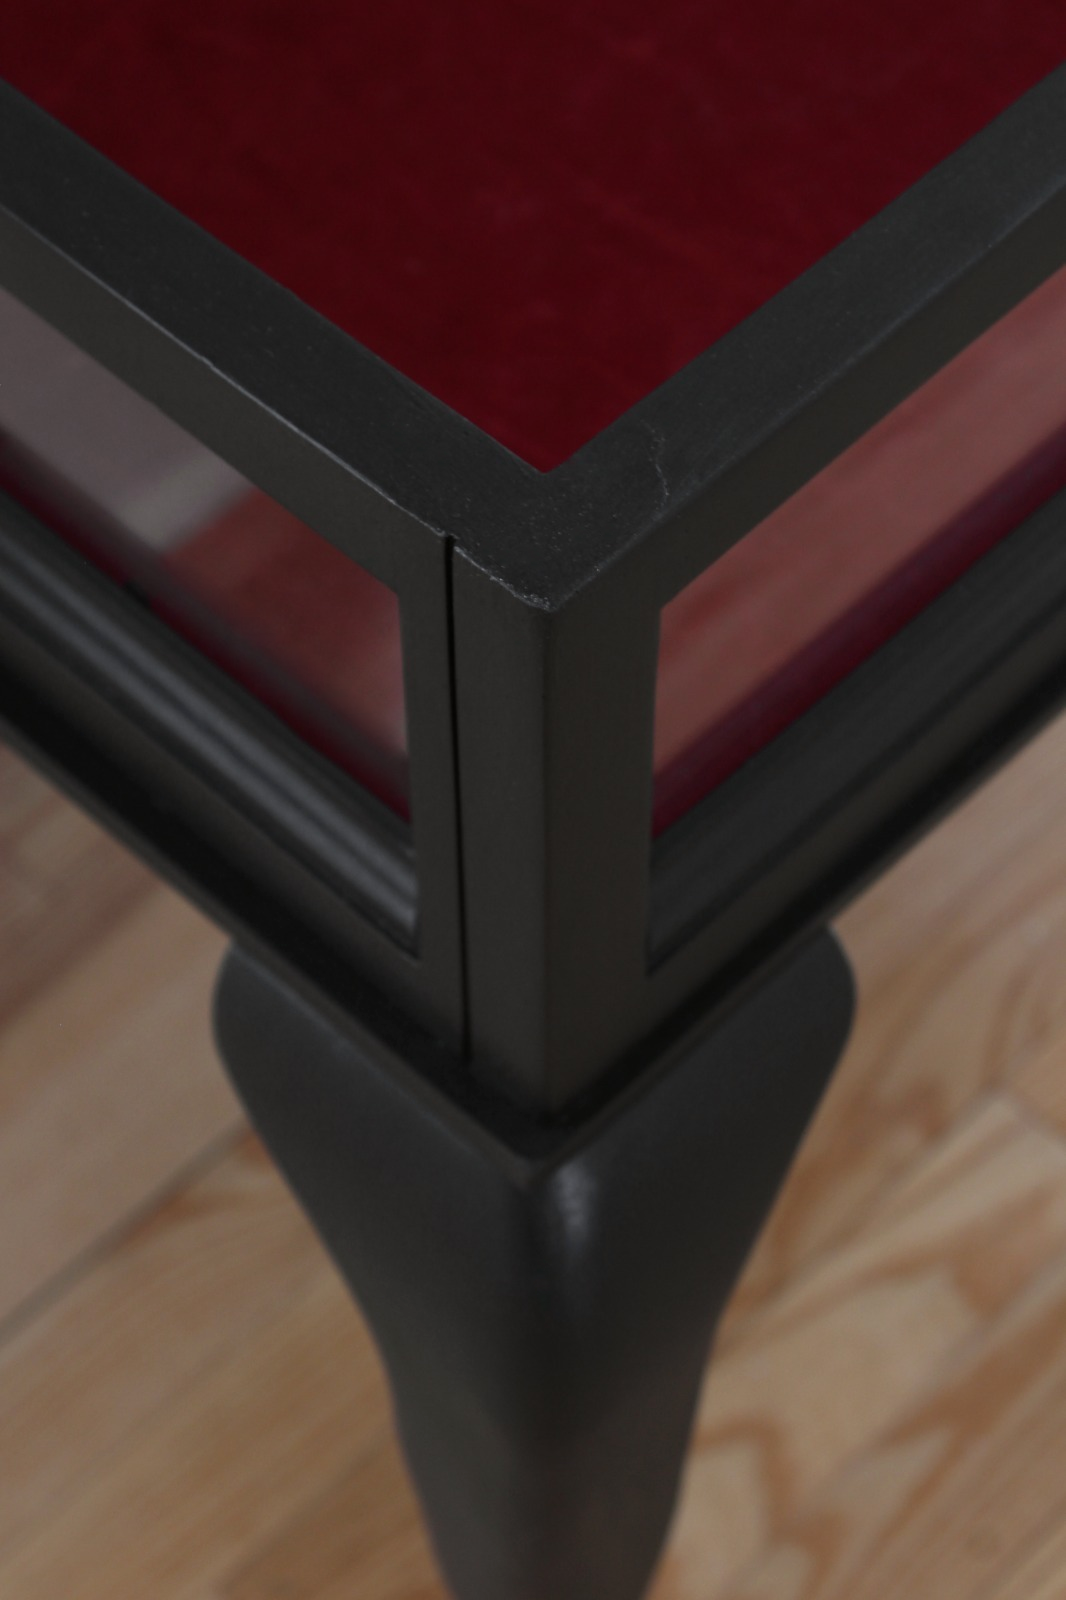
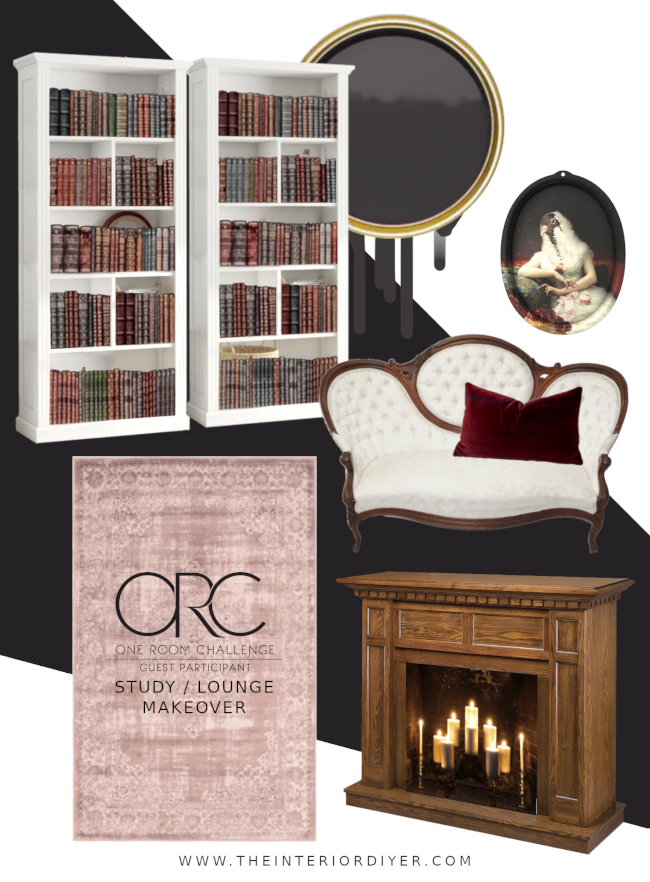
At the far end of the room [as seen wall above] using secondhand shelving units on either side of the window, I’m hoping to create a built-in-shelf-feel as well as make a window seat under the window. I’m planning on painting the shelves white, but I’ll flexible with maybe painting them the same colour as the walls [but am not sure if that might be overwhelming]. Again, I will be using as much secondhand as I can and using up the plethora of leftover wood scraps we inherited when we bought the house. Waste-not.
FIREPLACE
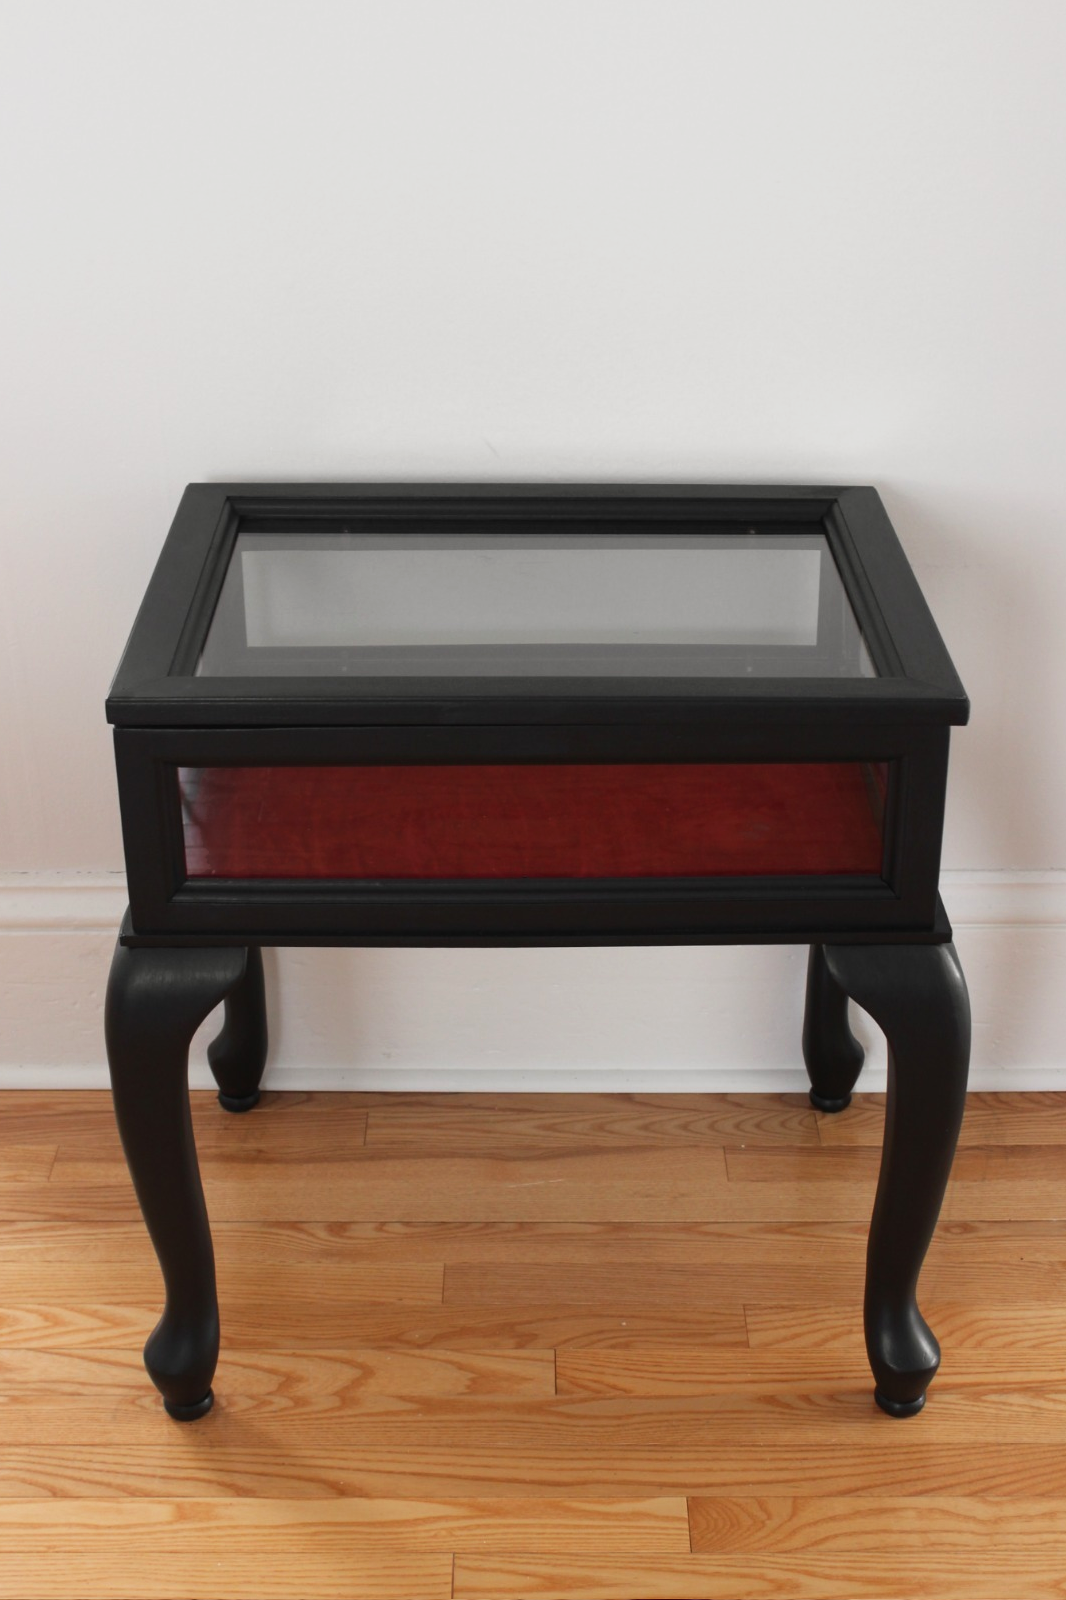
I so desperately want a fireplace somewhere in the original section of our home, but without having to spend $10,000 to install it. So, I’ve sourced a fireplace mantle secondhand for next to nothing which I’m hoping to place where Cora’s dollhouse currently sits [as seen above]. The fireplace is currently oak and I’m debating whether or not to paint it or leave it as is. I have 8 weeks to decide so I’ll take my time.
There will be some items I want to buy new, one being a focal rug. It’s not something I want to source secondhand right now and I’d prefer to buy a new one. If anyone can suggest a great Canadian company that specializes in over-dyed or faux vintage rugs, please let me know! I have a backup rug but would rather support something more local.
Check out the full list of Guest Participants here! I’ve had a quick look at this year’s projects and they are amazing. I’m equal parts looking forward to starting and also WTF am I about to take on and I don’t even know it yet. I guess time will tell!
Week One – Week Two – Week Three – Week Four – Week Five
Week Six – Week Seven – Week Eight