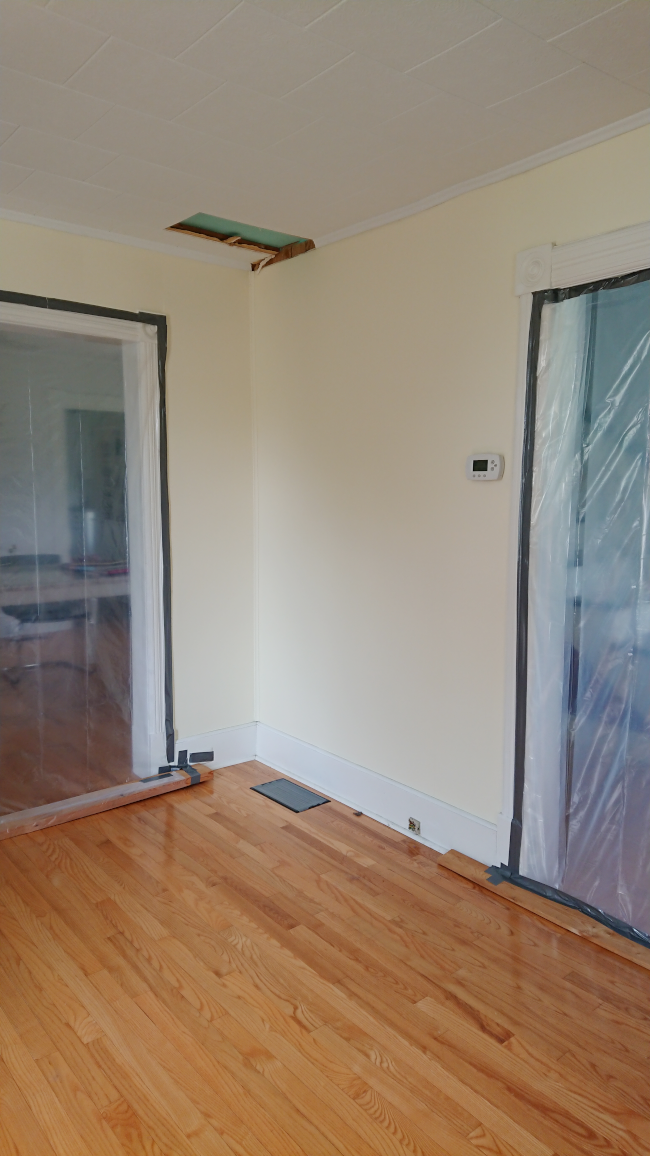
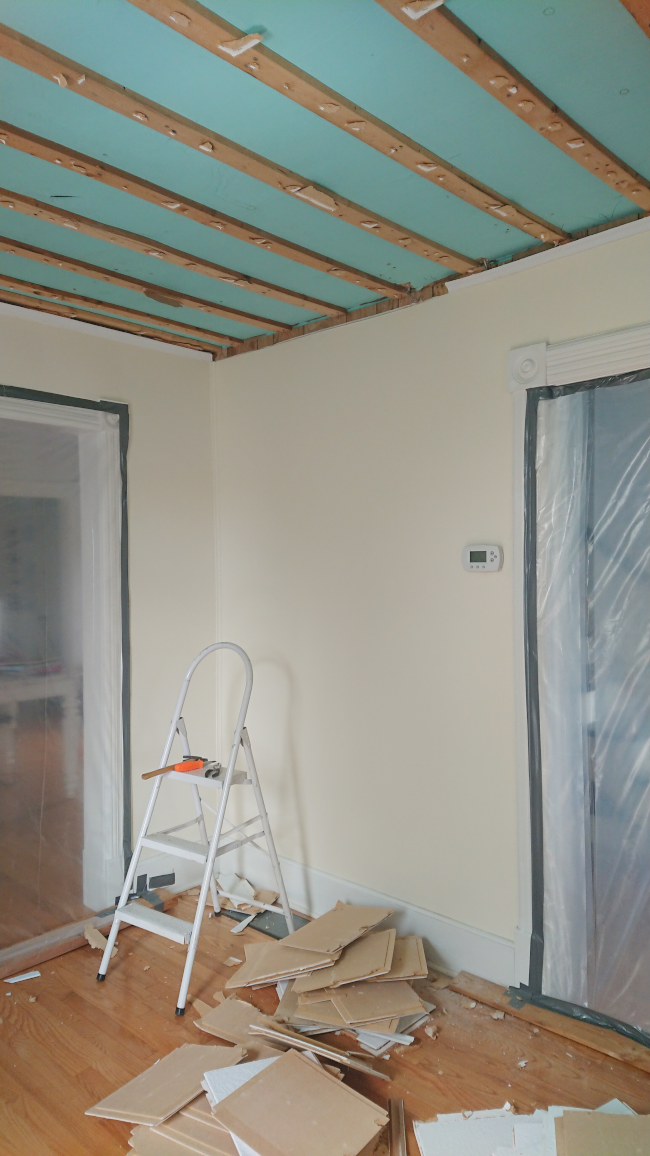
My first week in the One Room Challenge has actually gone really well considering all that I’ve uncovered has pointed out more things that need to be fixed [something I was prepared for], but I am still so excited to transform this space.

You can blame my lack of experience, but I’m looking forward to correcting the wrongs that were made over the more recent 50 years to this house’s history and making the front room in our house a real part of our home and somewhere to enjoy. Not somewhere where furniture goes to die.

I first wanted to get our ceiling tiles tested for asbestos as I was conscious that some older ceiling tiles can have it. This was the main deciding factor in moving ahead with our ORC; if the test came back positive and we couldn’t rip out the tiles ourselves, then we wouldn’t be tackling this room until a professional could do it. I called a few places and thanks to speaking with a few knowledgeable people, I found out if you bring a tile sample in yourself [$90] vs. getting a professional to call out to your house and take the sample [$650 – no exaggeration], you can save yourself a boat load of money.
Up the ladder I went, ripped out one tile, delivered it for testing and one week later we go the results we were hoping for! The next day I contacted Bin There Dump That, who so generously offered to partner on our ORC and provided a 20-yard dumpster, I then ordered the dumpster from them and two days later it arrived and I got started on demolishing our front room.


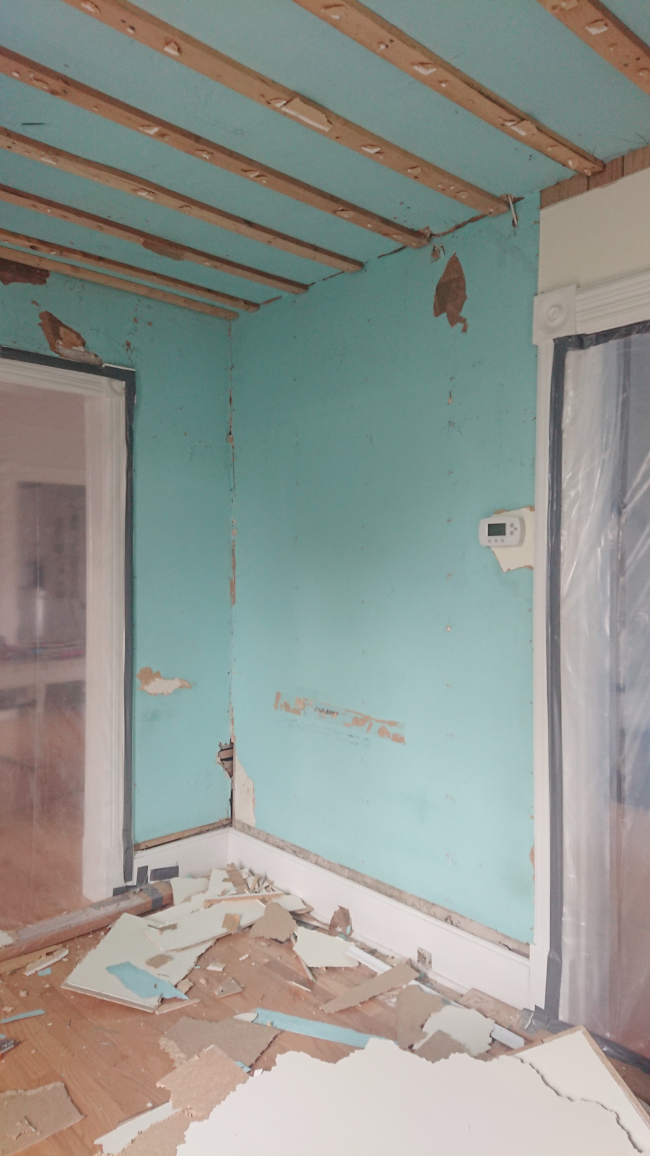
Down came the ceiling tiles followed by the 80’s faux wood paneling [this kind of stuff, not this stuff]. Both were hiding a plethora of sins. The original 100-year-old plaster on the ceiling and the walls were in terrible condition. They may not have been this bad when they were originally covered, but this is the reason they both were both covered. A case of if I can’t see it, it’s not happening series of design choices.
This is where I got nervous. My dilemma was; the original walls and ceilings are in terrible condition. I want to conserve them, but I can’t. Is it okay for me to rip them out, or is that an even bigger crime against historical architecture? I video called Dad DIYer, who confirmed that the best [and really only] way to move forward is to rip everything out. I was prepared for this and wasn’t disheartened by it, I just wanted to make sure I was making the right decision.
As usual, you can see all the Guest Participants progress here! Check back here next week when I introduce our crowbar to our 100-year-old plaster …
Week One – Week Two – Week Three – Week Four – Week Five
Week Six – Week Seven – Week Eight
DISCLOSURE - while this post is not sponsored, I did receive the service of a dumpster rental during my One Room Challenge free of charge from Bin There Dump That in exchange for a blog post. I only work with brands that I like and of course, think you will too. Thank you for supporting the companies that support The Interior DIYer.

Hi!! I love that you’re tearing away the sins of the last 50 years to this room! I have 100+ year old horse hair plaster walls and they’re actually REALLY easy to patch, which is awesome as plaster is far superior to drywall! 😉 If you google “Old Town Home”, Alex has TONS of posts for plaster – he’s the historic plaster king, hehe. Or look up Emily on “thebrickandmaple” on Instagram. She was recently debating the exact same thing and found how easy it is to do. It’s not much of a learning curve for what I’m seeing the condition of your plaster to be. 🙂 Hope that helps save you a ton of money and work! Good luck! ^_^
Author
Going into this project I was hoping to be able to preserve the original lath and plaster, but once I removed the ceiling tiles and the wood paneling, the horrific condition of both the lath and plaster made it clear that preserving was not possible. Whoever put up the tiles and paneling did a lot of practice hammering and nailing straight through the plaster and lath, destroying both in places [I’ll have to share photos in my next update to show the full horror of what we have as the above pictures pale in comparison]. There’s also almost no insulation on the exterior walls and as our climate here ranges from -40°C to +40°C, it desperately needs to be sorted. The plaster is quite dangerous and I’m surprised it has stayed on the walls this long.
I so badly wanted to preserve what’s there, but when everything is sagging and crunching, it’s time to rip it out.