
Today I’m sharing my second installment of “embarrassing repairs I’ve made, but I’m sure I’m not the only one with this problem so I’ll share how I fixed it“. The first installment being how to repair a flatwoven rug.
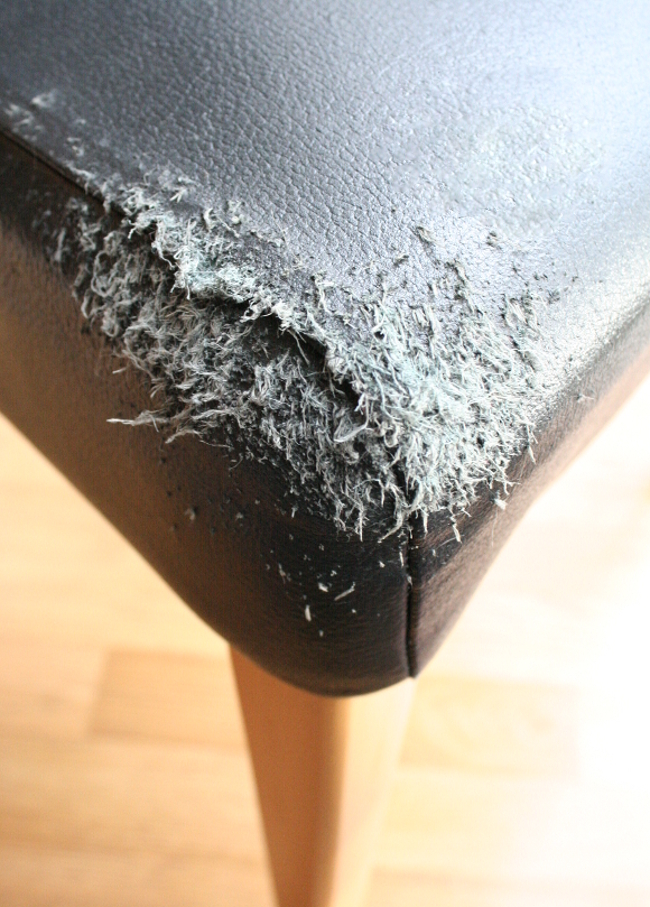
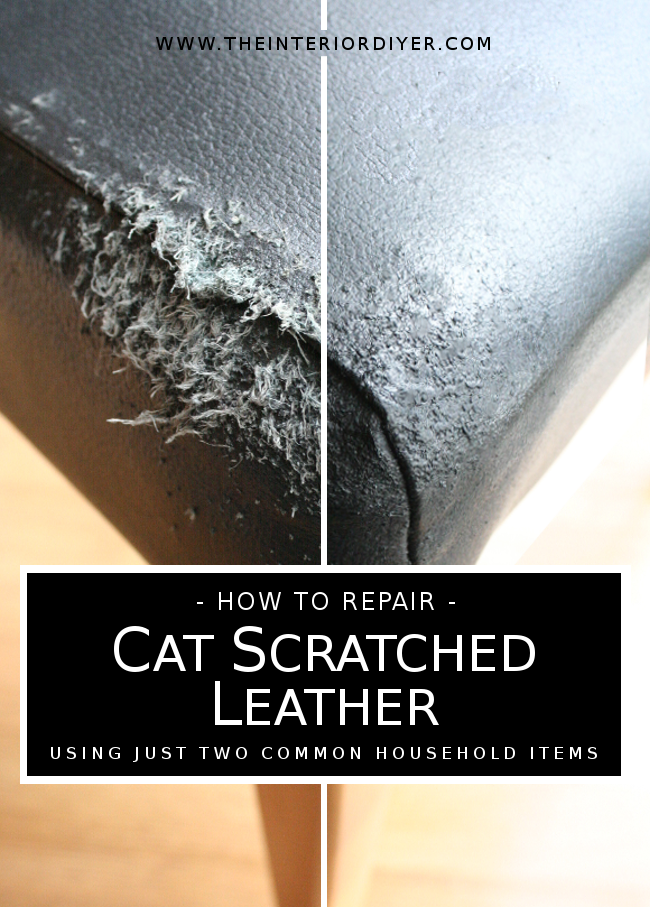
As any cat owner will know, cats have a natural urge to sharpen their nails. I would like to take this opportunity to say our apartment is not tore up from the floor up. It is not shredded and covered in cat scratches. I have zero tolerance for those things. It’s a case that Juniper chose to pick one of our dining room chairs [seen as the farthest right chair in this post] in a place that we don’t see. This is the worst damage they’ve done to date as I’m usually pretty on the ball. I’ve gotten Juniper something else to scratch since, so let’s not get too mad at her. She is after all, adoraballs and just doing something natural.
But should you also have a furry friend than enjoys using leather furniture for target practice, do not fret. You are among friends. There is a way.
What you’ll need
– curved manicure / fine scissors or nail clippers
– leather shoe polish to match

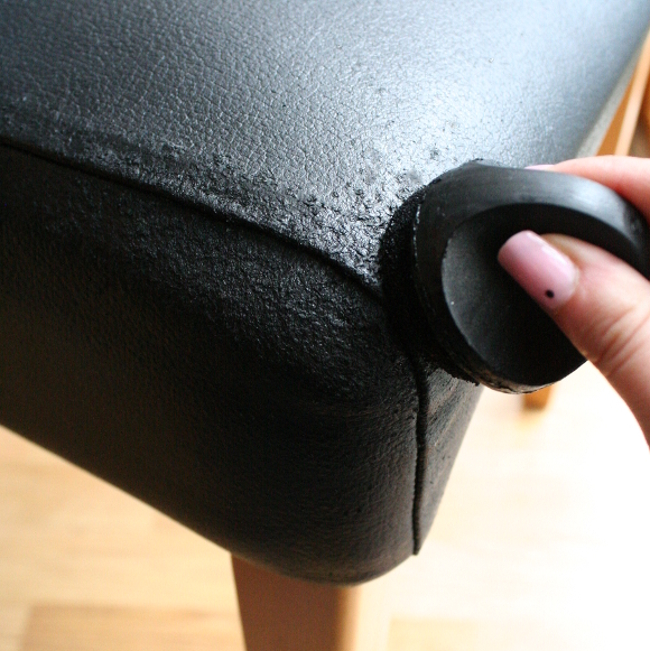
Step 1 – using a fine or curved pair of manicure scissors, trim the stringy scratches off the leather. Trim them as close to the leather as you can, without cutting the leather itself. This is where I find manicure scissors and / or nail clippers very good. Take your time. The more detailed you are, the better it will turn out.
You’ll end up with something like this …

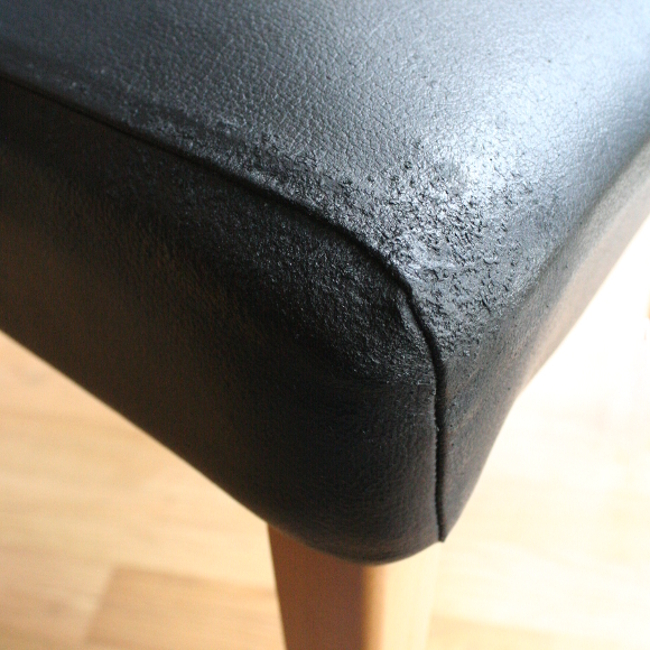
Step 2 – once you’re happy with your trimming and you’ve cut the loose scratches as close to the leather as possible, it’s time to add the shoe polish. As the scratches are a much lighter colour than the leather, make sure to mush the polish into every part of the scratches. I did this in a circular motion. I didn’t have to do many layers and the shoe polish quickly covered the damage. Allow to dry for a couple of hours before use*.
No, it’s not a perfect finish. No, I’m not a furniture restoration expert, but I have repaired a couch or two in this way over the years and it’s worked a treat. I repaired the chair to the point that it is unrecognizably scratched, unless you point it out.
I do however know that the only way to prevent this from happening again is to make sure your cat has cat-friendly items to scratch and to keep an eye on what areas of your home they are choosing to scratch in. Our girls have their recycled cat scratching post and Toshi occasionally has a good go at our basket, which I’m okay with for the moment. I also trim both our cats nails every two weeks to make sure they don’t do too much damage.
*ADDITIONAL NOTES:
– the shoe polish I use doesn’t rub off once dry [I used the W5 series shoe polish available in Lidl]. I didn’t buff it, but just let it dry. Please be aware that some polishes may rub off, so follow the instructions on your polish accordingly.
*ADDITIONAL NOTES:
– the shoe polish I use doesn’t rub off once dry [I used the W5 series shoe polish available in Lidl]. I didn’t buff it, but just let it dry. Please be aware that some polishes may rub off, so follow the instructions on your polish accordingly.
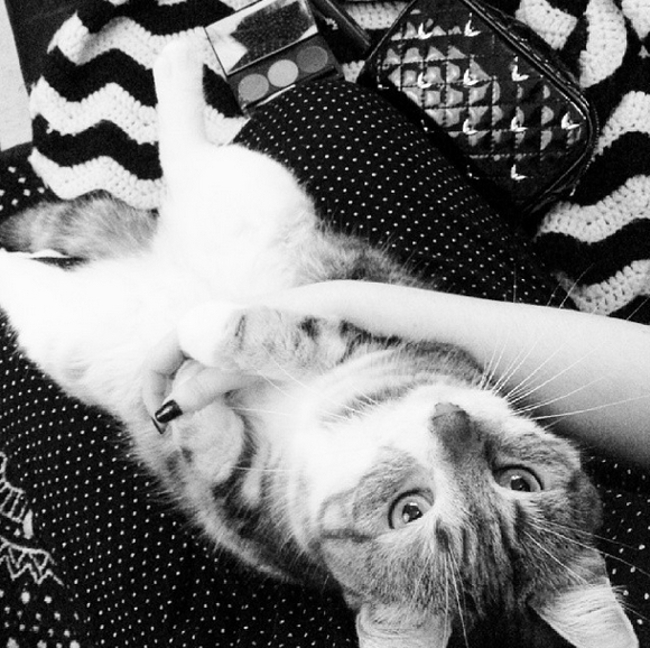
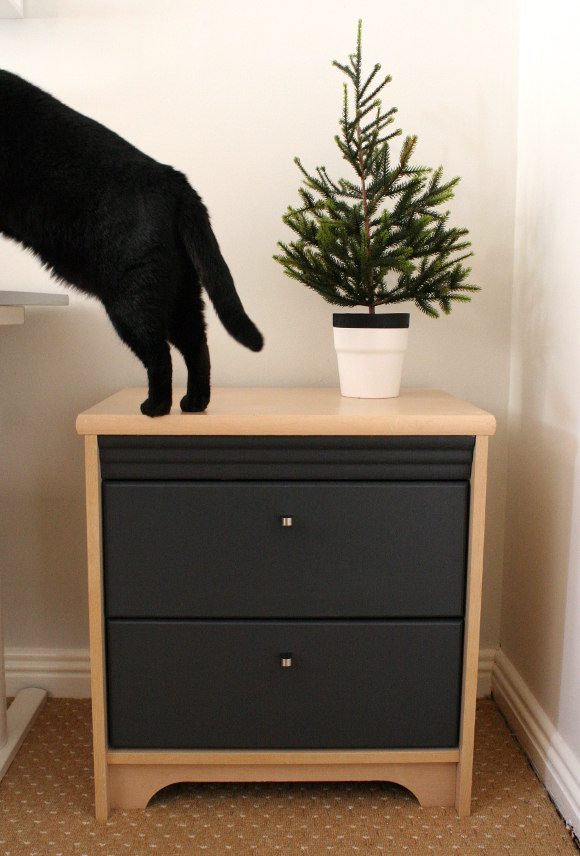
To conclude this post and to hopefully cancel any ill thoughts you may have towards her, here’s Juniper doing what she does best – exposing her fluffy belly and softer-than-clouds paws. I dare you to get mad at that face.
Master bedroom makeover update – Part I
Since blogging the plans for our bedroom last November, I’ve done nothing. Not a thing with our room. Then out of nowhere since Friday, I’ve crossed about 10 things off my to-do list. Am I the only one who works like that? Nothing for ages and then I get loads of it done in one go. What is that? Binge DIYing?

There have been a couple of changes to the design for our room since November, but I’ll share those once it’s finished. One of the more unusual factors I had to take into account for our room is the light. I don’t mean the light fixture, but the natural light we get in our bedroom is a very cold hue and not particularly inviting. I’ve learned this over the years when it came to introducing colours into our room. Anything in the purple-blue-green range made the room even colder. But, luckily for me, whenever I introduced my favourite burgundy hue, all is magically warm and cosy again.
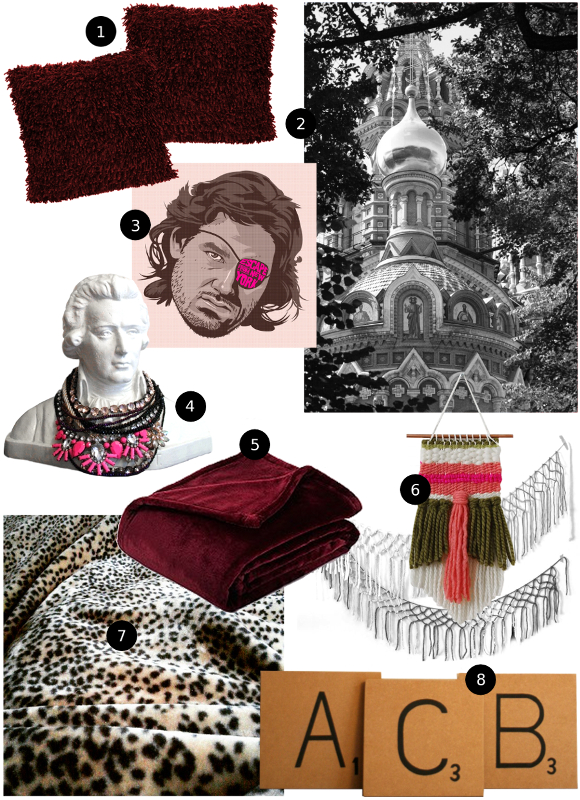
Berry hues, warm woods and little hints of gold. Here’s a splash of what I have planned –
1. Textured cushions from Dunnes Stores. These are standard cushions from Dunnes that they’ve had in stock for years, but I adore them. I have one already so I just need to pick up another. Or four.
2. I have a sneaky project involving one of my favourite pictures I took in St. Petersburg last summer. Stay tuned.
3. I ordered this Escape from New York print by Mike Wrobel and it’ll be perfect in our room. Snake Plissken FTW.
4. Good old Mozart jewelry bust will be in the spotlight.
5. The dark red plush throw from Marks & Spencer husband got me for Christmas is the perfect colour.
6. I haven’t crocheted in years and my yarn is guilting me. I spotted a couple yarn projects by A Beautiful Mess (this and this) and I have every intention of making a few to make our room feel cosier.
7. This snow leopard throw by Wayfair. We’ve had it for a couple of months so far and it’s SO LUSH.
8. Our Scrabble monogram will be reintroduced to our room and maybe even hung up.
There are projects I’d also like to DIY on the cheap for our room. Such as finding and updating a pair of secondhand bedside tables, making our own cardboard monogram and a good few yarn hangings as detailed above.
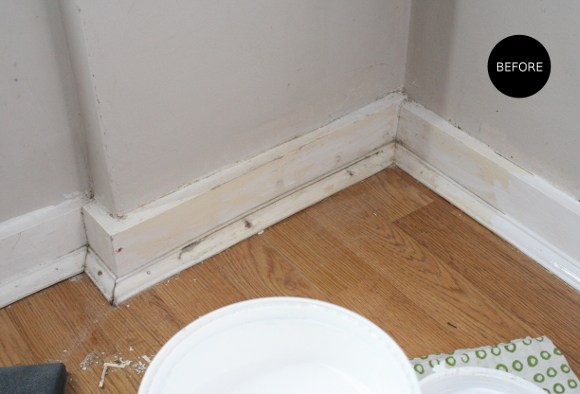
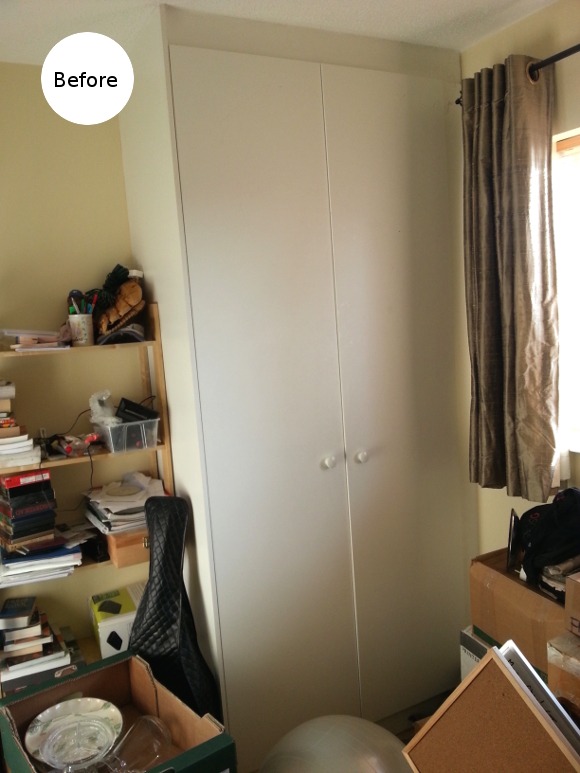
So far, in my recent burst of readying our room, I disassembled the shelves in the corner of our room [which you can see here], swapped our bed frame with the frame in our spare bedroom [by myself. Word to the wise – don’t try that by yourself], and I also repainted the yellowed-old-as-hell skirting boards and bedroom door. It was seriously bad …
Like, embarrassingly so. There’s still a stubborn rusty nail peeking through, but it’s miles better already. I was thinking of Photoshopping it out but thought, no. This is real life and life is a little rusty nail, refusing to absorb the white paint.
Our landlord is visiting this afternoon, which is one of the pushes I needed to get the bones of the work done in our room. I’ve scrubbed every inch of our apartment this week, including vitally important places like behind our TV, under our bed and our fridge. Because you know, our landlord is going to be inspecting those places. I’m a worrier and when I worry, I overcompensate.
Wish me luck xx
Canadian man cave – coordinating mismatched furniture
While it isn’t a groundbreaking blog post, today I thought I’d share a cheap and cheerful design tip that I’ve put into action on a couple of my projects to date.
It’s a simple tip that I used again while redesigning my brother’s Canadian man cave; there was some mismatched pieces of furniture in the room so we removed all the existing handles and replaced them with coordinated pieces to make the room feel less mismatched and more sharp.
A small detail I know, but to me, those are the sellers. The devil is in the details. It cost us under a tenner for the whole room and it made the room feel more considered and designed as a whole.
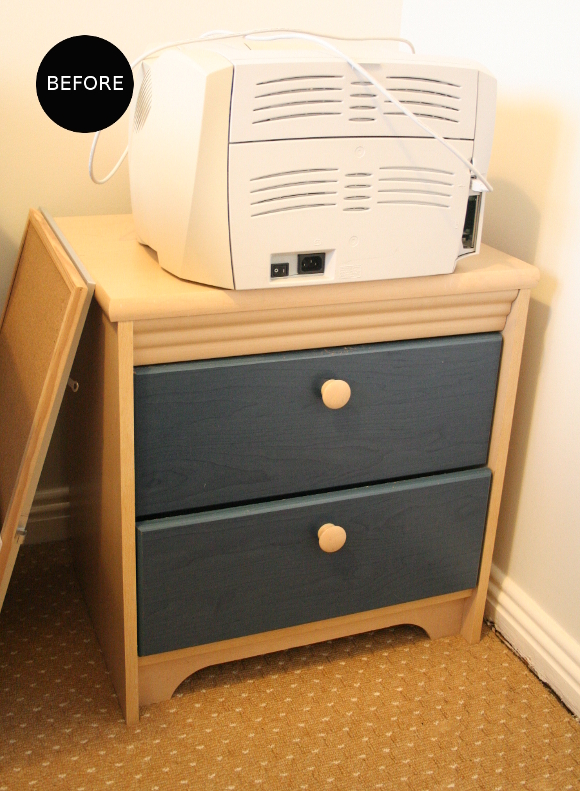
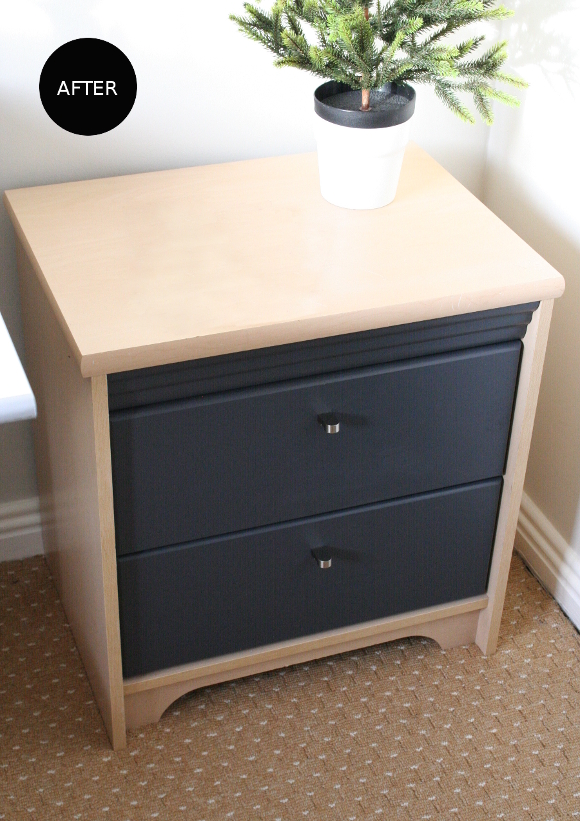
The main piece of furniture I changed was the hardware on the desk drawers. Originally, my brother and I each had one of these drawers in our bedroom as our bedside lockers growing up. In my parent’s new place, there isn’t room for both lockers in my brothers bedroom so one is being used as much needed desk storage.
To make the drawers feel a bit more mature, we repainted the drawers plus the wavy detail above the top drawer in an effort to make it seem sleeker. I repainted the drawers with Dulux‘s Exterior SatinWood paint in ‘iron clad’ that was leftover from our bedside table and stools. When the drawers were dry, we then replaced the handles with some sleek ORRNAS knobs from IKEA. Queue gentleman’s desk companion extraordinaire …
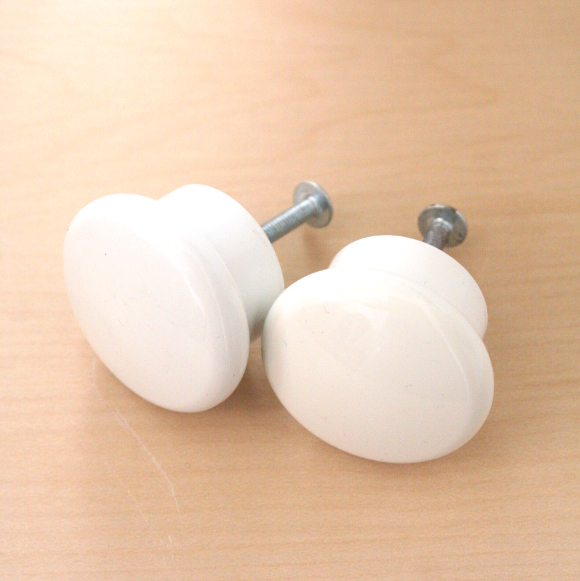
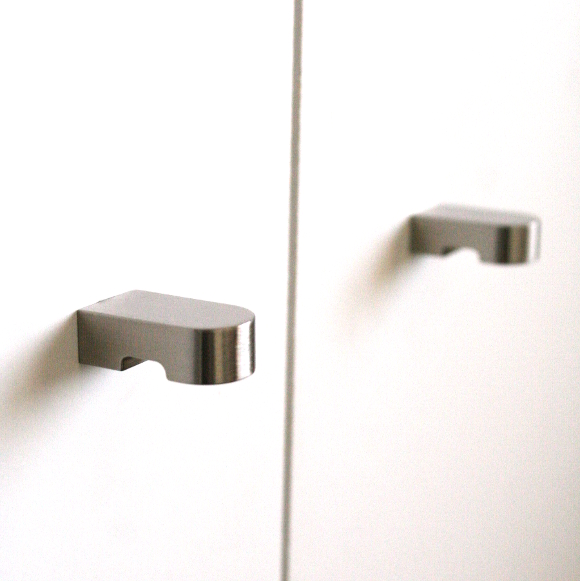
To further coordinate the room, we took off the wardrobe’s existing boring builders handles and replaced them with more ORRNAS knobs from IKEA. It’s impossible to photograph the wardrobe and the desk drawers together as they’re on opposite sides of the room, but trust me, these small details really help tie the room together.
Some really minor details, but it really makes a difference. I bought new handles for our own home office and updated ours at the same time. While our new old desk doesn’t match the shelves in our living room, I coordinated all 9 handles on the shelves and desk and it ties them together on another level. I did this again last year for Picado by coordinating the new kitchen hardware with the vintage dresser knobs.
They’re tiny details, but I find they make thoughtful impacts.
- Newer Posts
- 1
- …
- 9
- 10
- 11
- 12
- 13
- 14
- 15
- …
- 25
- Older Posts