Bedside table makeover {it only took 4 years}

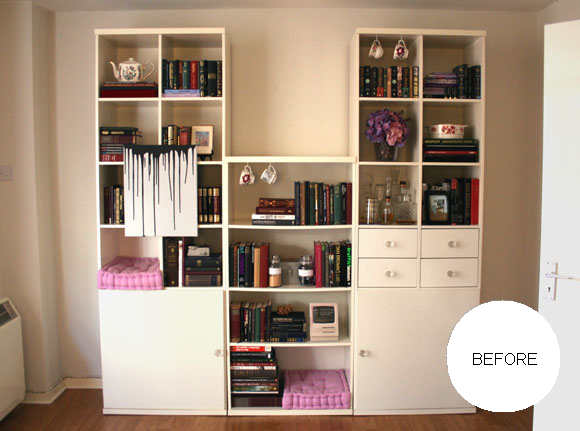
When we first moved into our apartment I was on the lookout for a bedside table for our spare bedroom. It didn’t take too long as I struck gold one day when I spied this little gem on Freecycle. It was cute, had nice lines and was mostly wooden with the exception for the top which had a weird plastic-y layered Frankenstein top {so technical} which you can see a bit better here. I had big plans for this little bedside table. And then 4 years happened. 
Last week while I was taking pictures for my rescue kit for the unexpected guests blog post, I had had enough of looking at Franken-table, so I made it my priority to send some long overdue attention its way. 

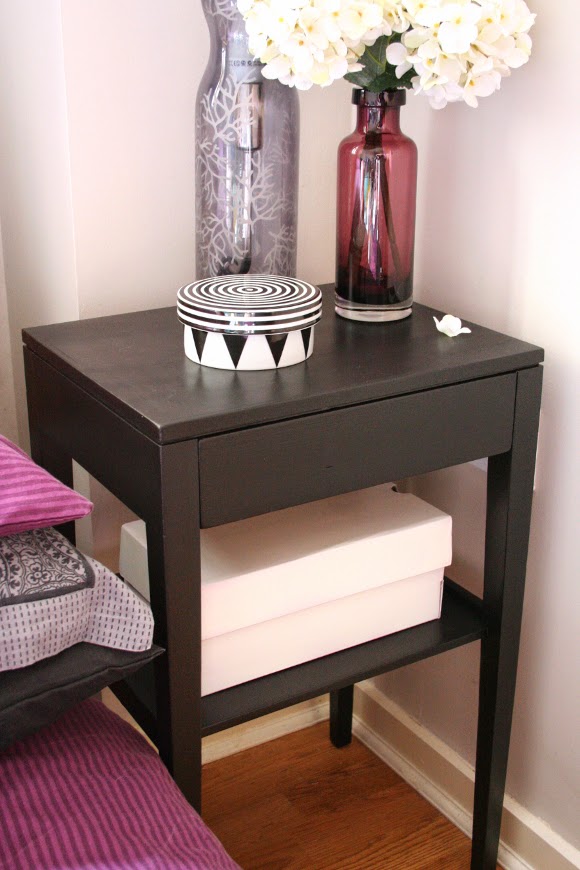
From the start I wanted to paint it black, but also have some contrast and a little dose of whimsy. Black, white, and kinda pink.
I first primed the entire thing, let it dry for 24 hours and then started working on the black. I had bought a can of black furniture paint, but once I applied it {to half of the bedside table – there wasn’t enough to cover the whole thing}, it looked awful. It made me feel crap. I left it to dry in the spare bedroom and ignored it until the next morning. 
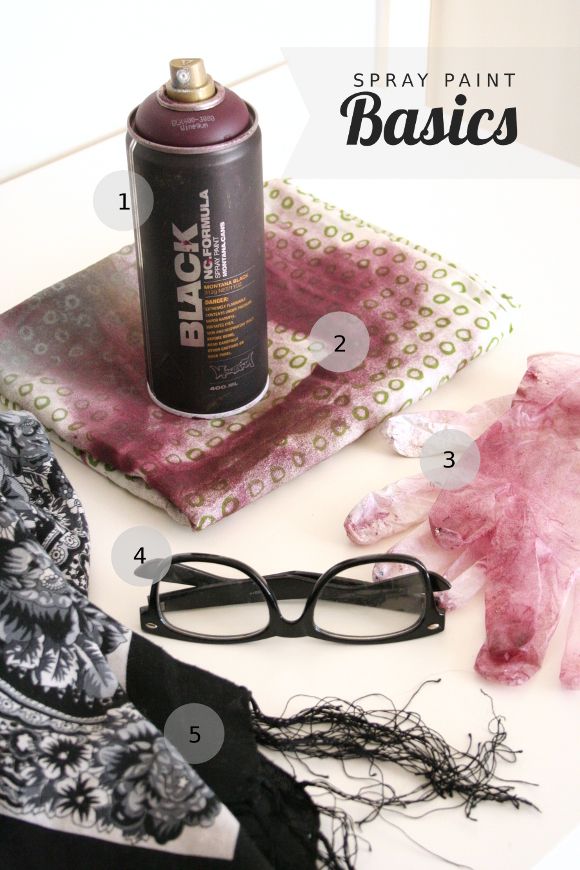
Luckily, my Montana black acrylic spray paint came to the rescue. I resprayed the whole thing and it looked the business. And I still have half a can left.

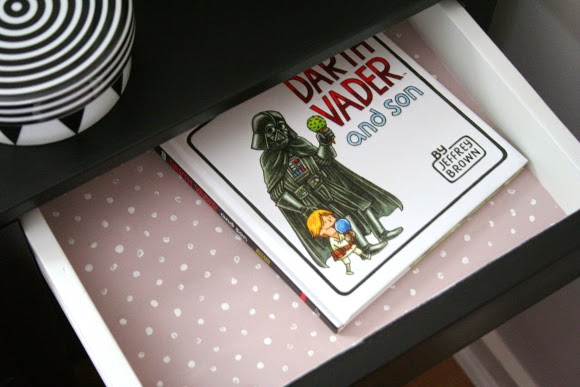
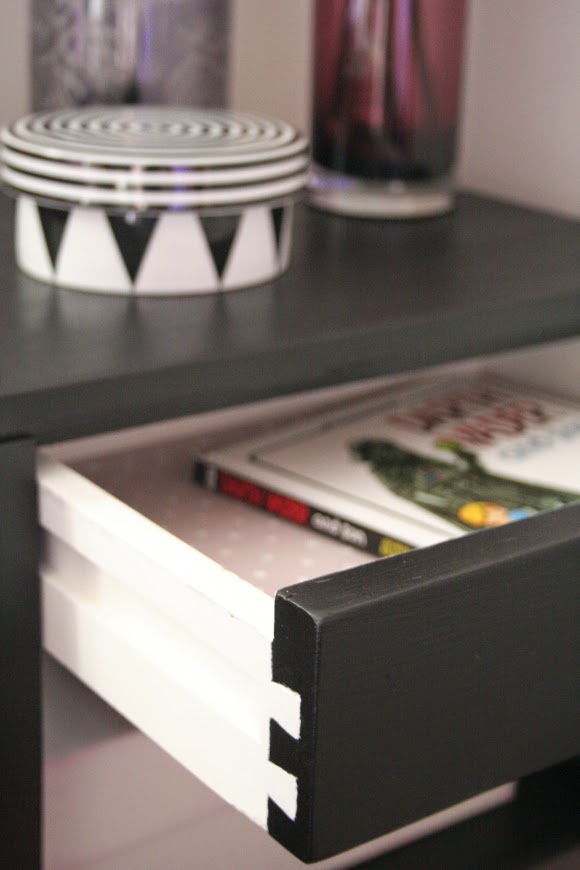
I then painted the inside of the drawer white. I wanted to line the inside with some pretty paper, but then I figued, why not just paint it? I had a smidge of Dulux Ashbury Easycare pink paint leftover from the bedside tables I upcycled for Oxfam, so I painted the bottom of the drawer dusty pink and added a polka-dot pattern by dipping the end of a pencil into white paint and used it as a stamp. I free-handed the pattern which kind of makes it feel a bit less strict. 
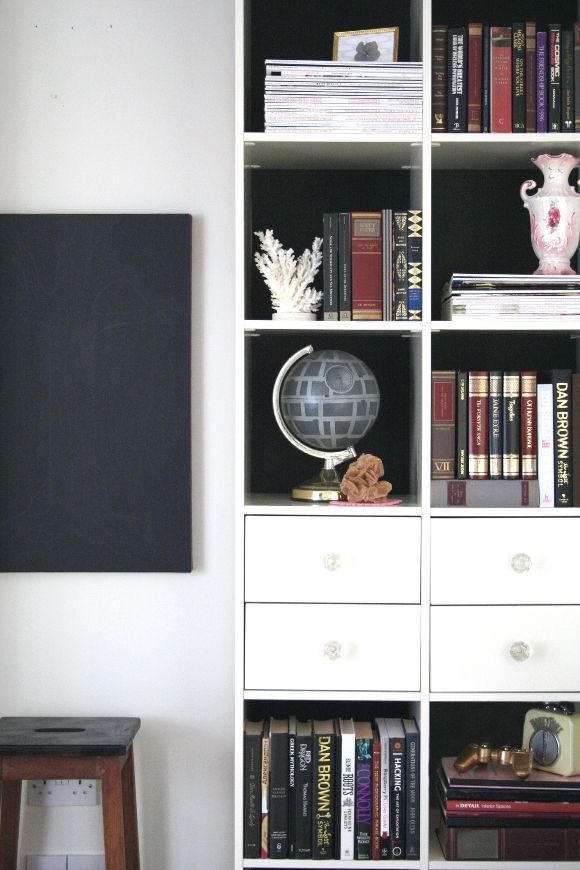
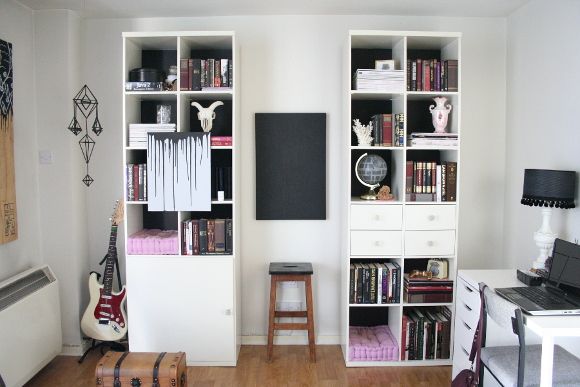
I am exponentially happier with how the bedside table looks now. It really anchors the corner of the room and is a strong focal point when you walk into the room. I just wish I had repainted it sooner. 
Black, white and kinda pink. I think I met the brief. 

DIY Friday – spray paint basics

Every time I start a spray paint project, I make a mental note to share some of my painting tips because even though I’m well used to spray painting, there was a time when I wasn’t. And I know there are others out there who are equally as intimidated as I was. And like I’ve said before, if I can do it, anyone can. So here are my spray painting tips and tricks …  

Before I begin with my tips and tricks, I’m going to be Captain Obvious and say you should always paint in a well ventilated area. This doesn’t necessarily mean outside, just somewhere that gets a good supply of air and isn’t windy. Wind + spray painting = sworn enemies.  

1. SPRAY TECHNIQUES / TIPS – First up, make sure the object you’re spray painting is clean and sanded {if needed}. Shake your spray paint can vigorously. For like, 2 minutes. Shake it so hard your neighbours hate you. Then do a little test spray on a piece of paper as the first spray is usually clear liquid. Hold the can about 2 feet away from your piece. If you hold your can too close, little ‘waves’ of paint will appear and we don’t want that. Start painting your piece from the bottom upwards – like you’re writing a letter from the bottom up. Sweep across and paint one line. Stop. Then sweep across a little higher and do another line. Stop. Continue this until you reach the top of your piece. Should you need to apply a second coat, let the first coat completely dry first. 

2. AREA COVER – Unless you’d like a permanent reminder of your project, you’re going to need something to cover the ground underneath whatever you’re painting. The easiest thing I’ve found is to use old bed sheets. Don’t have any? Then help out your local charity shop and pick out a couple of sheets there. I also use old pillow cases for smaller projects such as spray painting picture frames. Simply lay them under your project, and when you’re finished, fold them back up for next time. 

3. GLOVES – This isn’t mandatory, but I always make sure to wear gloves while spray painting, and on both hands. Sometimes the cap can be unruly and my spraying hand can get a bit of spray back / drippage {this all sounds like I’m using a urinal}, so it’s best to wear a pair of gloves. Where do I get mine? I save my disposable gloves after I dye my hair and reuse them for spray painting. I should really be on that Superscrimpers show. 

4. EYE PROTECTION – There isn’t really a risk of things hitting you in the face while spray painting, but I always wear my sunglasses or oh so trendy hipster glasses whenever I’m painting for some reason. I think it has something to do with my next point … 

5. MASK – In the beginning when I first started spray painting, I made the rookie mistake of not covering my face. Doesn’t sound like much of a deal, right? Wrong. For 2 days after spray painting without proper face cover {and without proper ventilation as it turns out}, every time I blew my nose, it was a rainbow of the colours I had been spray painting with. Yeah, not so good. You don’t realize it, but you can inhale a lot of speckles / fumes. If you don’t have proper gear {I’m hoping to get a proper mask that looks like a gas mask ’cause that would be cool}, your second best option is to grab a scarf and tie it around your face like so – 

… so you too can rock the hipster graffiti cowboy bandit look {and in pajamas; while we’re on the topic of my outfit}. Isn’t safety sexy? I think the answer you’re looking for is no. Yes, your face will get a bit sweaty but it’s better than inhaling fumes. 
So friends I hope this was a little bit of help to any of you who may be hesitant to pick up a can of spray paint. It’s very rewarding and if you’re nervous at first, practice on an object you don’t mind ruining.

Happy Friday, homies! xx A

Bolder shelves on a budget

A couple of weeks months ago I shared a snippet of the changes I was making to our monstrous living room shelves. I started to make changes just after we took down our Christmas decorations at the beginning of the year. I really think monumental changes in our home go hand in hand with the new year – starting over and putting away all the Christmas decorations really encourages me to make changes. 

This year I really wanted to work on making our living room shelves sleeker and bolder. They’re large, cumbersome shelves that take up one end of our living room. For a long time, our shelves looked like this – 

And before that? Yeesh. Not to mention my previous photography ‘skills’. MINE EYES. So, it was time for a change.

I wanted to make a bold statement, but because these shelves belong to our landlord, it had to be a statement that could be easily undone. And let’s face it, done as cheaply as possible. I loved the look of black-backed shelves, so I thought, hey – black construction paper. A perfect way to update our shelves! I bought two A2 pieces of black paper {for under €5 total}, and got cutting.

TIP – rearrange and style your shelves before adding paper to the back of them. Once I was happy with what was in each cubby, I added the necessary amount of paper to the back. For example, the top right cubbies on each shelf had tall books, so I only needed to tape paper to the top half of the back of that shelf. The same with the cat cubbies. Very few shelves had paper on the entire back of the cubby.
I also took my sweet-ass time rearranging our shelves. It’s April and I started this project in February. I didn’t want to do a sloppy, rushed job on it, and I wanted each shelf to look minted. I put lots of thought into balancing and contrasting the shelves and some quite severe downsizing {for some tips on decluttering, you can check out my blog post and top tips here}. 

The biggest change I made to our shelves was removing the middle section. And it took a long time for me to make that decision. Those middle shelves drove me insane. It was impossible to style them and they caused a lot of heartache. So one Sunday when I was doing some serious spring decluttering, I just pulled that section of shelves out and immediately fell in love with our living room all over again. I know, a bit too gushy and overenthusiastic for a Monday, but it really changed the feel of our living room.
Not to toot my own horn, but I’m really over the moon with how our shelves turned out. And of course, stay tuned to see where those middle shelves went! They really look top drawer in their new home. xx A