For Week Seven of the One Room Challenge my main focus was to custom build a desk for our home office. I had an idea of what the desk was going to look like, but I was quite nervous about starting it so in typical fashion, I kept putting off starting it until this week.

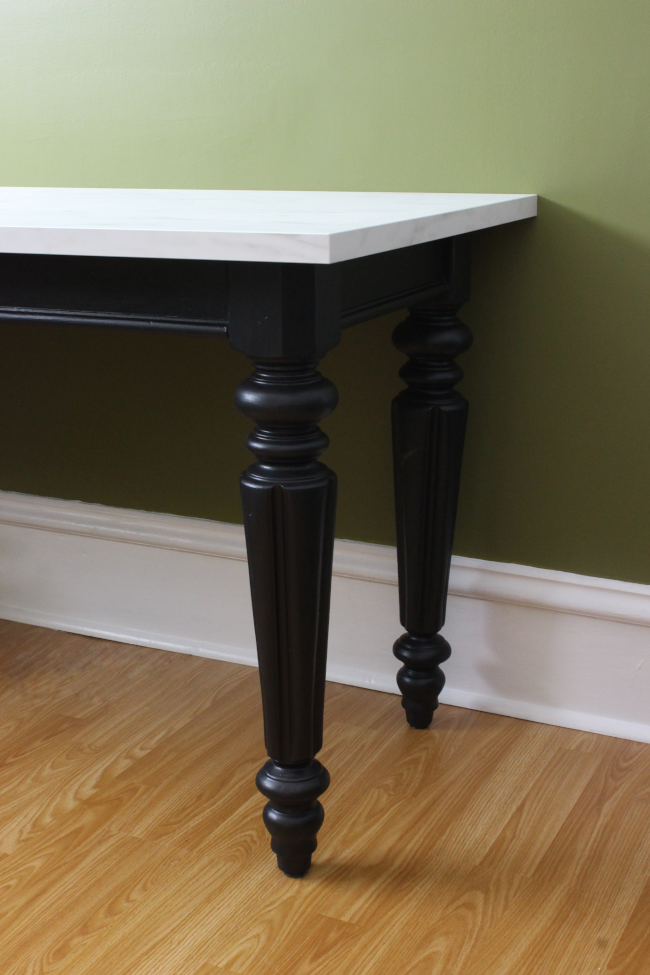
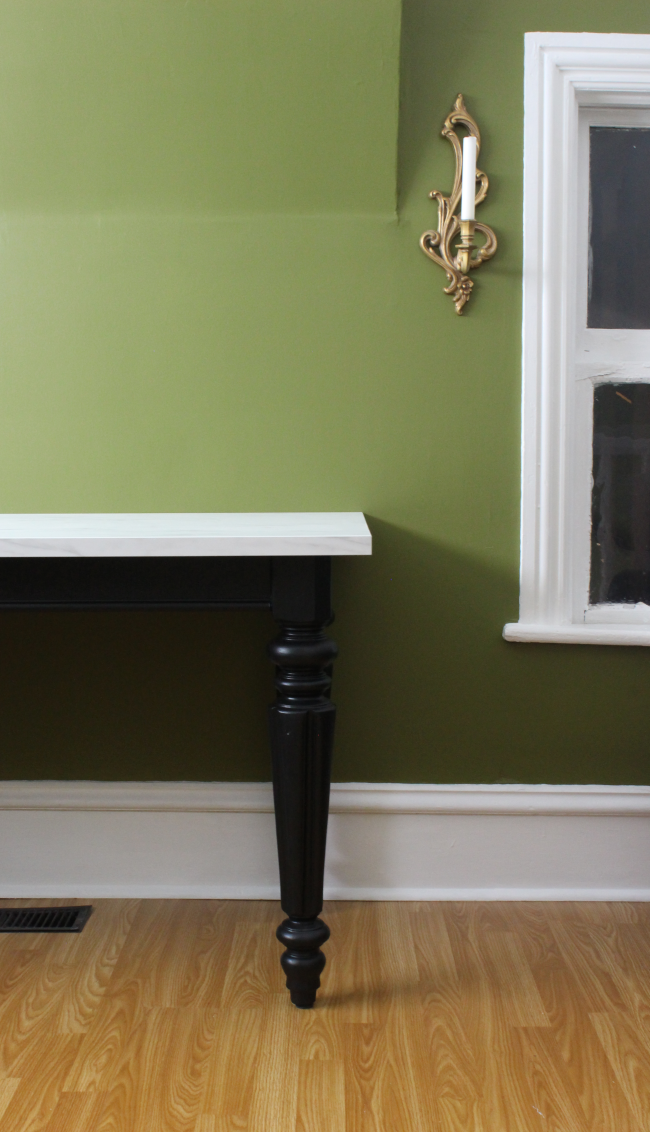
I started by dismantling our old dining room table, which I had been using as a desk in our office for the past two years. I wanted to use a lot from the existing table, but I wanted to customise it to better suit the room. So I took it apart. I first took off all four legs, then the apron [and supporting hardware] along each side. I’ve always loved the shape of the legs and the apron detail, and I love reusing things I already have at hand, so this was the perfect project.
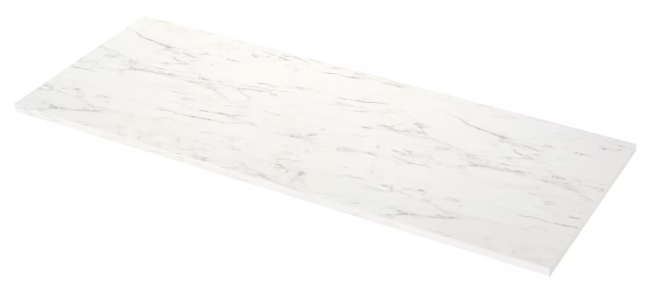
I also had ordered two EKBACKEN white marble effect laminate countertops from IKEA [to be delivered! Did you know you can save your marriage by ordering IKEA to be delivered? It can cost between $39 – $49 depending on the items, but if you know exactly what you need and you value your sanity, you can easily order them for delivery]. These were going to be the desk tops to my Franken-desk.
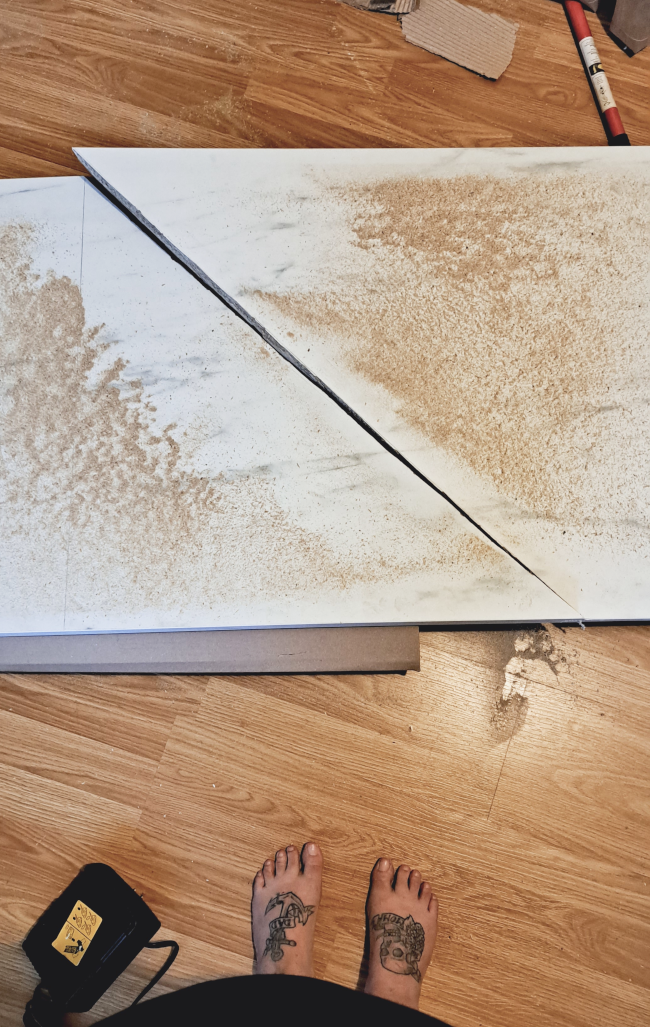
I measured the right section of desk to 7 feet long, square it off and cut it at a 45 degree angle.
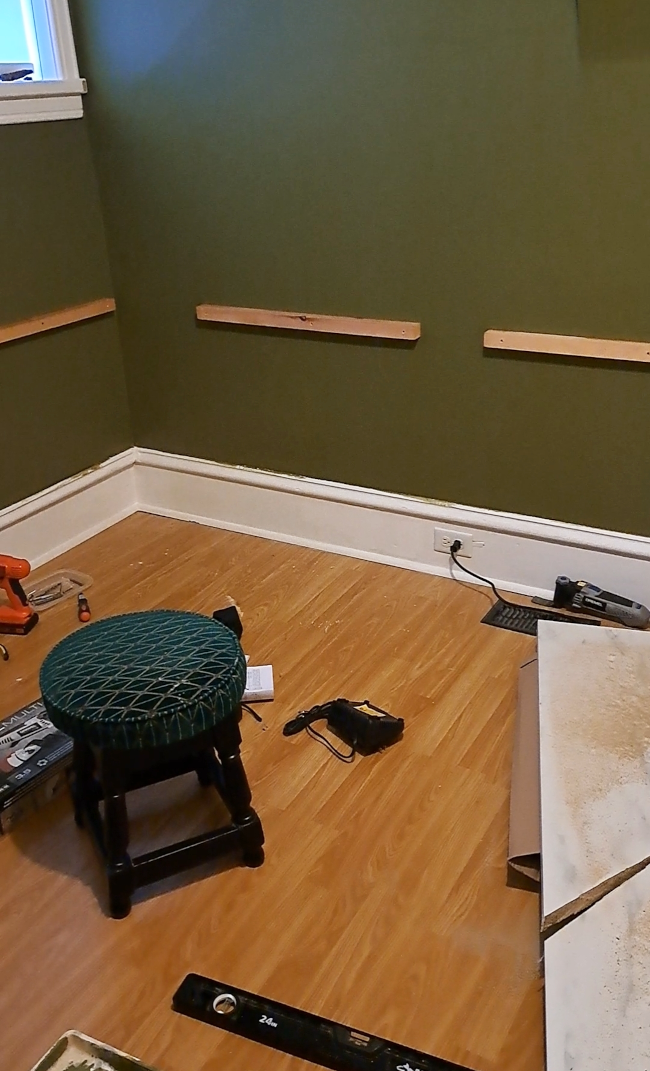
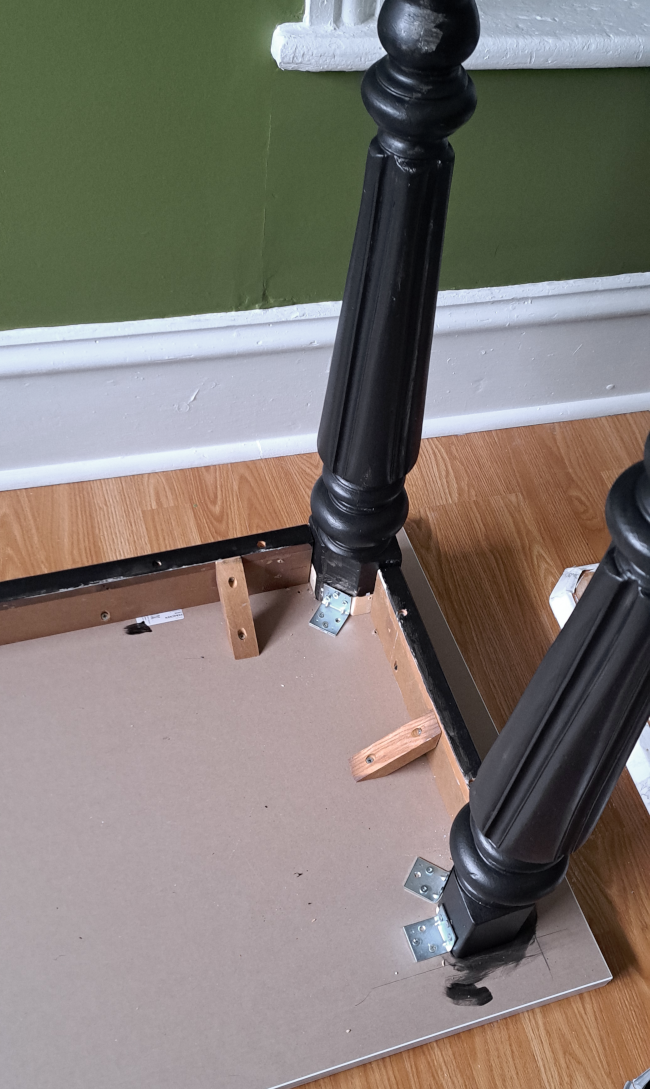
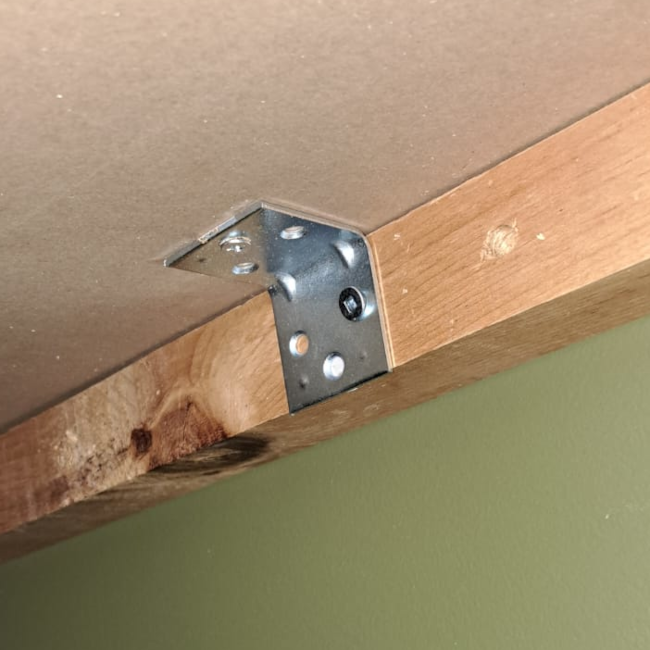
At the same time, I measured the height of the table legs and added wooden supports at the same height along the walls to rest the desk tops along as well as to secure the desk to the wall [I’ve included a photo at the end to show from underneath what the desk looks like secured to these].
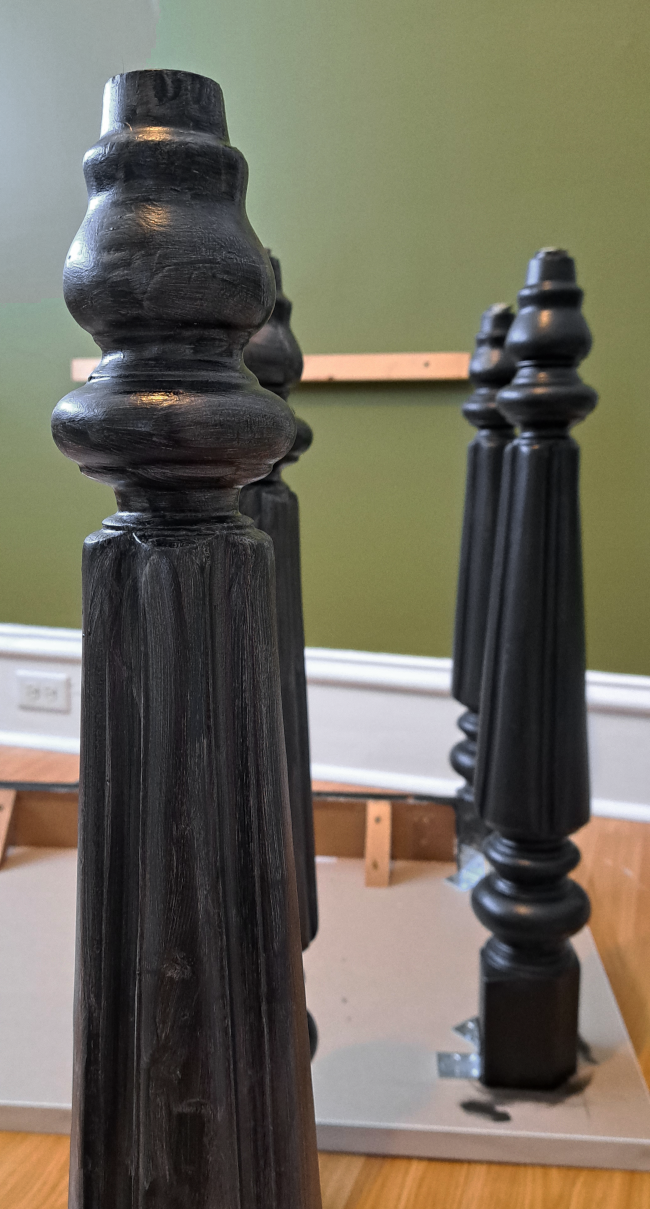
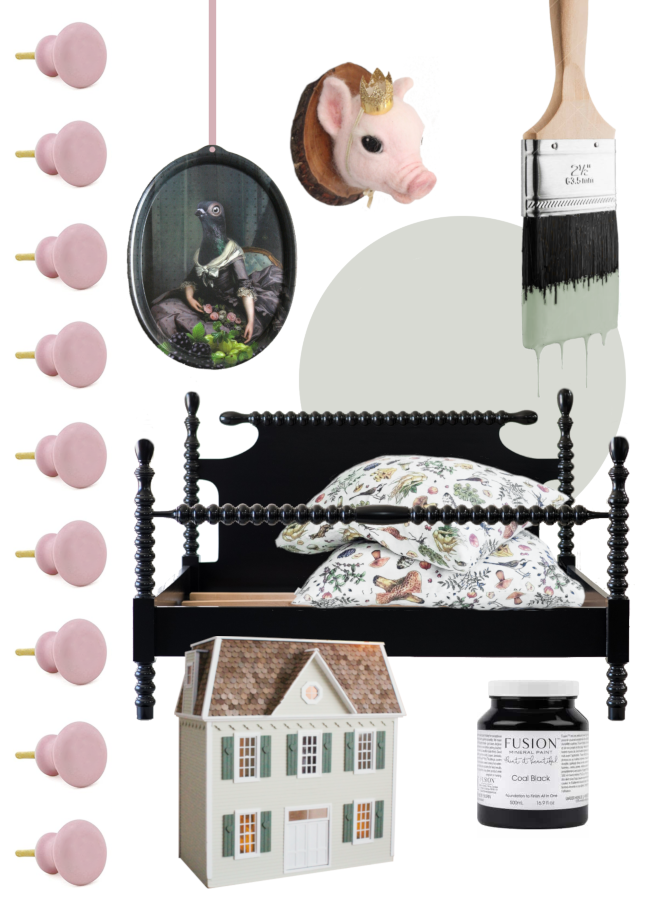
I painted the legs and apron pieces in 2 – 3 coats of Coal Black paint by Fusion Mineral Paint. I love this paint so much and have used it on countless projects. I immediately knew I’d be painted the legs in this favourite paint of mine.
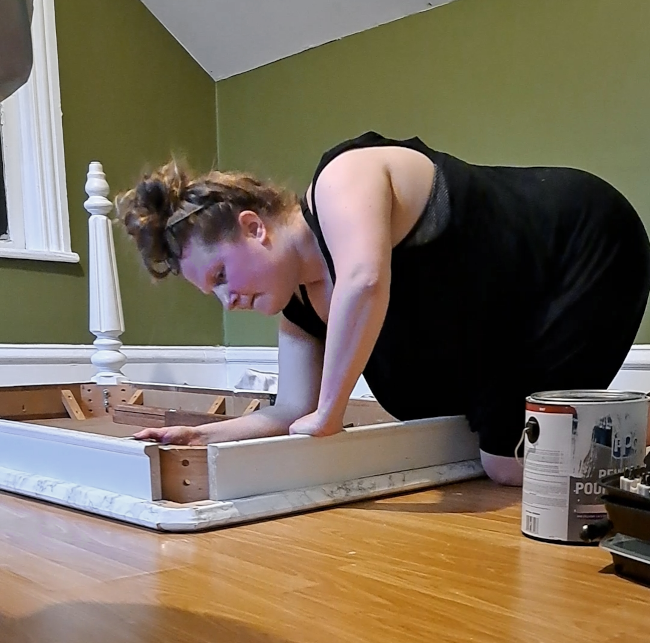
Once they were dry, I attached the legs and aprons to the underside of the desk top using a mix of brackets and existing hardware from the old dining table [seen below].
I then flipped the desk over and with help from Robert, got the desk in place. He held the desk still while I secured it to the wall using more of those metal brackets [while I was drilling in the screws the desk would resist and move up and down, so I definitely needed a second pair of hands holding the desk still and making sure it didn’t jump too much].
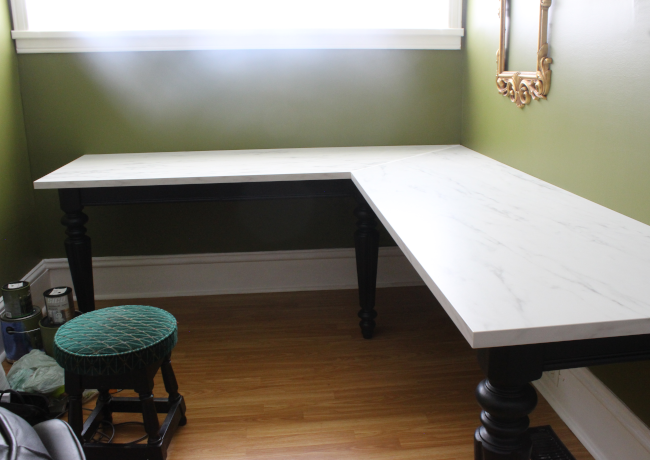
I’m ridiculously pleased with how it turned out. It doesn’t look too Frankenstein-ed and looks quite professional if I may say!
The Week-Seven-panic has set in and I’m in a mad dash to make it to the finish line. Luckily, I’m not alone as my fellow ORC Guest Participants get the last few projects done this week. I’ve chipped away at my to-do list, but I’ve come to terms with the fact that some aspects of my home office won’t be finished on time for the big reveal next week, and after a lot of panic, I’ve come to terms with the room not being completely ready and I’m okay with that.
What I did manage to achieve this week was pretty good, meaning I don’t have too much left:
ORC SPRING 2022 TO-DO LIST:
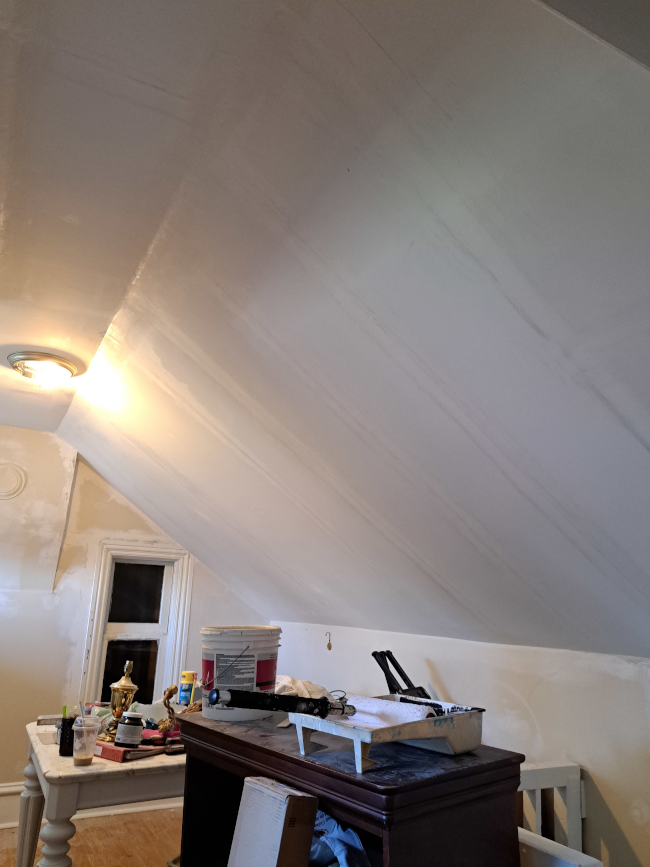
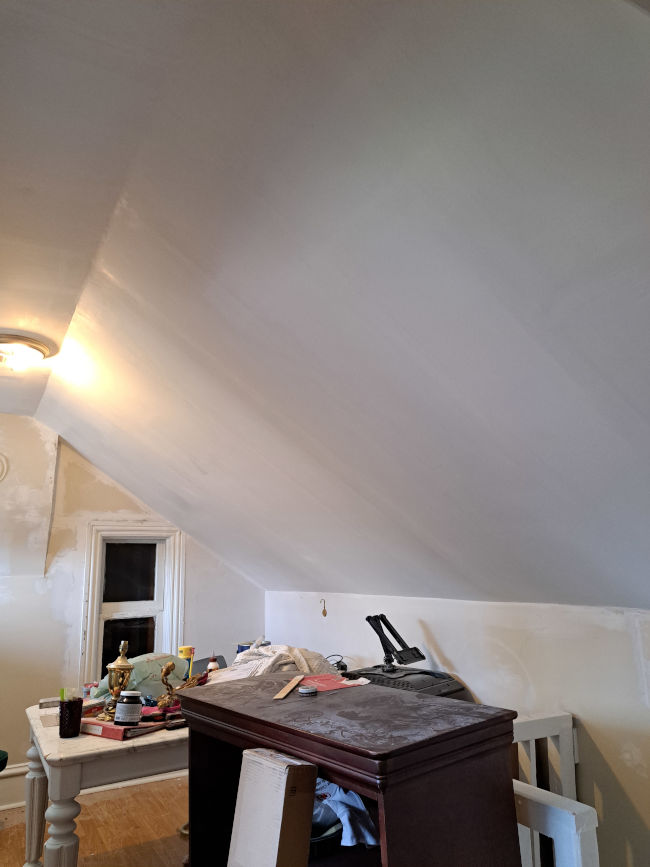
– Skim coat / patch ceiling
– Skim coat / patch walls
– Paint ceiling
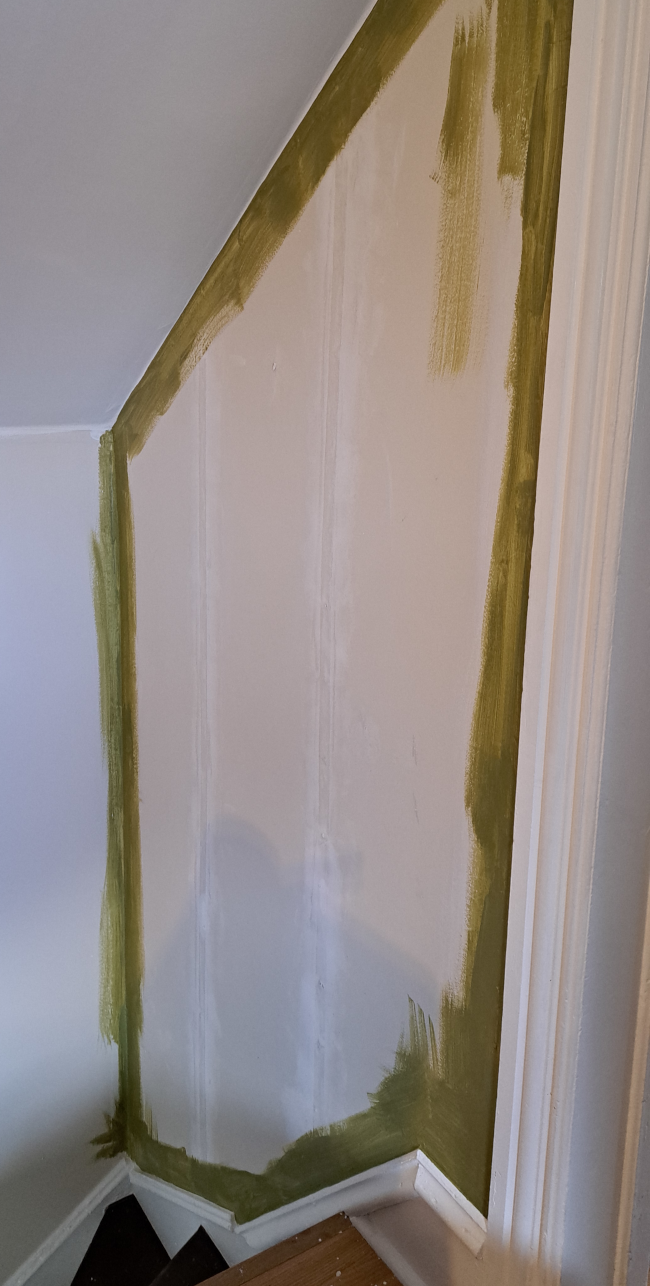
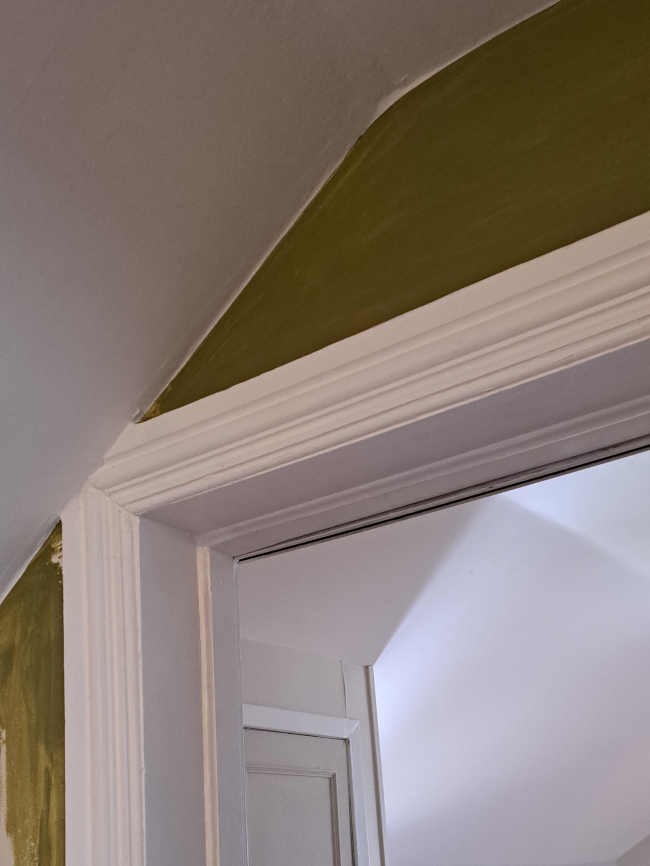
– Paint walls
– Replace / upgrade banister at top of servants stairs
– Update and reinstall handrails
– Repaint stairs [not super necessary, but I might as well]
– Install desk system
– Update secondhand tufted office chair
– Source chandelier / remove the boob light
– Source storage cabinet[s] for office items
– Possibly source and hang curtains [not sure though for either window]
– Decorate / hang artwork / overkill the space
Week One – Week Two – Week Three – Week Four – Week Five
Week Six – Week Seven – Week Eight