Image Interiors – September / October issue!

It seems like an age ago that I was excitedly [but mostly nervously] submitting my two pieces for the September / October issue of Image Interiors & Living. The autumn issue hit the shelves on Saturday morning, and I was barely able to contain my excitement as I legged it to the shops. 

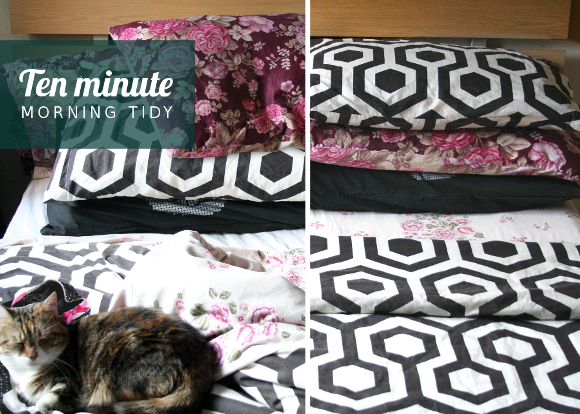
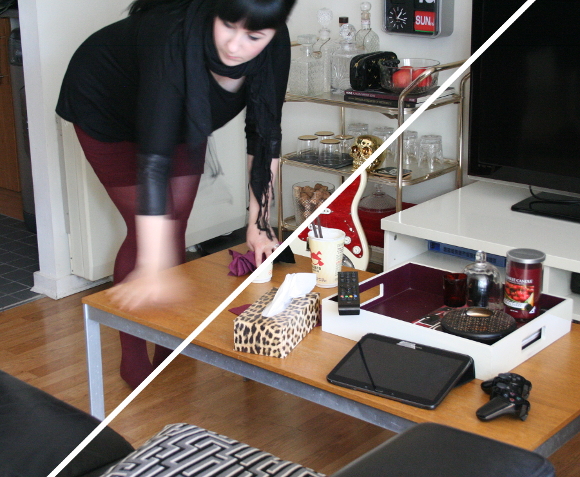
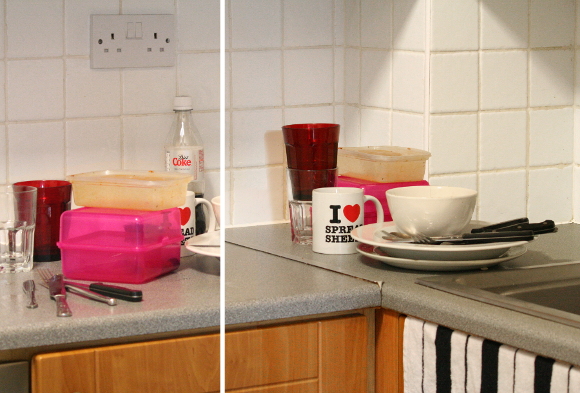
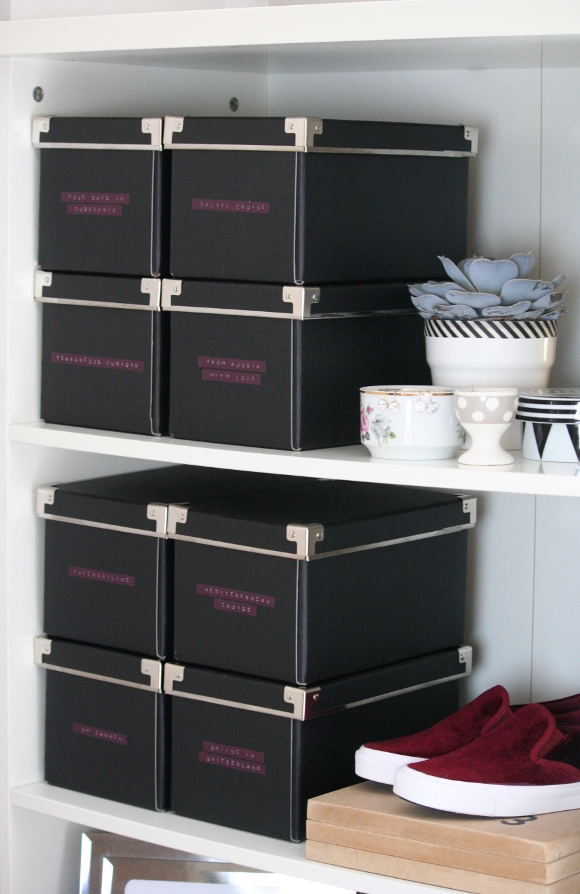
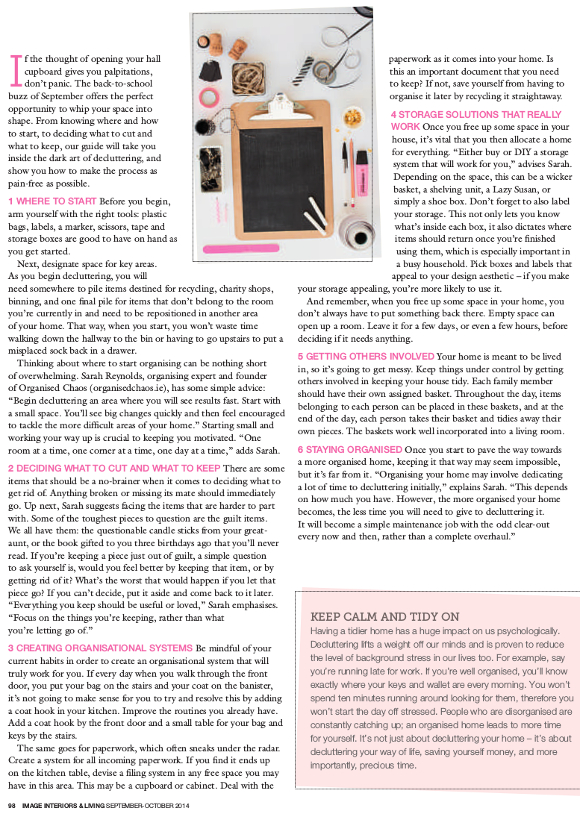
My featured article [which is mentioned on the cover. NO BIG DEAL / EEEEEK / ACT COOL] is all about about decluttering and organising your home. I interviewed Sarah Reynolds of Organised Chaos, who dishes out her top tips for bringing calm to your chaos. Not only is she too a crazy cat lady, but I had a great time chatting with her and geeking out over getting organised. It’s something I’m kinda overly passionate about anyways, in case you didn’t notice.

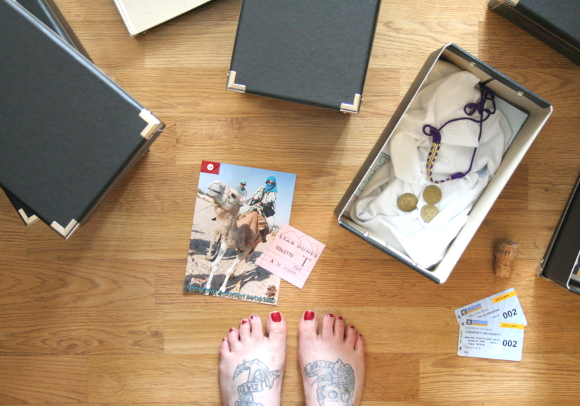
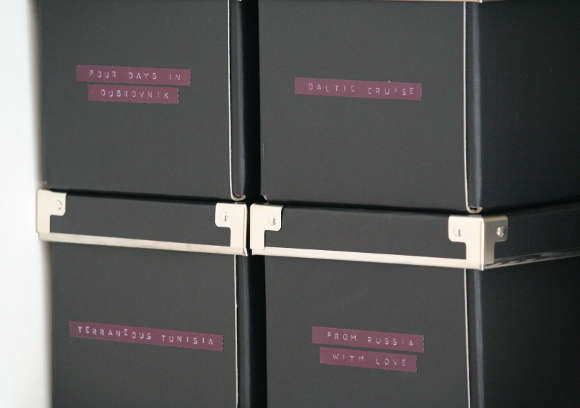
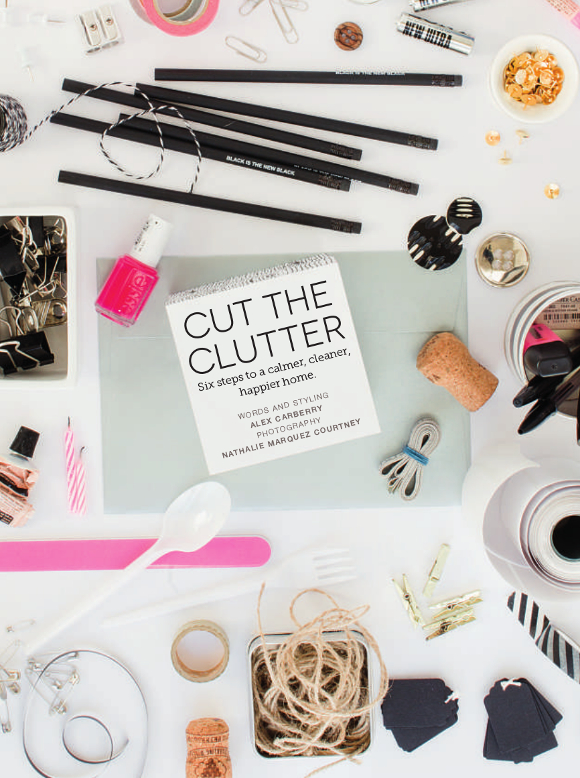
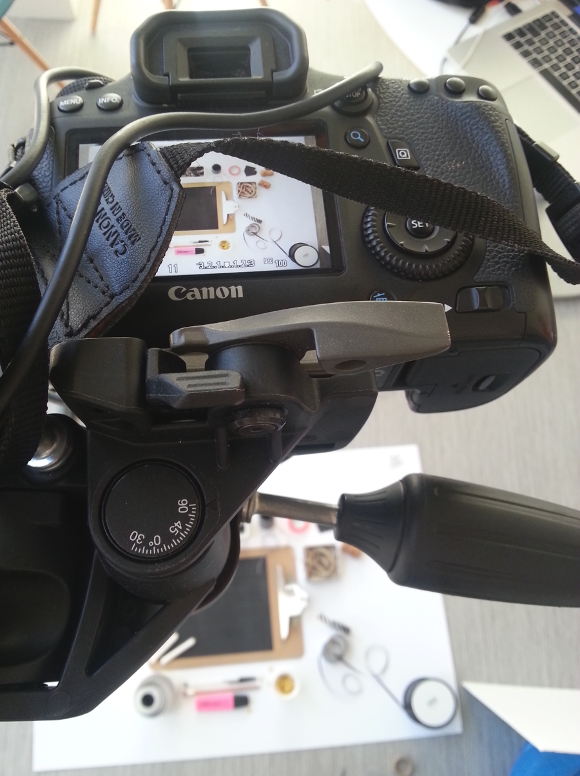
And a little behind the scenes of me and Nathalie working on the title page image for Cut the Clutter …

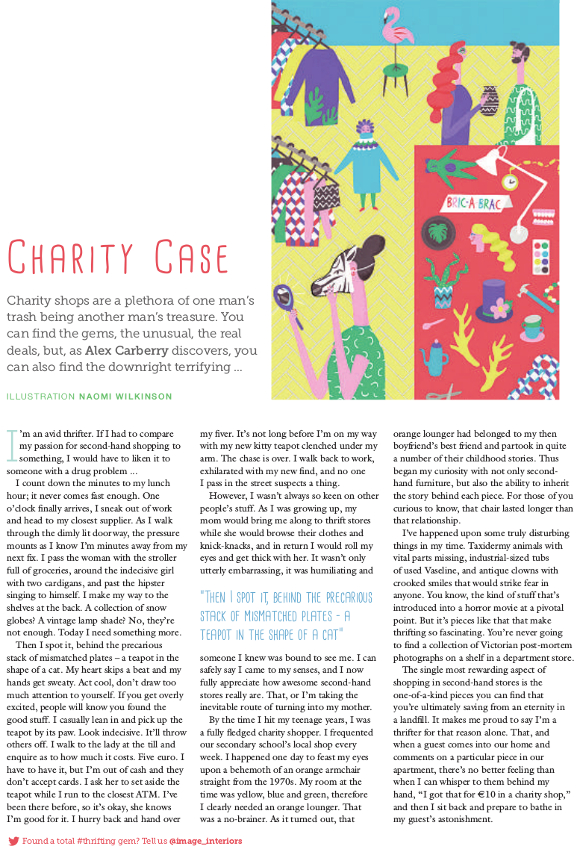
I also wrote a cheeky little number about the perils of thrift shopping, which is accompanied by a pretty awesome illustration by the talented Naomi Wilkinson. When both my husband and my mom read the article on Saturday, they both had a couple of giggles and my mom guffawed a bit as I mention her once or twice [for the record, I think she was more so flattered than horrified. She hasn’t sent me any concerned texts since reading it, so it’s all good]. 
I just wanna finish this post by saying thank you Nathalie for thinking I’m cool enough to contribute to your magazine. Big time appreciating all up in here xx A
You can pick up a copy of the September / October issue of Image Interiors & Living in all good newsagents now. 

Ten minute morning tidy

While I’m chasing my field of interiors dreams, I work an office job by day during the week. I wake up early, feed the cats, apply my face, get dressed, make a lunch, but one thing that will always be part of my morning routine before I go to work is that I set aside 10 minutes to tidy our apartment. 

I know a large number of you are currently recoiling at the thought of it and serving up some serious stink-eye. Something along the lines of this comes to mind … 

But today I’m going to convince you that yes, you do have time fo dat. And it will surprisingly make your day so much easier. And here is my one reason to convince you –
  • If you spend 10 minutes tidying your home in the morning, when you get home in the evening, exhausted from work, you will be walking into an already tidy home. More time for dinner, more time shooting the breeze with your spouse, more time chillaxing. The less chaotic your surroundings are, the more calm your mind is and the better quality your home life will be. 

Have I convinced you? Good. Here are my tips for the 3 main areas of your home that you should consider for your ten minute morning tidy … 

BEDROOM

My first real job when I was a teenager was working as a housekeeper in a Travelodge Hotel a stones throw from home. I learned not only how to change and make a bed in under 2 minutes, but the importance of a tidy bed. Your bed is the biggest thing in your room and the first thing you see when you walk into your bedroom. If it’s chaos, your room is chaos. It doesn’t have to be made perfectly, just a couple seconds of effort to straighten your bed sheets.

LIVING ROOM

Our living room is the heart of our home and therefore the quickest to fill with junk. It’s the messiest room so I’ll spend the most time tidying it. Still, I only allow myself 5 minutes, otherwise I’d never leave the house. I start off by putting the living room items back where they should go – tablet goes on our desk, the PS3 remote goes into the PS3 / husband accessories drawer, any notebooks go back onto our shelves etc. Anything that needs to go into the kitchen gets put on the counter and anything that needs to go elsewhere in our home I put in our chuck it bucket. Don’t waste time by running into every room of your house. 

We’re at a good place now as I’ve been avidly downsizing, organizing what we have and working on giving all our stuff its own place. A home for everything and everything has a home. If you need a bit of inspiration to get you started you can check out my 5 decluttering tips or my less 365 mission. 

KITCHEN

There’s nothing I despise more than doing the dishes. We’re not blessed with having a dishwasher in our apartment so we have to clean our dishes old school style. And because of this, there are always dishes haunting our kitchen counters. Let me get one thing straight, I do not clean dishes in the morning [that’s were I say ain’t nobody got time for dat]. I like to think of our kitchen as in a constant state of contained chaos. I stuff things in the recycling where necessary and stack all the dishes in the corner by the sink so they’re not all over the counter, where they patiently wait for my husband to come home and wash them. 

But for those of you who have the luxury of owning a dishwasher? Bend over and I’ll show you where you can put your dishes. You have no excuse.

xx A

DIY Friday – holiday memory boxes

Back in June I had a chance to sit down and chat with the lovely Sarah from Organised Chaos for Image Interiors & Living. I can’t spill the beans on everything we spoke about [you’ll have to check out the September / October issue that comes out in two weeks, woop!]. I immediately felt at ease chatting with Sarah about a whole spectrum of organising and decluttering. In fact I may have gotten a tad over zealous. After all, it’s not every day I can talk so openly and excitedly to someone about hangers for 10 minutes without them giving me stink eye in return. 

One storage solution Sarah mentioned briefly during out chat was her holiday memory boxes – she suggested people invest in pretty boxes to put their holiday souvenirs, trinkets, and memories into. It’s a great way to keep your ticket stubs, sea shells, and maps from eating into your everyday storage and tumble-weeding around your house as well as giving them a defined space. I thought this idea was phenomenal. Husband and I have done quite a bit of travelling over the past couple of years [23 countries, to be exact], and not to mention I’m a bit of a memory hoarder. Bus tickets, metro tokens and the likes. Since June I couldn’t stop thinking about Sarah’s holiday boxes, so I couldn’t resist making her brilliant idea into this week’s DIY Friday …

First up, I’d suggest assessing how much you have that needs to be stored. There’s not much point in going out and buying boxes first, then realizing they’re too small for the souvenirs you have. So what I did was spread out all my travel souvenirs then hit the IKEA website. I didn’t want anything too naff, but at the same time, they’d essentially just be storage boxes so I didn’t want to pay too much. Affordable and easy on the eyes. 

It didn’t take long before I saw the black KASSETT lidded storage boxes, and at €2.25 for two boxes [yeah, that’s €1.12 per box], I’d be crazy not to. They were the perfect size, 26cm long x 16cm wide, aka the size of an A4 page folded in half. Perfection. Bus. IKEA. Bus. Assembly in front of the TV.

I wasn’t in love with the label tabs that came with the KASSETT boxes, and I was also dying to put my Dymo Omega label maker to good use. But my label tape is black, and my new boxes are black, so they won’t stand out! Talk about first world problems. So what did I do? I spray painted the label tape with my go-to Montana paint in ‘winegum’, punched out the words, then lightly sanded the letters to bring up the white lettering. Bingo. Bespoke labels. 
[PRO TIP – the shiny label tape works best vs. the mat label tape]. 

Sarah suggested storing the holiday memory boxes in a neglected shelving area in your home. To help beautify the space as well as make use of an otherwise neglected storage area. For the moment I have our holiday memory boxes on the shelves in our bedroom, but that won’t be their final destination. 
All hail Organisation Expert Sarah.