After 4 months of brain storming, DIYing and carefully planning, my brother’s Canadian man cave office is complete! I finished and photographed the room yesterday afternoon, and after wading through 200+ photos, I’ve narrowed it down to just a handful of pictures. Times four.
As my brother’s a college student, the budget for his home office was basically non-existant. But for me that just made it more of a creative challenge, and I personally find that more interesting than someone throwing a wad of money at me to design a place. But I will say, if you feel so inclined to throw a wad of money at me, you will still have my attention.
Note – I’ll be including a source list at the end of the post, so if you see something that I haven’t mentioned, it’ll be mentioned there!
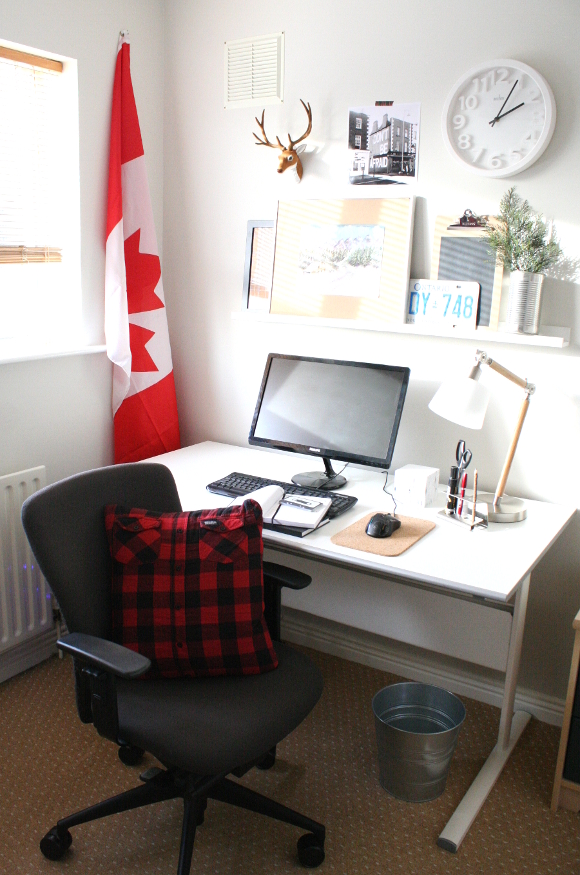
My brother wanted a Canadian man cave retreat for an office, and I’d like to think a Canadian man cave he got. If you’d like a reminder of what the office looked like
before, check it out here. I’ll start by taking you through the desk area of my brother’s office …
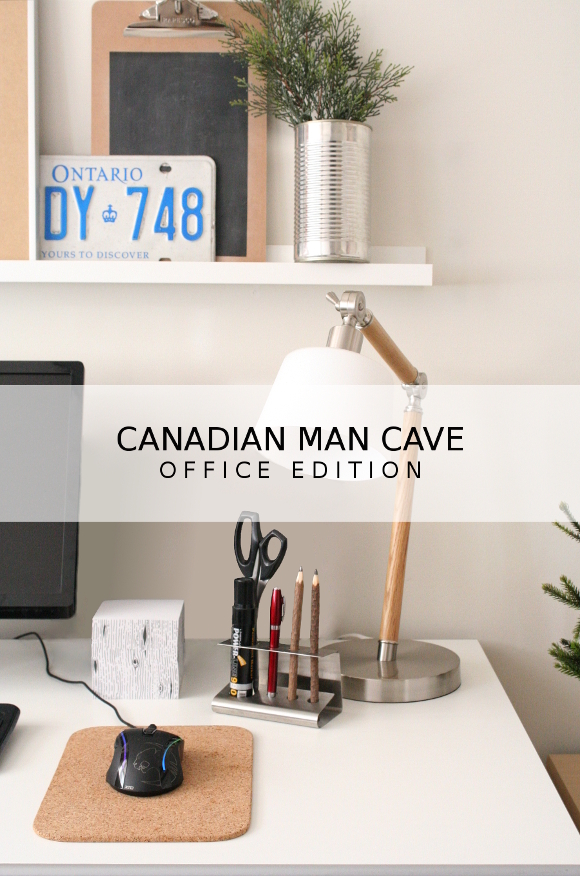
There are so many changes that happened in this room, I don’t really know where to start. I first moved his desk so it was along the back wall with the window now on its left. It’s now the first thing you see when you walk in the room and as he’s right handed, the most amount of natural light is coming from the left.
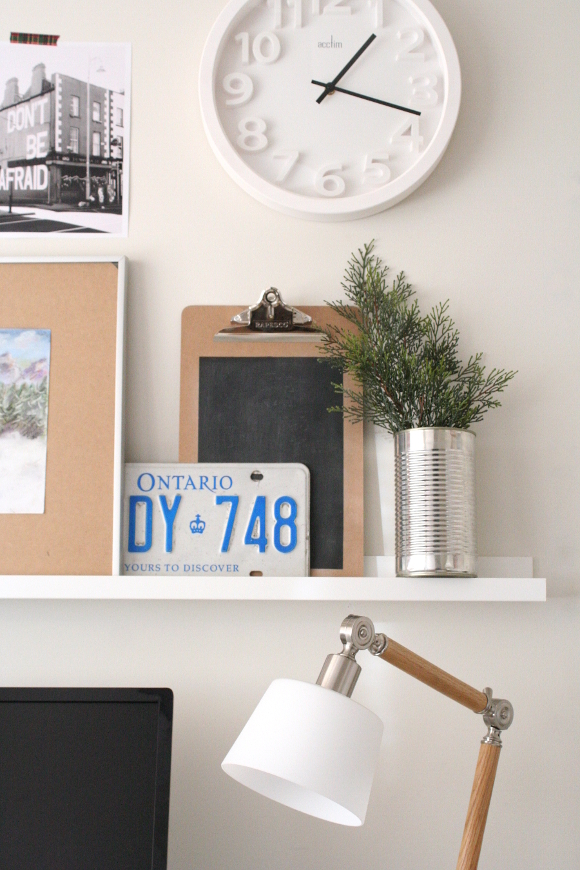
I added an IKEA shelf above the desk to hold a few piece of artwork and a chalkboard clip board. I wanted to use this type of shelf here so my brother can easily change whatever is in his line of sight above his desk, without hammering loads of holes in the wall every time he changes his mind.
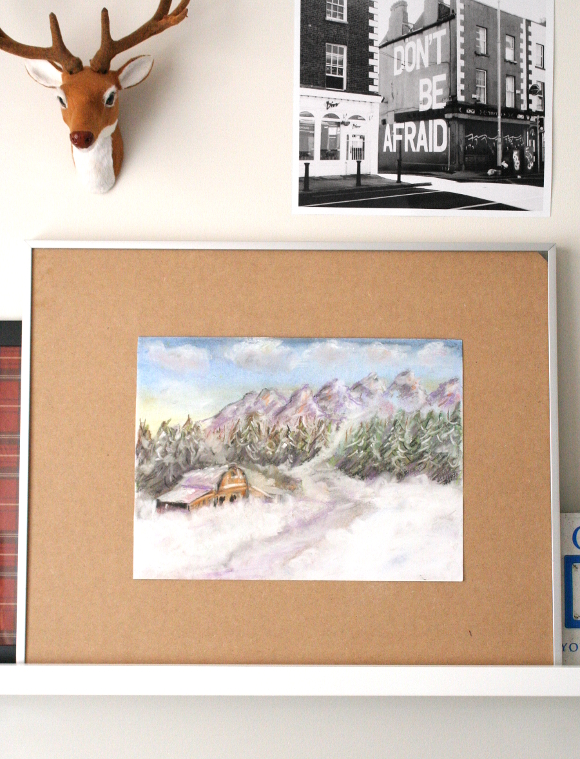
I styled it with one of my dad’s old Ontario licence plates, a clock from Tesco, a faux taxidermy stag from Tiger, and of course some artwork.
It was important that there was artwork in his room. Manly artwork. And since we were on a tight budget, we DIYed most of it. I asked our incredibly talented and artistic mom to create a Canadian scene to hang over my brothers desk. She created this pastel piece in an evening. It’s perfect as it’s one of those scenes you could get lost in.
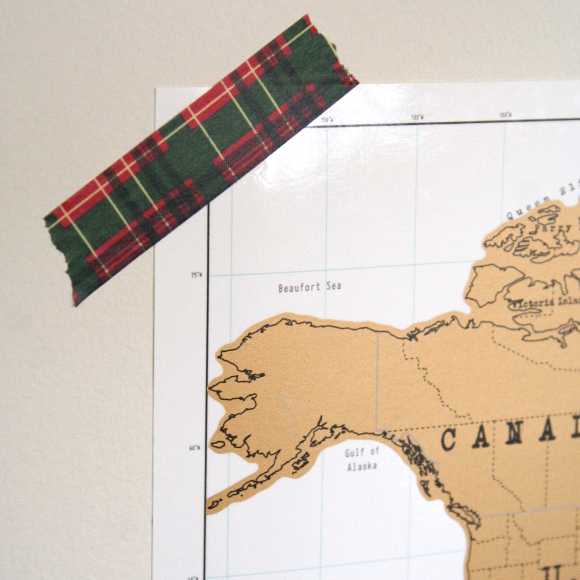
I also printed an
Instagram I took of some of
Maser‘s work as some encouraging words, and hung it over with some manly plaid washi tape [that arrived just as I was leaving yesterday – YUS]. I also framed some
plaid wrapping paper I picked up over the holidays so add some depth.
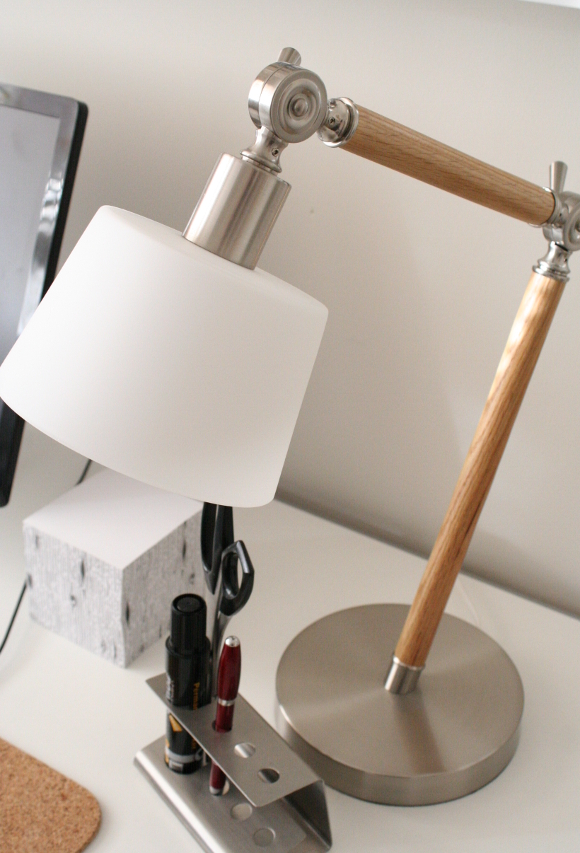
My brother wanted a ‘man lamp’ for his desk, and he mentioned he really liked angular lamps. I searched high and low for a lamp with a translucent shade. Why a translucent shade? It was important that if my brother was using just this lamp in his office on a dark day, a lamp with a solid shade would be very harsh and not cast light throughout the room; it would only cast light down at his desk. But this way, this warm lamp will light up the rest of his room.
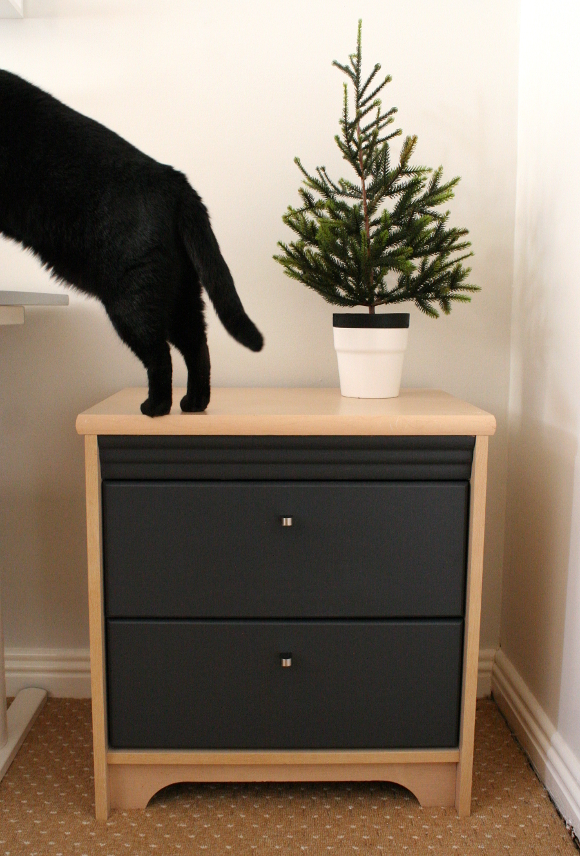
Thanks to Smudge, one of my parents cats, I upgraded an old bedside table to act a desk drawer to hold all the office supplies. Which will segway nicely to the shelving area of the office …
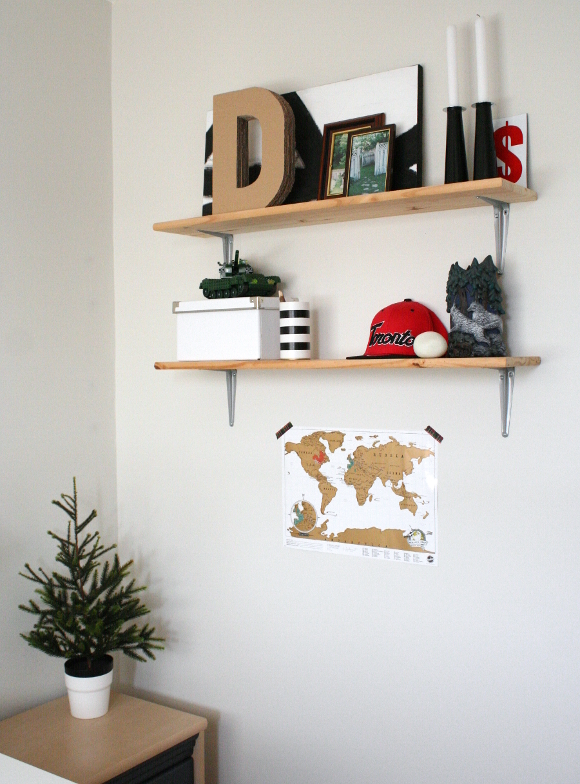
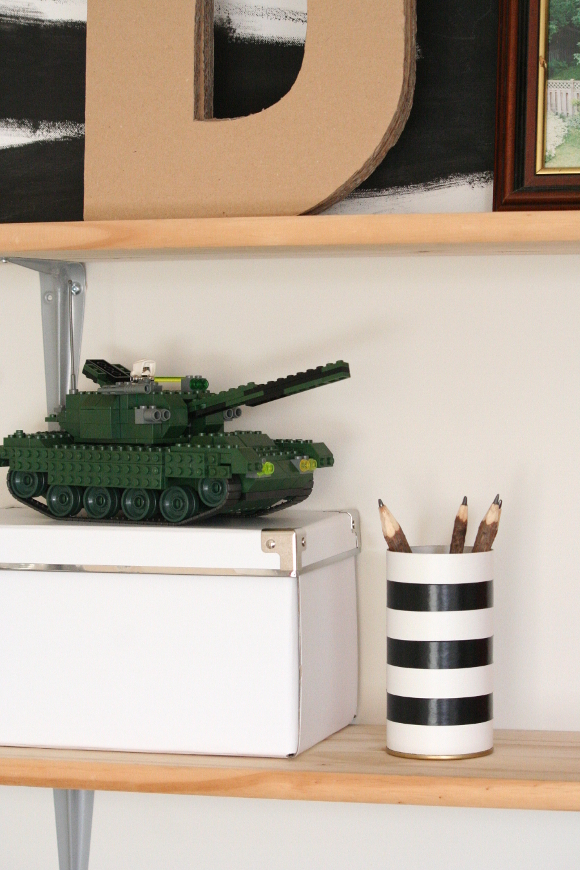
It was important I reuse as much as I could when redesigning my brother’s office. My parents had a set of old shelves so we removed the previous wooden brackets and I added a slightly more industrial style bracket to make it seem a bit more manly and rustic.
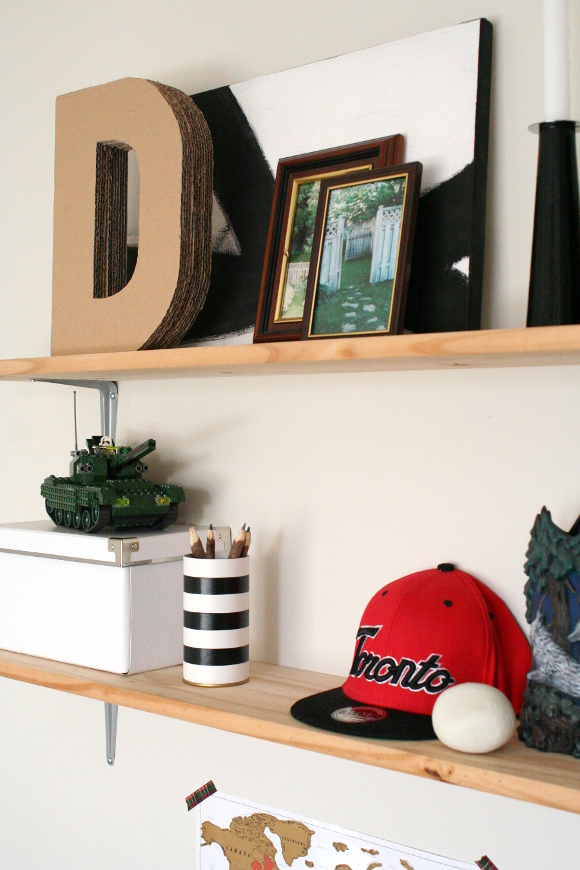
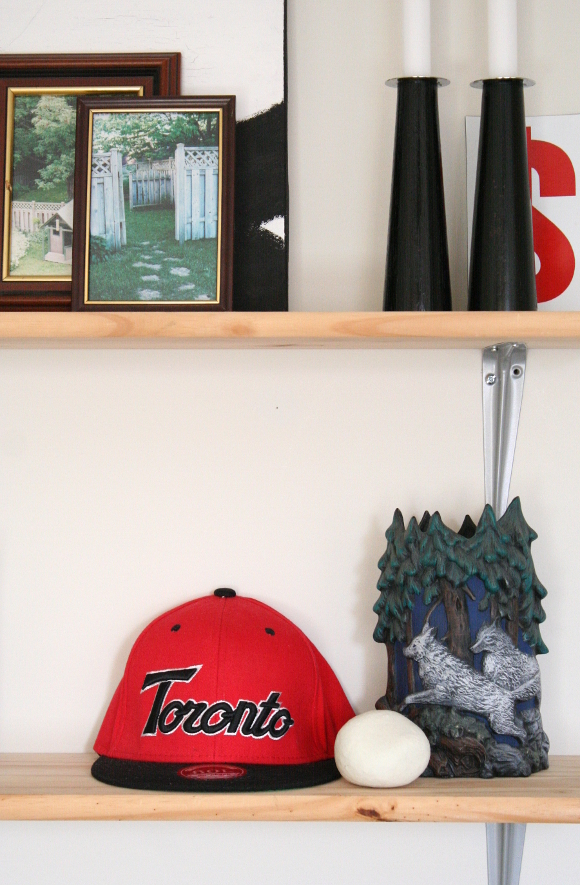
I had way too much fun going through all our old treasures to deck out the shelves. I used an old black and white canvas I painted for our office as a backdrop [
as seen here], added some pictures I took of our backyard before we left Canada, a wolf vase I painted in primary school in Canada, a baseball cap and of course – LEGO. My favourite thing is that little white ball. Husband and I bought that when we were in a design shop in Helsinki – it’s an everlasting snowball. When you squeeze it, it crunches and sounds exactly like a compacted snowball. I mangle it every time I see it.


I got the loveliest text from my brother yesterday to thank me for all the work that went into his room. I’m sure there were a couple of moments where he wanted to tell me where to go, but he was strong. For me the most rewarding part was taking a room and turning it into a retreat that will help my brother work towards his goals and of course chillax. After all, that’s all design is – creating a comforting and inspiring environment.
Stay tuned as I’ll be sharing some of the DIYs and upgrades that went into the room over the next couple of weeks. And as promised, here is my source list …
Faux taxidermy deer head –
Tiger
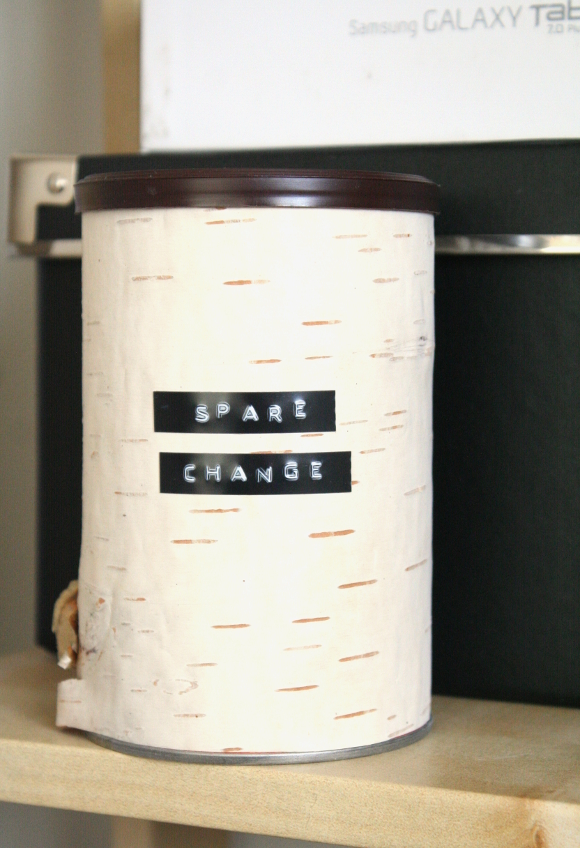
Mouse pad – repurposed cork dining mat
Pen holder – repurposed drinks mixer holder
Wooden shelves – repurposed
Wolf vase – hand painted by me in primary school