New project – entertainment room makeover

A few weeks ago VELUX contacted me about collaborating on a blog post. Like with any posts I work on with a company, I wait to see if a project will arise for me to include them in something I’m working on. A few weeks passed and our patience paid off when Camilla, a long time reader, got in contact with me about updating her entertainment room. And would you believe, she had two VELUX skylights that were a key part of the brief. Perfect!

I visited Camilla’s house two weeks ago to talk with her and her fiance Wayne about what they were looking for. They weren’t looking to undergo a huge change; a few updates to turn the current bright space into a cosy entertainment room. Both Wayne and Camilla are homebodies, so it’s a room that will get a lot of use. They’ve ordered a projector for the room, but in order to be able to use it, they need to install blackout blinds to their two existing VELUX skylights [which is a pretty vital part of the design, and segues nicely into our collaboration!]. 

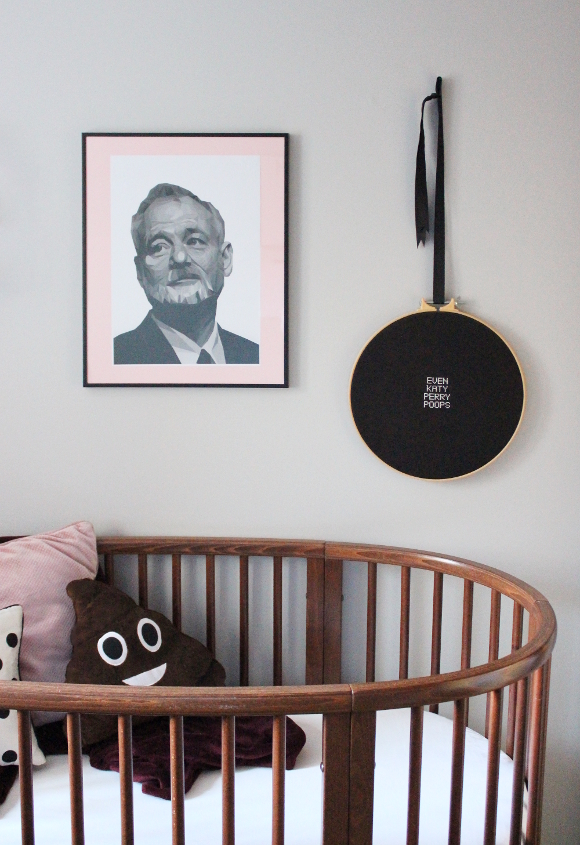
In keeping with darkening the entertainment room, they were considering going dark with the design and I actually managed to convince them to go nearly-black on the walls [like in our bedroom]. I assured them that with the right accessories and accent pieces, a dark room won’t seem as overwhelming as they may think. It’s a room that gets a lot of sun during the day thanks to the skylights, but with the press of a button, the room can be transformed into a cosy Netflix snug thanks to electronic blackout blinds.

We talked about their design likes and dislikes, textures and finishes they preferred, and even about the more abstract things they like. I went away, compiled an entertainment room mock-up with lots of dark green, wood and hints of dusty pink and [to my very nervous surprise] they loved what I came back with …

Products clockwise from top [then spiraling inward] …
– Blackout blinds from VELUX
– 1830 Rue Chapal nearly-black paint from Fleetwood
– 4 seater VIMLE sofa from IKEA
– Green vintage rug – still on the hunt for one!
– Seno mid century sideboard from Article
– Bonsai tree from IKEA
– Rose gold and dusty pink candle sticks from Article

Both Camilla and Wayne like unexpected twists in design [a couple after my own heart], so after sneakily learning about their favourite movies and TV series, I found some Labyrinth and Rick and Morty themed parody prints that at first glance give a strong level of sophistication to the room. They like mid-century modern, natural and nature inspired fabrics and finishes, as well as a hint of gold. It’ll be a few weeks before we can start updating the room and ordering products, but once the work does start, I don’t see it taking long to finish. I particularly can’t wait to live vicariously through their purchasing the likes of that green couch. Anybody? No? Just me? I’m fine with that. 

DISCLOSURE – this is a sponsored blog post from VELUX. As always, all words and opinions are my own. I only work with companies I like and of course, think that you will too. Thank you for supporting the companies that support The Interior DIYer. 

Bedroom dresser update – the plans

Ever since I painted our bedroom black the night before Cora was born, there were a few things that needed to be updated. Our black curtains were one, and our dark grey dresser was another. Don’t get me wrong, I love black and wear nothing but black all the time, but there was too much of it in our room. Our dark dresser was now too close to the colour of our bedroom walls, and since we now had a baby, repainting a dresser was pretty low on my priority list.

At the beginning of December, Rust-Oleum got in contact about working on another project and asked if there was any furniture of ours that needed updating. I immediately thought of our bedroom dresser so took it as a perfect opportunity to update it in a completely new way.

Here’s what our dresser looked like before [and even before that – yeesh]. I spent a few days on Pinterest and decided on the lightest of pink paint. Rust-Oleum’s Chalky Finish Furniture Paint in ‘Strawberry Vanilla’ was perfect, topped with Rust-Oleum’s Furniture Lacquer to give a protective finish to the chalk paint. At first I was thinking of making our dresser very ornate with gold handles and add wood appliques to the drawers [kind of like this], but the longer I thought about it the more I realised it would be bad-fake [I’m not too keen on fake antiquing, unless it’s done really well and I didn’t think I could]. Our dresser is old and very possibly mid-century-something, so I decided to stick to a design that suited it a bit better. And something a bit funner.

Because our apartment is so small, there’s not much space between the end of our bed and the dresser. Our knees / pockets / hips were forever getting caught on the current handles, so I was on the lookout for a long handle that wouldn’t catch on our knees / pockets / hips. To make things just a bit more awkward, I wanted a handle that would fit the existing holes which were placed 416mm apart. I found a beautiful pair of handles on Etsy, but the order became not only very delayed, but complicated so it was cancelled. Which is the main reason this update took so long.

I checked the IKEA website and not only did they have solid non-knee / pocket / hip-catching handles that were spaced 416mm apart, but they were beautiful handles. They were black borghamn handles and they were solid iron. I’m so close to finishing our dresser update and in fact I’ll be heading out today to pick up the sweet, sweet handles in what I’m hoping will be the fastest IKEA trip ever [I’m sure I’ll be over-sharing on my InstaStories if you’re curious]. Wish me luck. 
DISCLOSURE – while this blog post is not sponsored, I did receive this paint and lacquer free of charge from Rust-Oleum. As always, all words and opinions are my own. I only work with companies I like and of course, think that you will too. Thank you for supporting the companies that support The Interior DIYer. 
Previous projects with Rust-Oleum – faux marble bedside tables  

Cora’s cute and quirky nursery

I’m slowly learning that time is now very different. BC [Before Cora], it would take me say, 45 minutes to tidy the apartment and get myself ready before heading out the door. Now? Multiply that by 4 and you’re starting to get close. Between feeding, changing, predicting how much to bring with me, getting myself ready, getting Cora ready, feeding Cora again, dealing with explosive situations and then actually leaving the apartment, I’m glad I have very few scheduled things these days. One thing I have been hoping to do, you know, when I have a spare minute [😑], was to properly photograph the nursery. Though it’s not entirely finished, it’s been at this stage since the week before Cora was born. So yeah. Getting things done nowadays takes time. Even if it’s just taking photos. Baby steps?

Our spare bedroom is quite small and I didn’t want to leave anything to chance, so I did what I quite embarrassingly love doing – I measured everything and made a little mock-up of the room on Google SketchUp. Here’s the design I decided on a couple of months ago … 

Before I bought anything or decided on a design detail, I did a mock-up of it in the space. I imported Pantone’s ‘Lunar Rock’ paint swatch before committing to it, drafted a combination of fancy and plain knobs for the nursery dresser before buying them, did up a rough placement of artwork and shelves before hanging them, decided whether or not a secondhand chair would fit [which, as you can see, none have just yet], what kind of rug would look the best, what would be the best placement for the crib – everything. Everything was decided on in SketchUp. I find SketchUp so helpful for making decisions digitally so you don’t have to make a disaster in real life. It was only today that I looked back at my plans and realised how close the room is to what I had hoped. I’m quite proud of that!

The room felt a bit stale when I was finished so I added a string of Christmas lights up and over the curtain rod to help make the room feel warmer and … funner. I really love Christmas lights and used to have them hanging up in my bedroom as a teenager throughout the year. When I first switched them on  in the nursery for Robert, he was so surprised by them and really impressed [thanks to the dark curtains, you can’t really see them when they’re off]. 

There are a few major pieces I have still yet to get. One being a proper bin [I’m currently putting dirty diapers into a plastic bag that hangs beautifully off one of the knobs on the dresser] and the other being a chair of sorts for the corner of the room. To give an idea of space, I put our buggy roughly where a chair would go, but I have yet to find a really great one secondhand to reupholster.
I also have a good few pieces of artwork to hang [like my baby prints by Bill & Coo.!] and some more fun pieces to perfectly place, but for the most part, this is Cora’s nursery. I feel like I say this in every blog post but if we owned our apartment, there would be so much more I’d do to the nursery. But we don’t. But I’m still so happy with our cute and quirky nursery.