DIY Friday – travel pet pillows

Around this time last year when we were away on holidays, I shared a little picture of the pet travel pillows I made especially for us to bring with us since we’re crazy cat people to our core and really miss little Juniper and Toshi while we’re away. I figured being able to smoosh our faces into poor replicas of them would stave off a small amount of home sickness whenever we’re away. And since we’ve brought them with us 3 times since, it actually works!

And here’s how I did it …

Last year when I made these travel pet pillows, I had taken photos of each step, but when I went through my external hard drive I couldn’t find a single picture. So apologies for the lack of tutorial photos. It’s a fairly straight forward project anyways, and I’ll try to explain as best as I can how I did it. 

I first photographed Juniper and Toshi on their own, in good light, making sure they were facing me and being their cute selves. I opened each photo in Photoshop [or the Linux equivalent ‘Gimp’] and traced around them using the paint tool set to white. I carefully did this and coloured out the rest of the photo until the entire photo was white, with the exception for each fur baby. 

I saved each image as a jpgon a USB key and went to one of those gift kiosks in a local shopping centre that specialises in printing images onto objects. They printed Juniper and Toshi onto a square pillow each. As these were going to be travel pillows and the smaller they are the better, I sewed the pillow closer to the silhouettes of each cat and filled them with extra stuffing I had. That’s it really! 
We bring our travel pet pillows every time we’re away from home. Even during our Christmas holidays when we’re staying down the road with family for a few days, our pillowed kittens come with us too. As crazy as it sounds, it’s a little ritual we now have to take Juniper and Toshi out when we first get to our hotel and squeeze them a bit. 
Husband even has a few sneaky photos of me passed out, face mask on with a kitten pillow under each arm for every holiday we’ve been on since I made them. And no, you won’t find those pictures hitting the internet any time soon. Sorry 😉

Collections

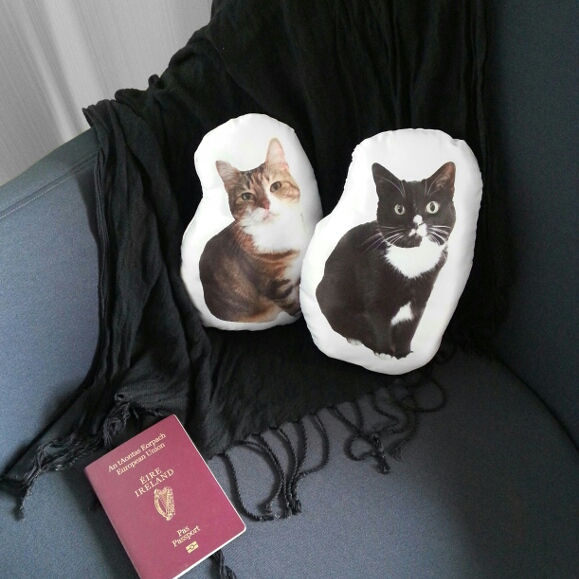
If I told you I have only a handful of things I collect, my husband would laugh in my face. He’d immediately correct me with “you collect pillows, empty boxes, wrapping paper you never use and handbags to name a few“. Well, yeah. That’s true. I have a lot of all of those things. Although I will say I only have 7 handbags, which as I’ve tried to convince husband, ain’t a lot in lady terms. 

I’m very conscious of the fine line between having a quirky collection and being a full blown hoarder. I’m quite ruthless in recent years when it comes to cutting clutter, but there are a small few things I enjoy collecting that aren’t taking over our apartment. Yet. 

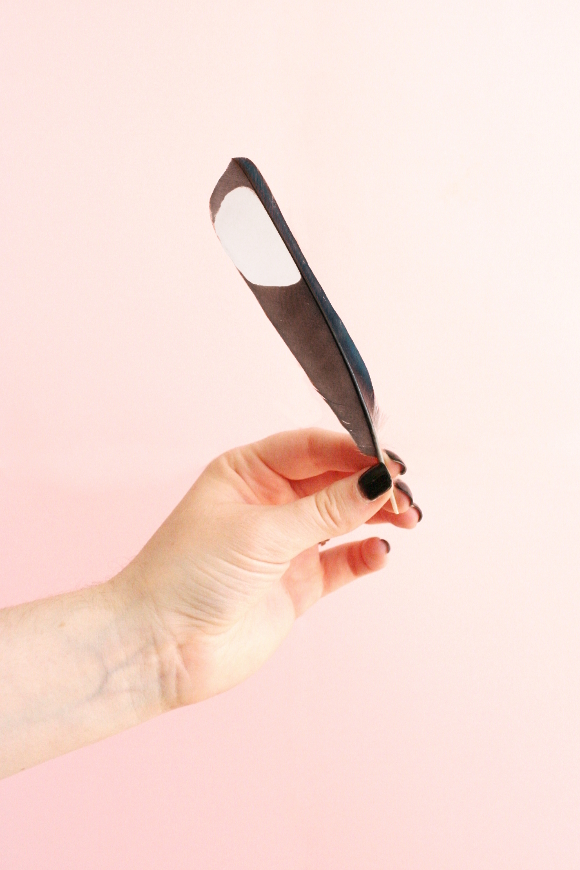
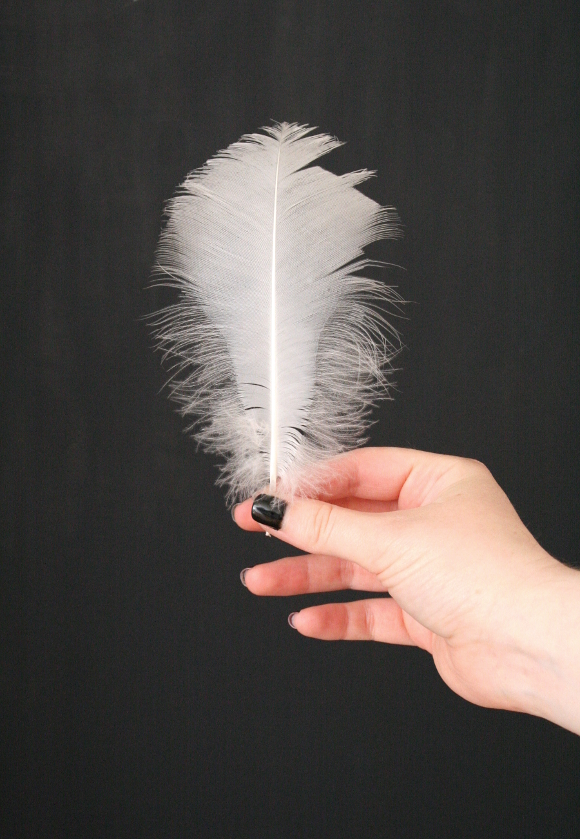
FEATHERS – oh, I can’t resist a pretty feather. If I see one that’s particularly lovely, I will go out of my way to pick it up. My two favourite found feathers are a dotted magpie feather and a swan feather I rescued last year after a lawnmower went over it. I just can’t help myself. But I have no idea how to display them. At the moment they’re just sitting on our shelves, safely out of reach from furry paws.

WHISKERS – when I say 
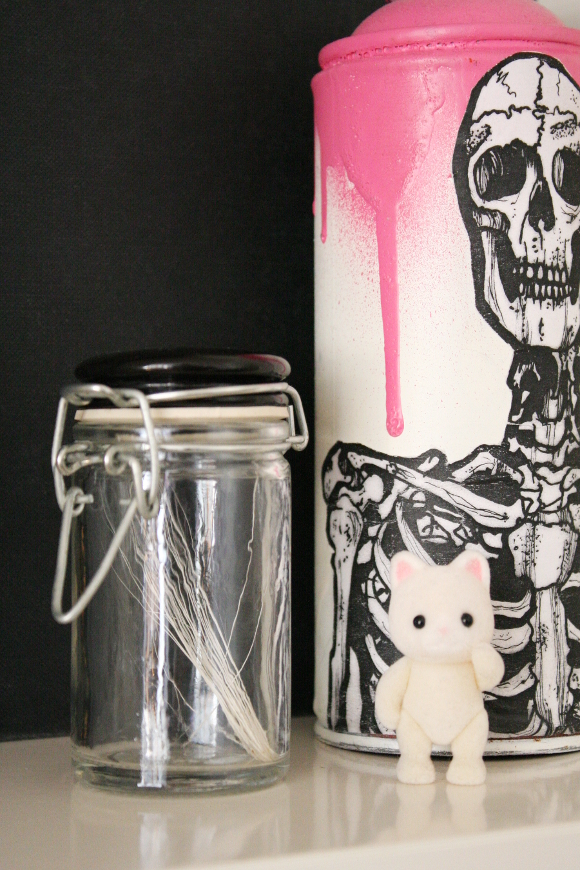
I collect whiskers, it sounds really disturbing. No, you don’t need to call animal welfare; I don’t pluck our cats faces. These are whiskers I find around our apartment when I’m tidying. When I spot one, I talk in an embarrassing cat mom voice and add it to the little jar my cousin gifted me last year from 
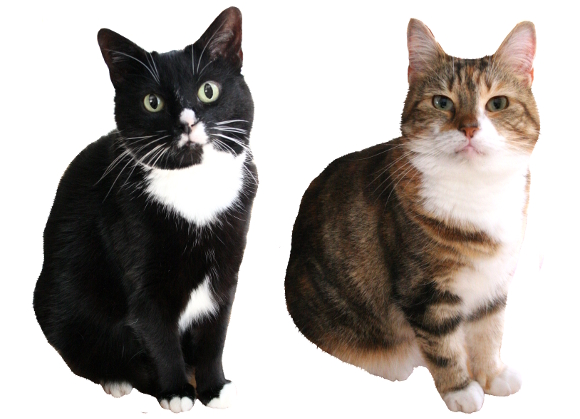
Tiger. It is literally the purrfect size. Both of our cats have white whiskers, so I never know if they came from Juniper or Toshi. 

Also, I don’t know if it’s a midlife crisis, but I’ve always adored the Sylvanian Families, but never had them when I was younger. I’ve collected two kittens recently, and I can easily see myself getting a giant collection. Yes, I took their clothes off. Our cats don’t wear clothes so neither are these guys. They are just SO SAWFT AND FLOOFY

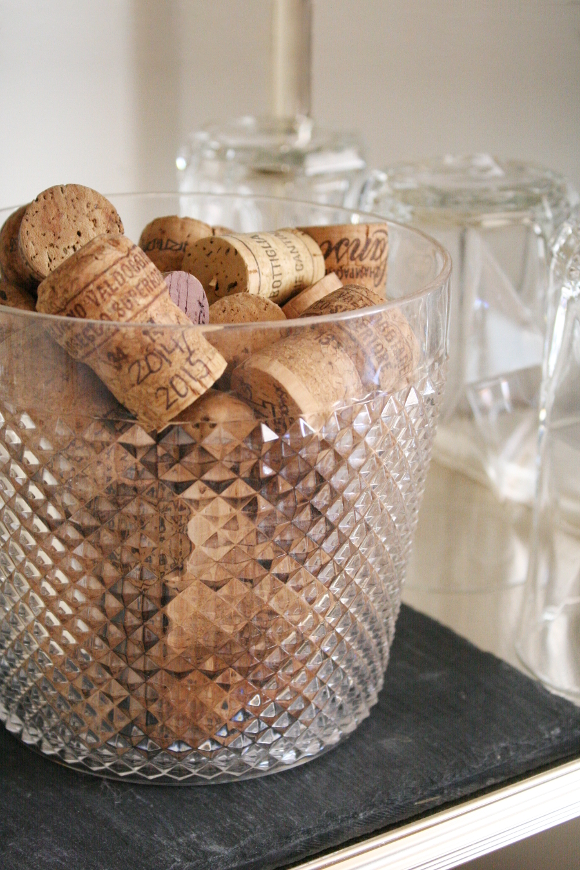
CORKS – I’ve written about our cork collection before, and it’s a tradition of ours still going strong. Whenever we celebrate a special occasion and a non-screw-top bottle of wine is involved, we’ll keep the cork and write that days details on it. We have corks from our anniversaries, holidays, wedding, honeymoon, Christmas, New Years, birthdays, and silly occasions such as our landlord not increasing our rent one year.

So tell me, do you have any weird or unusual collections? Are the collections you have things you buy or things you find? And how do you display your collections?

Also featured – skull can artbar cart

How to repair cat scratched leather


Today I’m sharing my second installment of “embarrassing repairs I’ve made, but I’m sure I’m not the only one with this problem so I’ll share how I fixed it“. The first installment being how to repair a flatwoven rug.

As any cat owner will know, cats have a natural urge to sharpen their nails. I would like to take this opportunity to say our apartment is not tore up from the floor up. It is not shredded and covered in cat scratches. I have zero tolerance for those things. It’s a case that Juniper chose to pick one of our dining room chairs [seen as the farthest right chair in this post] in a place that we don’t see. This is the worst damage they’ve done to date as I’m usually pretty on the ball. I’ve gotten Juniper something else to scratch since, so let’s not get too mad at her. She is after all, adoraballs and just doing something natural.

But should you also have a furry friend than enjoys using leather furniture for target practice, do not fret. You are among friends. There is a way.

What you’ll need
– curved manicure / fine scissors or nail clippers
– leather shoe polish to match


Step 1 – using a fine or curved pair of manicure scissors, trim the stringy scratches off the leather. Trim them as close to the leather as you can, without cutting the leather itself. This is where I find manicure scissors and / or nail clippers very good. Take your time. The more detailed you are, the better it will turn out.

You’ll end up with something like this …


Step 2 – once you’re happy with your trimming and you’ve cut the loose scratches as close to the leather as possible, it’s time to add the shoe polish. As the scratches are a much lighter colour than the leather, make sure to mush the polish into every part of the scratches. I did this in a circular motion. I didn’t have to do many layers and the shoe polish quickly covered the damage. Allow to dry for a couple of hours before use*.

No, it’s not a perfect finish. No, I’m not a furniture restoration expert, but I have repaired a couch or two in this way over the years and it’s worked a treat. I repaired the chair to the point that it is unrecognizably scratched, unless you point it out.

I do however know that the only way to prevent this from happening again is to make sure your cat has cat-friendly items to scratch and to keep an eye on what areas of your home they are choosing to scratch in. Our girls have their recycled cat scratching post and Toshi occasionally has a good go at our basket, which I’m okay with for the moment. I also trim both our cats nails every two weeks to make sure they don’t do too much damage.

*ADDITIONAL NOTES:
the shoe polish I use doesn’t rub off once dry [I used the W5 series shoe polish available in Lidl]. I didn’t buff it, but just let it dry. Please be aware that some polishes may rub off, so follow the instructions on your polish accordingly.

To conclude this post and to hopefully cancel any ill thoughts you may have towards her, here’s Juniper doing what she does best – exposing her fluffy belly and softer-than-clouds paws. I dare you to get mad at that face.


How to repair cat scratched leather using just two household items!