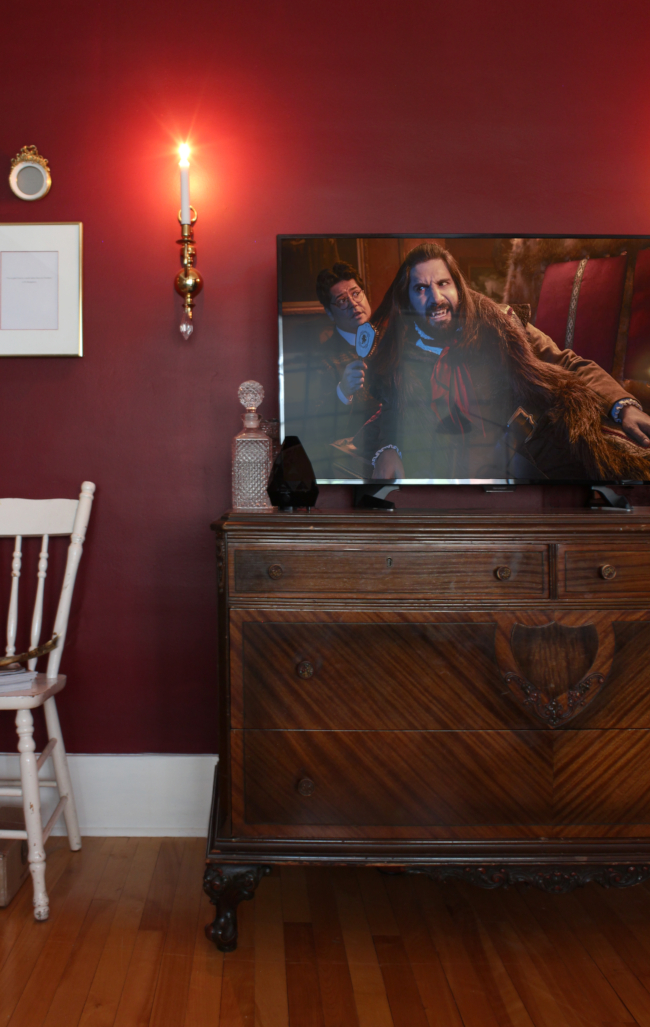
On my way home from work last Friday I saw something on the side of the road that caught my eye. It was dirty and dusty but beautiful and had the word “FREE!” written in chalk on the sidewalk underneath it.
I called Robert to help me carry it inside.
“And where is this going?”, he asked. “In the living room. The TV is going to sit on it”, I replied. “But we already have the TV on something. It’s on the hutch”. “That hutch is going into the bedroom – where we need it more!”
Honestly, why don’t men catch on quicker to intricate plans that we’ve devised and formulated entirely in our heads over months and never shared with anyone? It’s really not that hard.
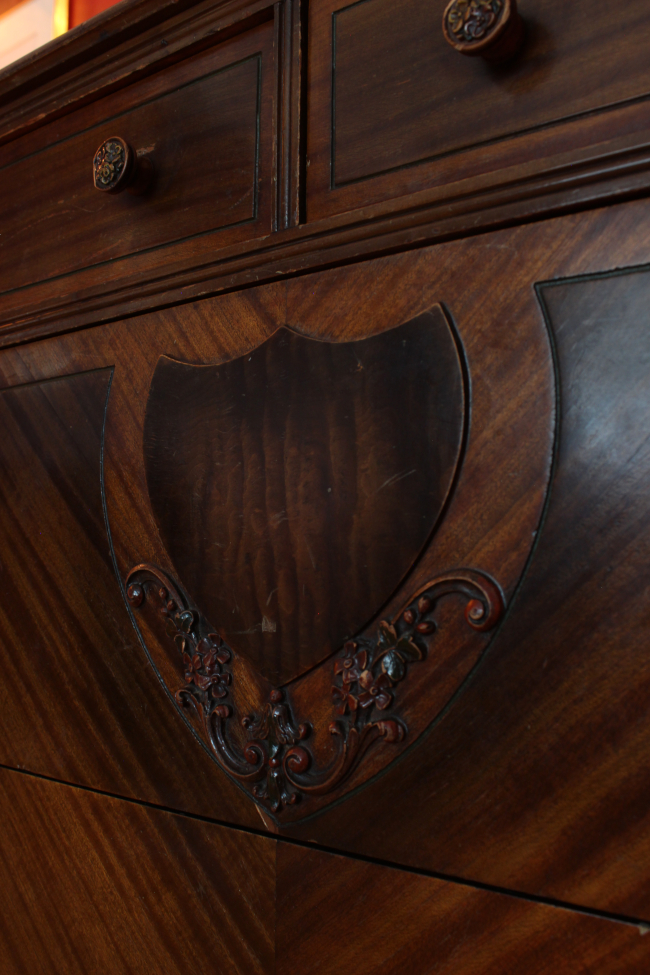
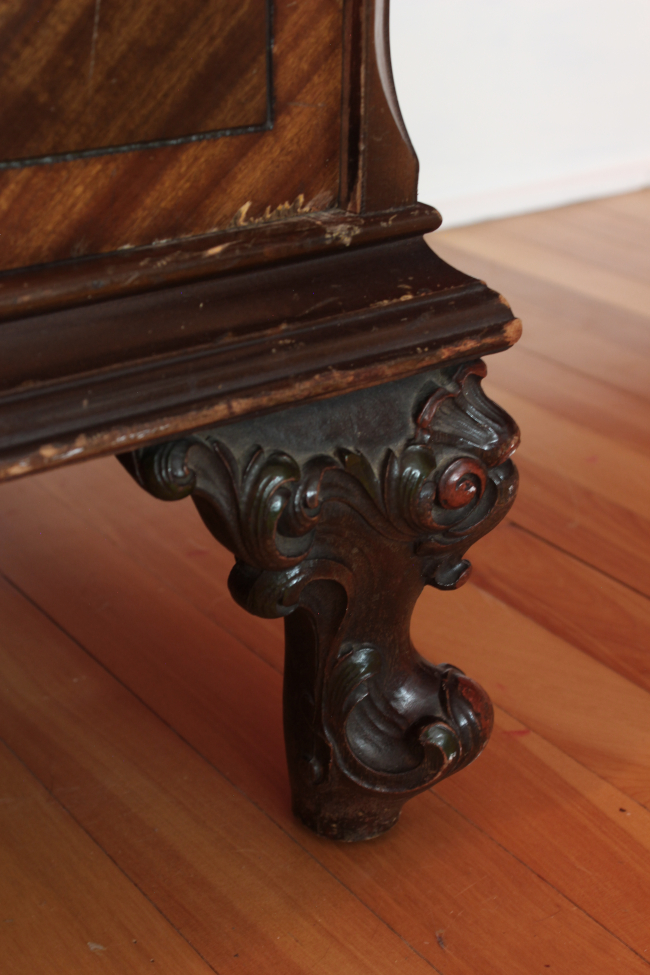
I mean look at it. There’s no way I was going to let it stay one moment longer on someone’s lawn. It’s beautiful! It has sweet carved flowers and scrolls across the dresser and on handles. It’s difficult to see, but in places the flower details are stained red and green, but they are long worn down and faded.
I have no intention of touching-up the scratches or distress marks for the time being. We all have our scars and shouldn’t feel the need to hide them. And for what it’s worth, I have absolutely no interest whatsoever in painting it.
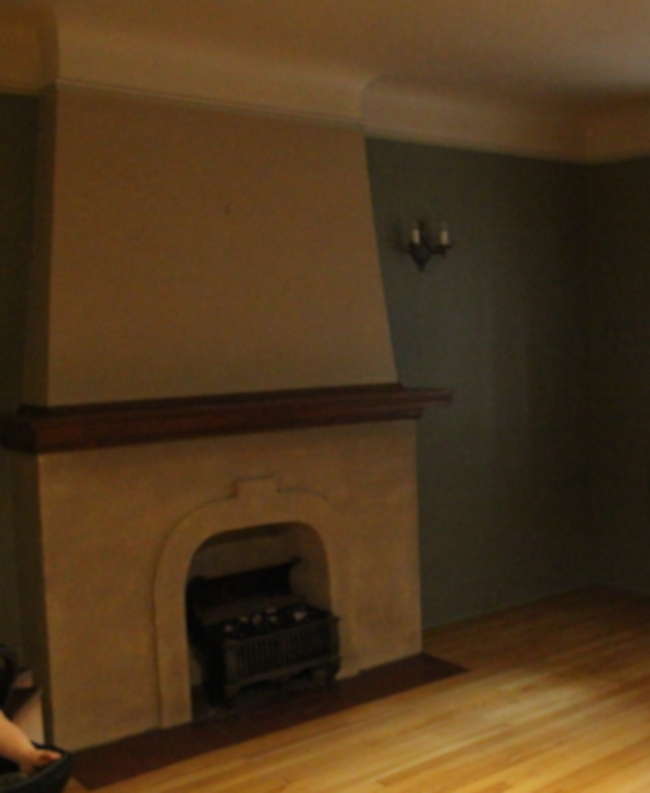
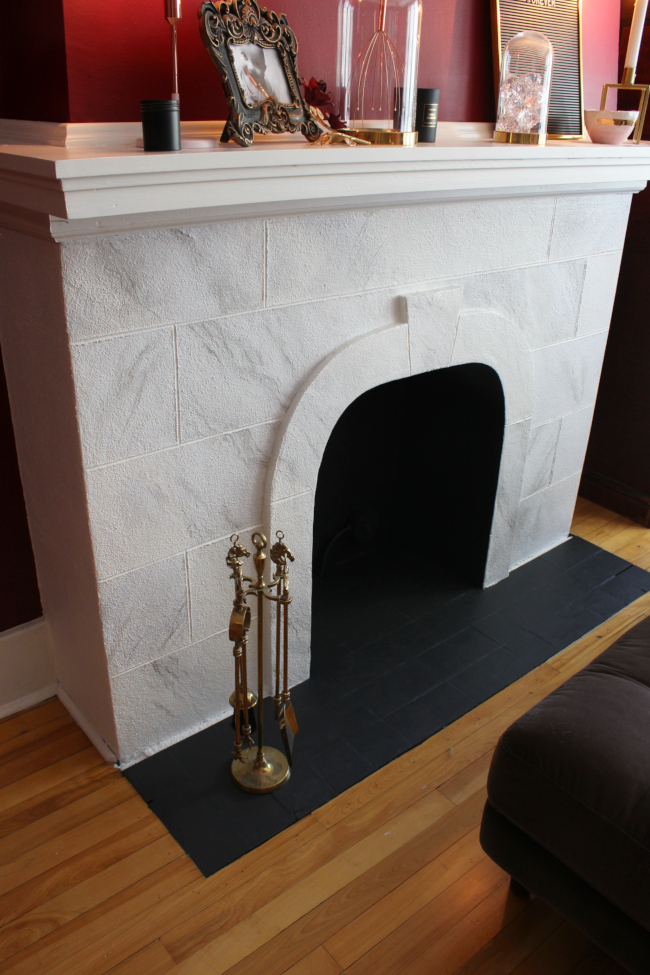
I don’t want to admit how long I’ve been working on updating our fireplace but it’s getting close to 2 years at this point. I painted the fireplace white when I painted our living room burgundy in November 2017. When we first moved in the walls in our living room were a blueish shade of grey, the picture rail was a second shade of grey, the fireplace was two shades of beige and the ceiling was a lighter shade of beige. It’s a horrible before photo below, but this is the best one I have …
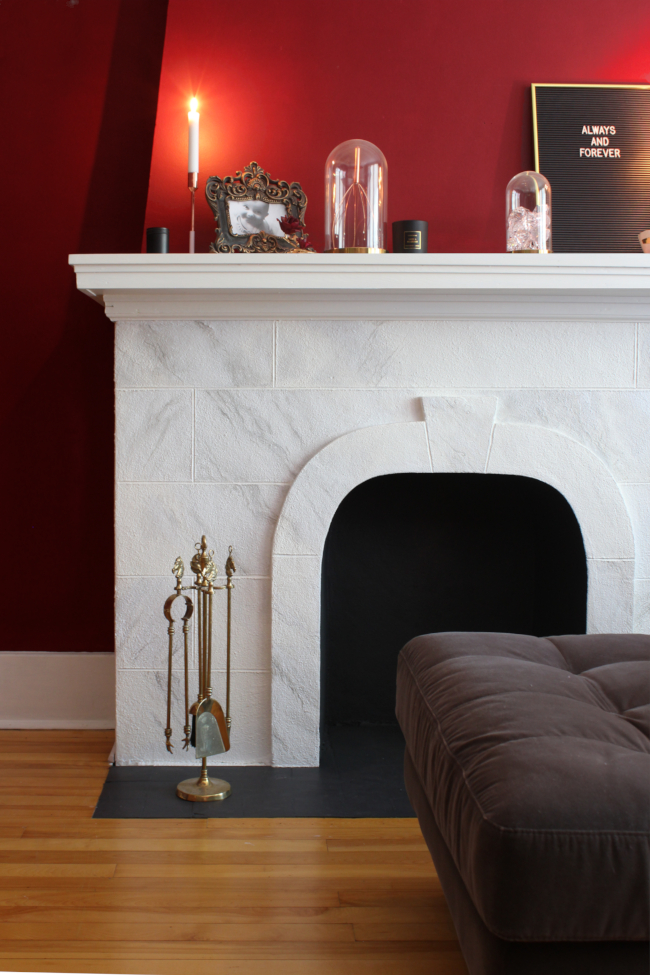
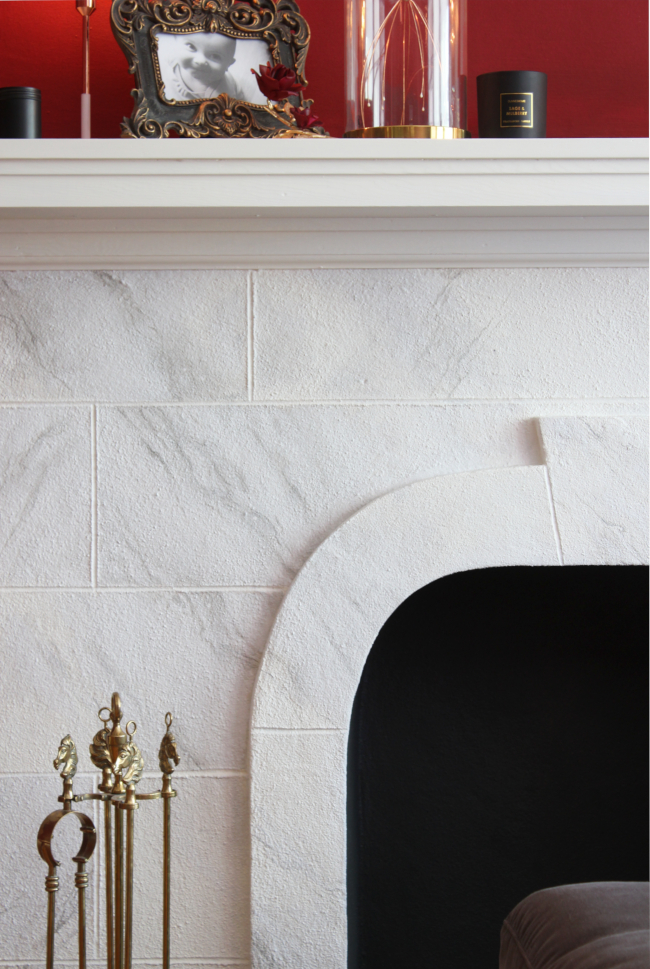
Considering the unusual shape of our fireplace, I thought the best way to highlight it would be to paint the fireplace and the mantle white against the rest of the burgundy walls. It was around the same time I painted our dining room hutch makeover in ‘Coal Black’ that I thought about painting the inside of the fireplace a dark colour. Along with Coal Black paint, Fusion Mineral Paint sent me their dark grey shade of Ash. It would be perfect for the inside of the fireplace as it was beautifully dark without being straight up black. Fusion Mineral Paint also sent the sweet shade Little Lamb grey which I immediately knew would be perfect in faux marbleizing the fireplace.
For a long time I didn’t know exactly how I should paint it so I got stuck [anyone else get stuck thinking for so long that they get more and more overwhelmed by a project?]. For about 6 months our fireplace sat half-painted, until only recently when I finished marbleizing the fireplace [overwhelming work schedule + a toddler transitioning into a threenager], but I’m really happy with how it turned out!
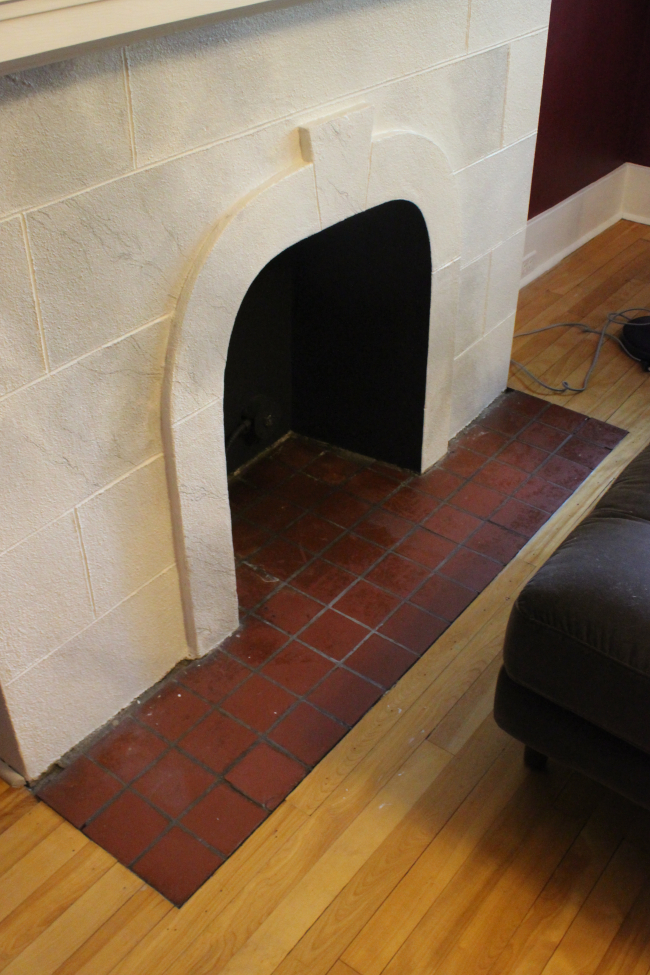
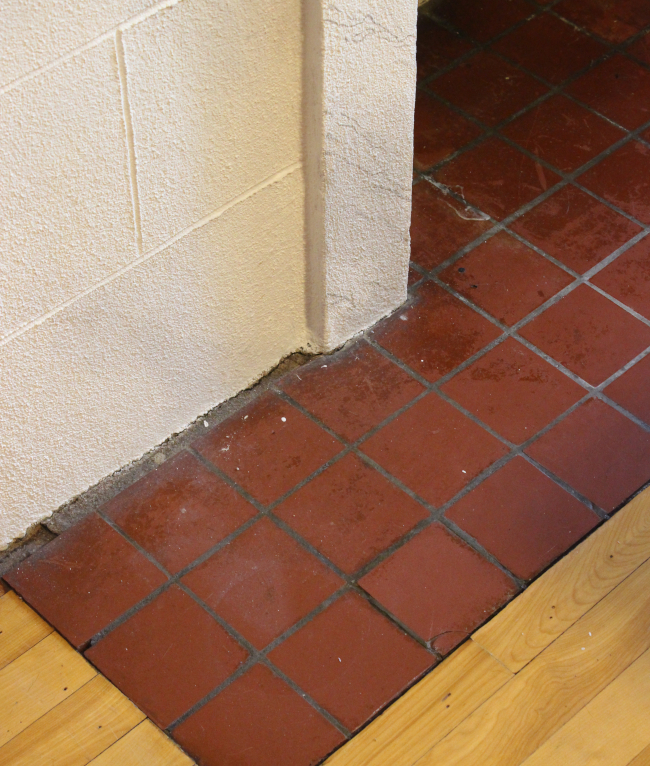
A very last minute decision I made that really brought the fireplace together was to paint the tiles in the same Ash paint as the inside of the fireplace. Fusion Mineral Paint adhere’s perfectly to tiles, especially in this situation as it’s not a high-traffic area. The tiles weren’t in great condition to begin with and weren’t historic to the property, so I took a chance and painted them. It really pulled the fireplace together and made it look like a complete unit. I think so at least!
It was quite a surprisingly easy process faux-marbleizing our fireplace with Fusion Mineral Paint. Despite it being quite a bumpy surface, I think it still looks relatively convincing. At the very least, it looks better than it did before. I also took some step-by-step photos of the process and I’m hoping to be able to put together a tutorial for exactly how I did it. There are a lot of photos and I figured it would be overwhelming to have them all in one blog post.
I’m hoping to share a tutorial in the coming weeks about exactly how I faux marbled our Fusion Mineral Paint fireplace. A huge thank you again to Fusion Mineral Paint for partnering with me on another makeover project and for sincerely having such incredible and versatile paint.
DISCLOSURE – while this post is not sponsored, I did receive this paint free of charge from Fusion Mineral Paint in exchange for a blog post. I only work with brands that I like and of course, think you will too. Thank you for supporting the companies that support The Interior DIYer.
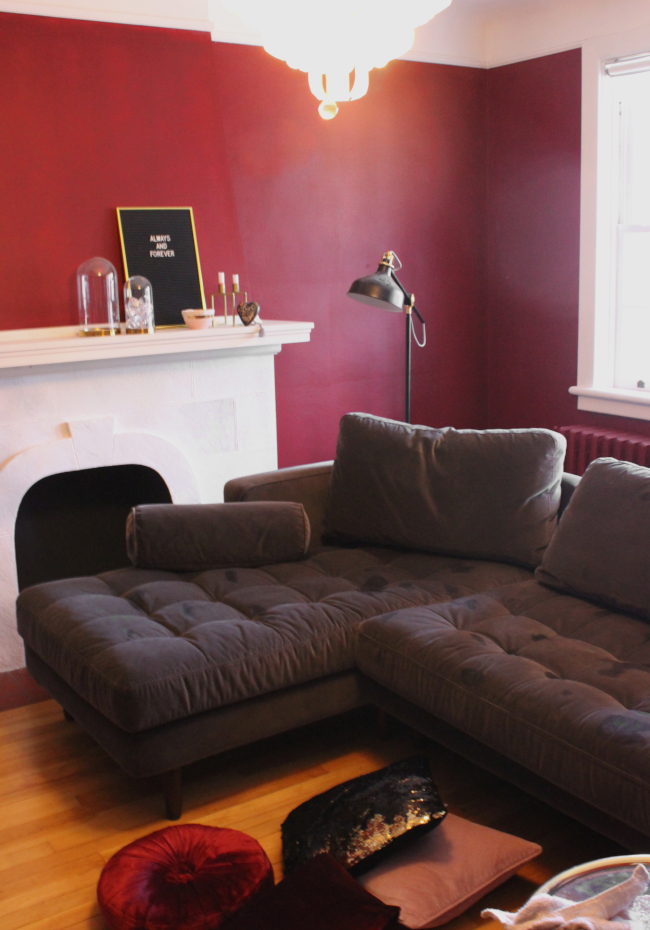
We’ve had our sleek velvet Sven Sectional Sofa from Article for almost a year. It’s still as beautiful as the day we got it, but on occasion I’ve had to spot-clean it. The first time we were in such a situation was on Christmas morning; Cora was so excited about Santa that she forgot she desperately needed to pee, so she peed on the couch. It wasn’t her fault as she was new to potty training and we were all so excited on Christmas morning that bladders were the furthest thing from all of our minds.
After uttering some expletives under my breath, with some quick moves I was able to avoid the pee issue from getting out of control. I’ve since had to spot-clean our couch a few times and now that I’m more confident about cleaning it and have learned first hand what to do and not to do, my next immediate thought was how much SEO I could get from such a blog post and how any clicks I could get via Pinterest because I’m a heartless blogger.
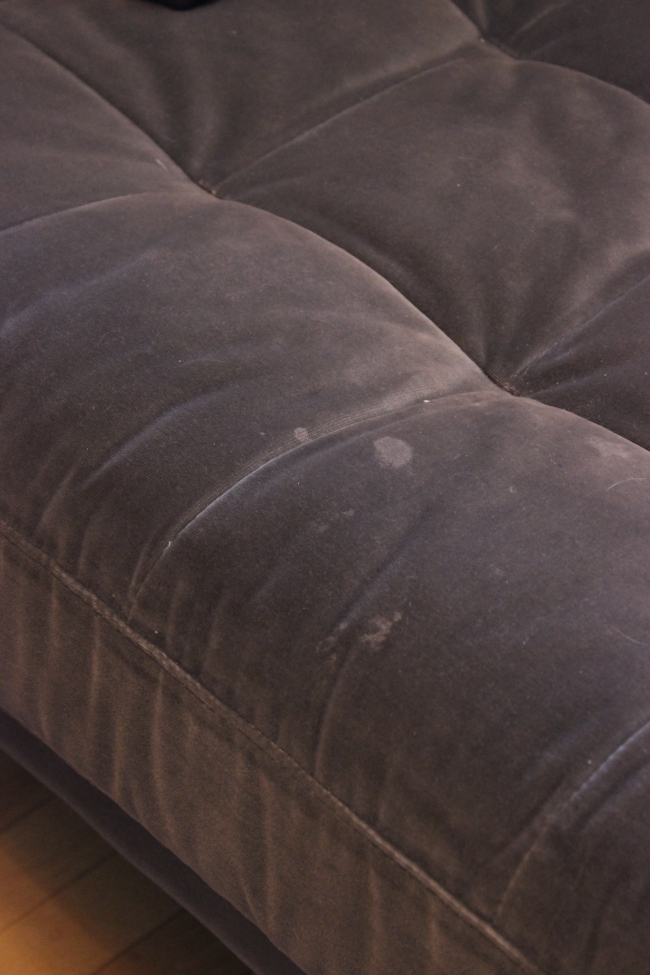
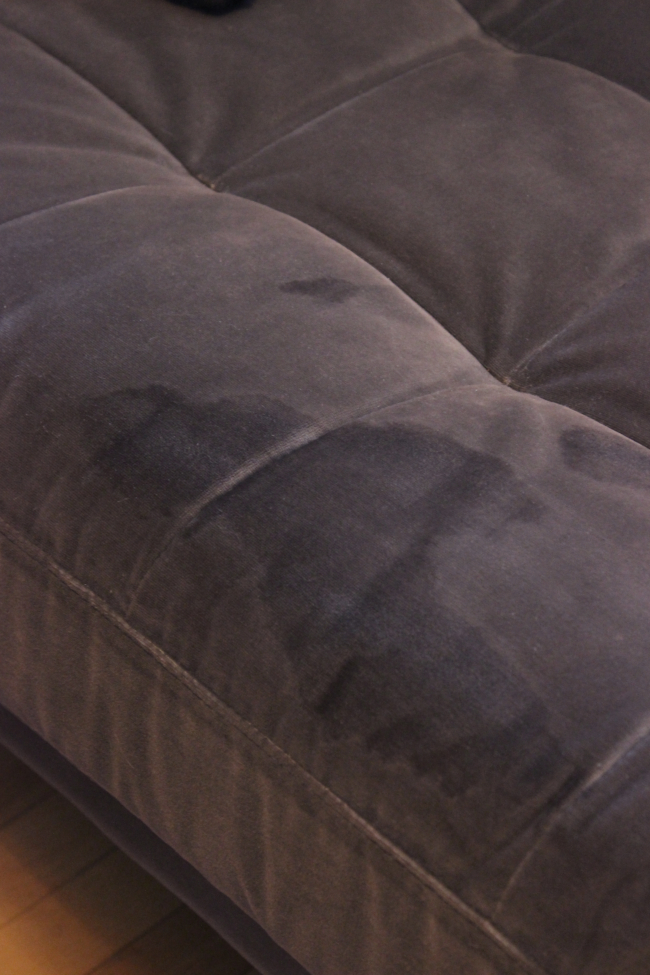
Above is an example of a few typical stains our couch can get on occasion. Are those stains from a drooly cat? A momentary carefree coffee break? A toddlers runny nose? A late night Netflix marathoning spilled drink? A toddler who broke free from the dinner table without being properly wiped and dove face-first into the couch? Or the tears of a parent who just wants 20 minutes of peace and quiet? God knows because I don’t. I’m realistic about owning a velvet couch and it’s something you should also be aware of. SPOILER ALERT: IT’S GOING TO GET DIRTY. But it doesn’t have to stay dirty. Here is how I spot-clean our couch …
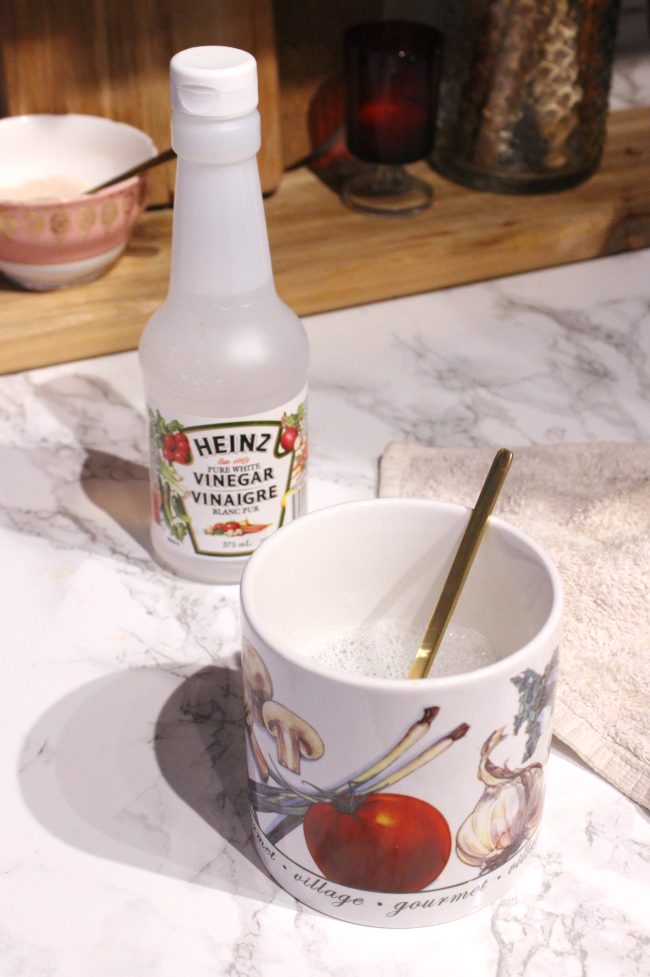
Mix the following ingredients in a bowl: – 1 tiny drop of dish soap. I mean miniscule. So small there’s barely a drip – 1 teaspoon of vinegar – 1 cup of warm water – a cloth to spot clean
An important step is to find out what direction your velvet runs. The velvet on our sofa runs from left to right. Meaning, when I run my hand from left to right along the couch, that is the direction the velvet is running the smoothest. When I’m cleaning our sofa, I clean against that grain. Meaning, I clean up and down to agitate the stain out of the fabric.
Using your cloth, dab it in the cleaning solution and clean your velvet by brushing perpendicular to whichever way your velvet runs. If you’re nervous, it’s best to clean lightly at first, and if needs be, get more rigorous. It may take a few minutes, but as soon as the stain has lifted, it’s important that you finish your cleaning by running the cloth with the grain of the velvet so the velvet dries in the same direction as the rest of the velvet. I for example, finished the cleaning process by wiping the cloth from left to right to smooth out the velvet.
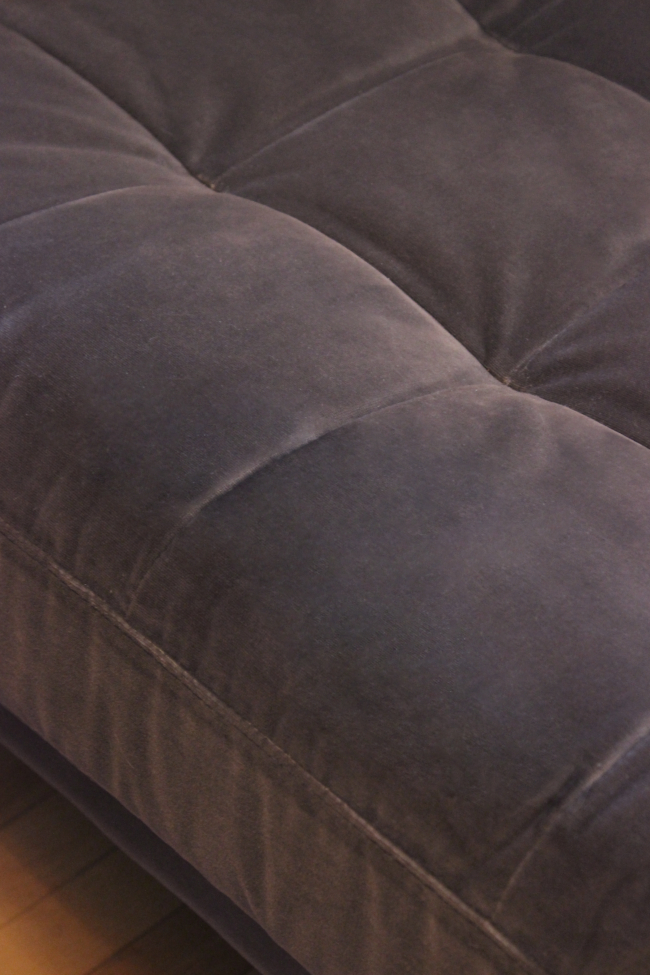
You can see a smoothed clean version below:
REMEMBER: when your velvet dries you will see a bit of an outline of where you cleaned it. This is okay. Try not to panic. You just need to wear-in the velvet a bit to bring it back to its normal self. Use your furniture like you normally would [ie – smoosh your butt around on it] and within a day or two, the patch you cleaned will blend right in with the rest of the velvet and will return to normal.