– Paint one door or one room of skirting boards at a time. Otherwise you’ll crash and burn and never finish the job.
– Remove the hardware [aka, door handle, escutcheon etc]. Do not attempt to paint around them. It will look really, really bad and be really obvious.
– Sand the doors / skirting boards with medium grade sandpaper then wipe them down with a rag very lightly dipped in turpentine.
– Store the turpentine rag in an old plastic lunch box [tightly sealed] as you’ll need it again for the next door.
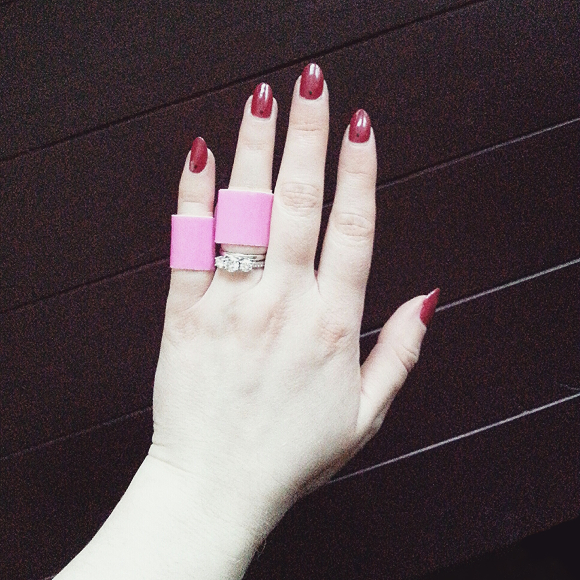
– Be careful while sanding. I accidentally sanded my knuckles off a couple days before I had to be a hand model. Don’t do that. It’s really painful if you plan on bending your fingers at all during the following week.
– I used 2 cans of Dulux’s Stay White with Aquawash Satinwood paint to repaint all the skirting boards and doors in our apartment. It’s water based and I wildly prefer water based paint.
– I added a little bit of water to the paint so it was less thick. This will only work with water based paint.
– I used a wide brush for painting the doors and a thin brush for the skirting boards.
– Don’t overload your brush with paint. Thin coats win.
– When applying the first coat, start from the top. Remember, thin coats. Otherwise gravity will point out your cakey flaws and drips will form.
– Allow the first coat of paint to dry for at least 5 hours. Preferably leave it for the day.
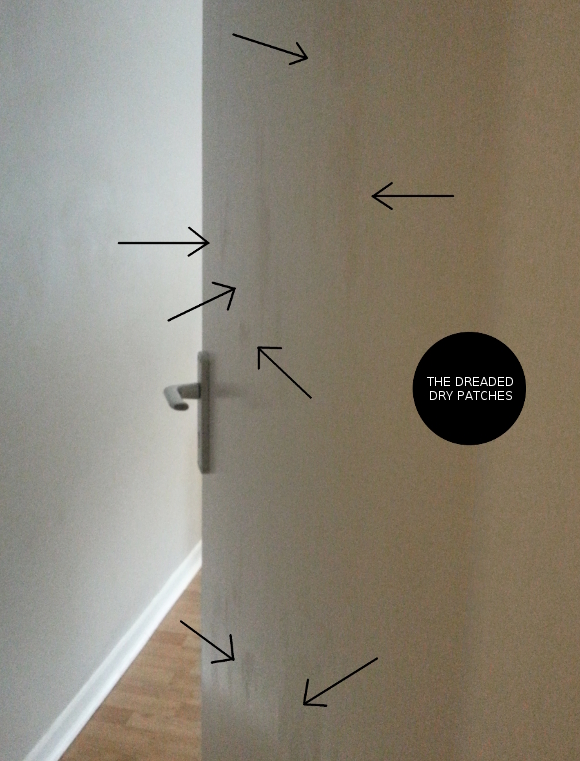
– When adding your second / final coat of paint, ADD IT QUICKLY AND EVENLY. I cannot stress how important this is. You MUST add the paint EVENLY in one uniform go otherwise the paint will dry unevenly and you’ll be left with dry patches and you’ll have to start over. If you do end up with dry patches, it’s okay. It happened to 3 of the 9 doors I painted until I realised what I was doing wrong, then started painting them quicker and evenly. Once I did this, the doors were perfect. If you have mistakes[see below], just wait and start a fresh coat the next day. Remember it’s better to do it right then leave it half-assed.
– Got paint on your wood floor? Don’t worry, so did I. I used a palette and scraped it off once it was dry and swept it away. Easy peasy.
– To save having to wash your paint brushes each time, simply wrap your brushes in clingfilm and leave in the cupboard and unwrap for when you paint the next door / skirting board. I stored mine for up to 2 weeks.
– Painting the skirting boards was MUCH easier. I still sanded and wiped them with turps, but I didn’t have to wait as long between coats of paint. I actually found it quite relaxing and the most rewarding as I think discoloured skirting boards are much like a guy in a suit wearing wildly innapproriate shoes; it’s fine until you look all the way down and once you catch that tiny detail, your eyes want to fall out.
I’m not an expert at painting doors and skirting boards, but I learned a lot while painting the 9 doors, front and back, throughout our apartment. I did learn some tricks and how to recover gracefully from the mistakes I made, so I hope the above was at the very least helpful to those of you looking to update a door or two and now know what to look out for.
Happy Friday, homies and I hope you enjoy your long weekend this weekend, laden with chocolate xx A


"Needless to say, the paint did not take to the idea of aging well. Worse than Meg Ryan and Madonna in fact."
LOL!!! I love how you write!! You've managed to make a boring subject like painting interesting. And you're reminding me to paint our back door. I really don't want to though LOL!!
I know all too well about not wanting to actually do it. But just think of how much better you'll feel once it's done! And how sharp it'll look. You can do it!
Please come and paint my doors and skirting boards – the most unrewarding painting job ever. But srsly I need to do it. xx
You can lure Maria and I over in the hopes of #DrunkInteriors2, but enslave us to the task of repainting all your doors and skirting boards. The sad thing is, I'd probably really enjoy it! Ha!
I take my hat off to you – all those doors!!! Good tips.
And the Cloon-meister in his flipflops – hahaha!
xx
Knew you'd like that bit, Maria! 😉
Handy tips there missus! Question, did you use good old sheets of sand paper or an electric sander?
Good question! I used sheets of sandpaper on a reusable handheld sanding block. I trimmed them to fit the handheld sander block and swapped it out with new stuff as I went.