Bedroom dresser update – reveal!

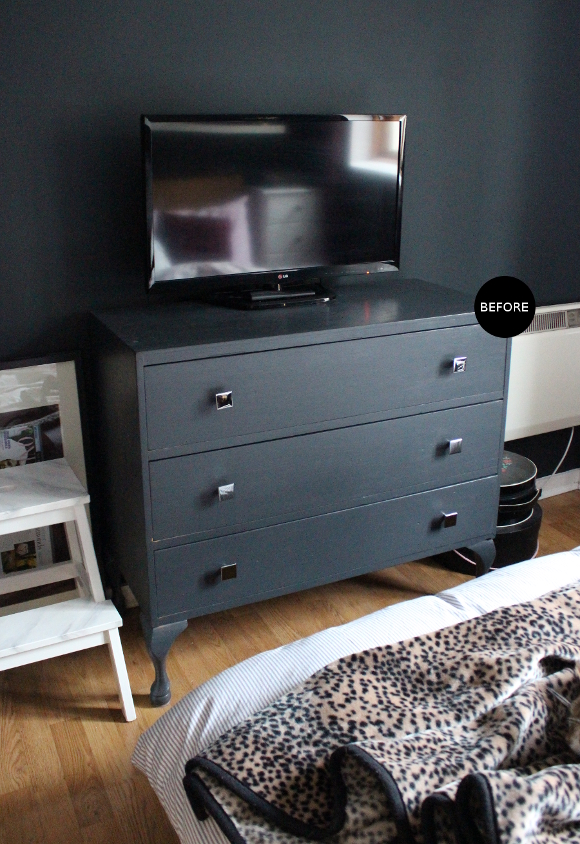
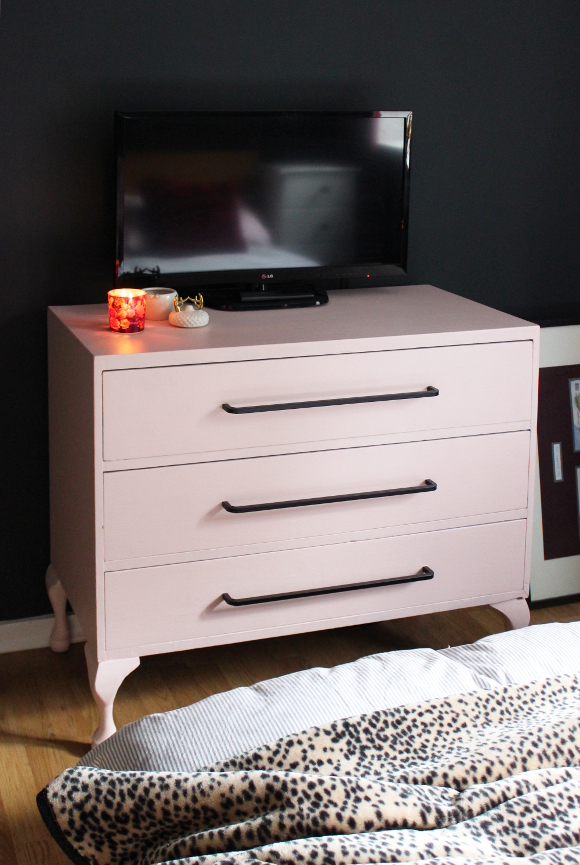
It may have taken me close to two months to do it, but I’m very excited to at long last be able to share our updated bedroom dresser! 

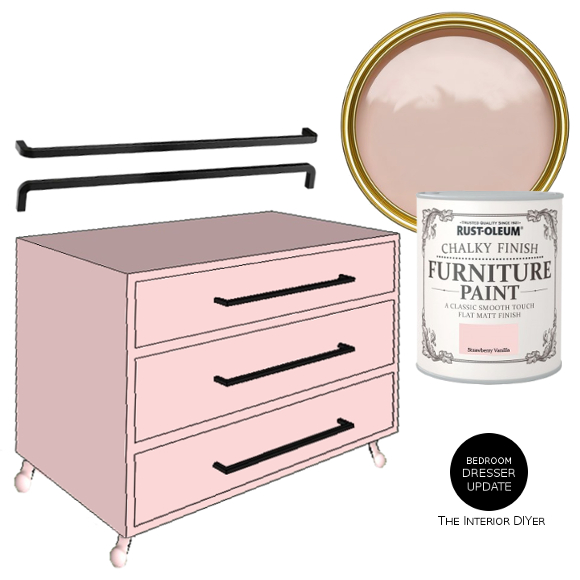
Around this time in December Rust-Oleum got in contact about working on another project. Our bedroom dresser was in serious need of being updated so I chose to repaint our dresser with Rust-Oleum’s Chalky Finish Furniture Paint in ‘Strawberry Vanilla’ and topped it off with some of their mat Furniture Lacquer [you can read my full design decision making process here]. It took much longer than expected to update our dresser [a handle order that went wrong + having a newish baby = things now take 42 times longer than I’d like], but despite the delay, I’m more than delighted with how it turned out. 

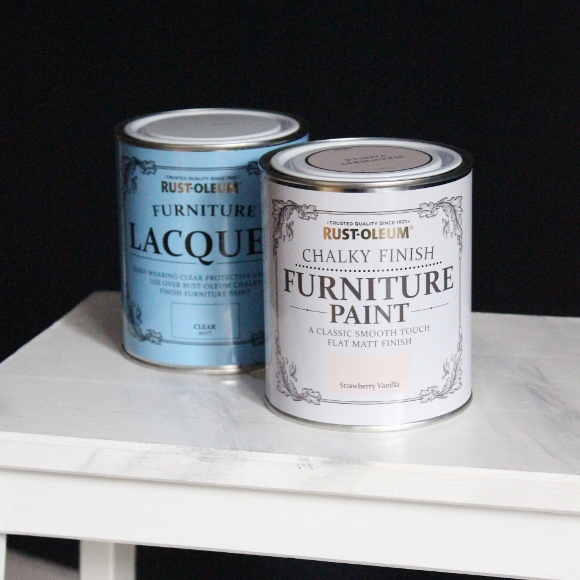
Because our dresser was so dark, it took 3 coats of ‘Strawberry Vanilla’ to cover the previous paint. I let the dresser dry for about 6 hours between each coat before adding the lacquer finish. I added two layers of lacquer as our dresser gets a lot of use and is also in a high traffic area in our room. I thoroughly mixed the lacquer, applied the first coat and waited 24 hours before applying the second coat as per the instructions on the tin. My one mistake was I didn’t thoroughly mix the lacquer before I applied the second coat and the second coat came out streaky. This was simply because the lacquer had settled in the tin between coats. I mixed it really well and applied a third layer of lacquer and it turned out perfectly. Because I added 3 layers of lacquer altogether, I let the dresser dry fully for about 2-3 days before putting the drawers back in and placing anything on top. 

Something I found really handy was applying the paint and lacquer with a small sponge roller. Using a sponge roller meant each layer was applied to the dresser and drawers from start to finish within 20 minutes. Whereas if I had used a brush, I’d say I’d still be working on it. 

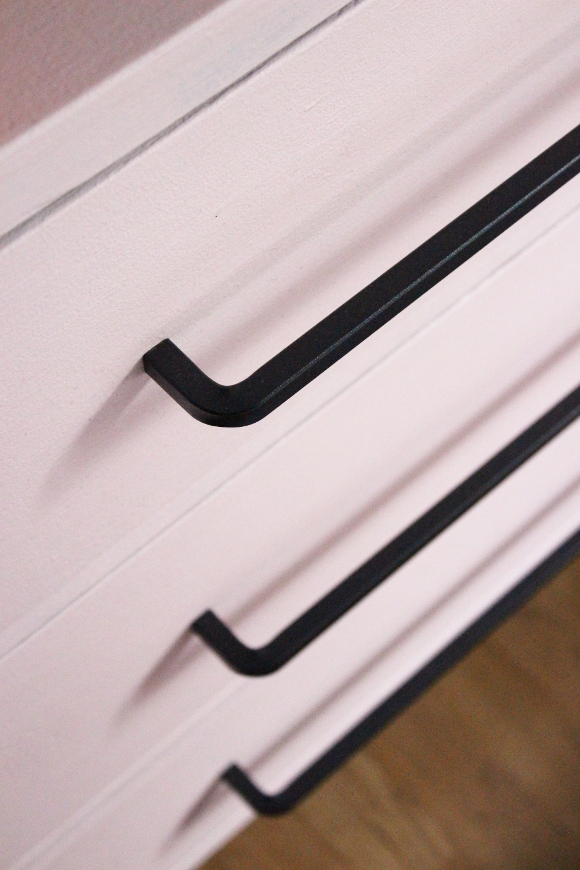
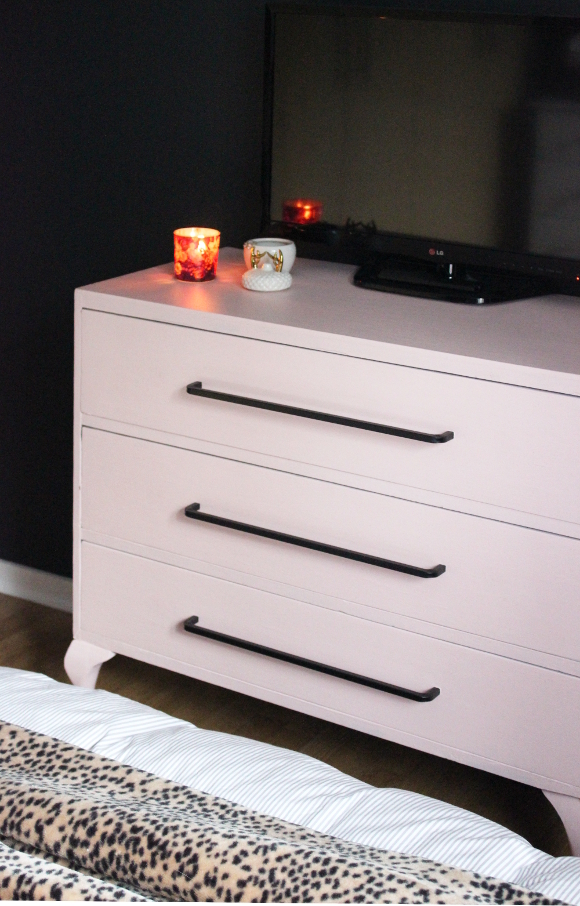
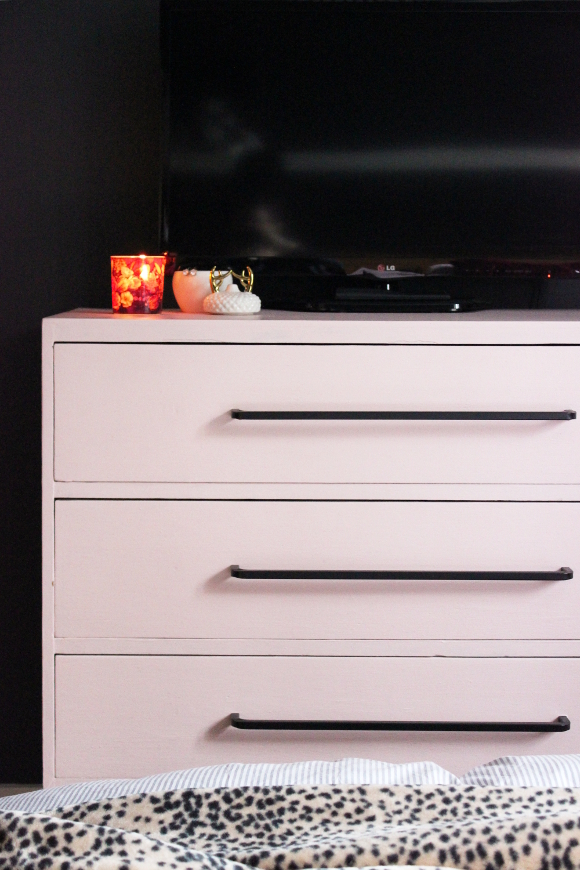
The black Ikea borghamn handles really finish the dresser and work perfectly with the antique pink. I’m all about strong contrasts and juxtapositions, so the strong black handles balance the lightness of the dresser and tie it in with the rest of our room. They make it – dare I say – a bit sexy? 

I don’t want to sound overly dramatic, but I’m really in love with our dresser now. The reason I love interior design so much is because of the mental health benefits that come from updating a space. How one change to a room can make such a huge difference to a space and how you feel about that space. Our room was feeling a little bit dreadful these past few months, but a few coats of paint have really made such a difference. 

DISCLOSURE – while this blog post is not sponsored, I did receive this paint and lacquer free of charge from Rust-Oleum. As always, all words and opinions are my own. I only work with companies I like and of course, think that you will too. Thank you for supporting the companies that support The Interior DIYer. 

Also featured – faux marble bedside tablesfaux marble step stool – our engagement story [in the large picture frame]

Bedroom dresser update – the plans

Ever since I painted our bedroom black the night before Cora was born, there were a few things that needed to be updated. Our black curtains were one, and our dark grey dresser was another. Don’t get me wrong, I love black and wear nothing but black all the time, but there was too much of it in our room. Our dark dresser was now too close to the colour of our bedroom walls, and since we now had a baby, repainting a dresser was pretty low on my priority list.

At the beginning of December, Rust-Oleum got in contact about working on another project and asked if there was any furniture of ours that needed updating. I immediately thought of our bedroom dresser so took it as a perfect opportunity to update it in a completely new way.

Here’s what our dresser looked like before [and even before that – yeesh]. I spent a few days on Pinterest and decided on the lightest of pink paint. Rust-Oleum’s Chalky Finish Furniture Paint in ‘Strawberry Vanilla’ was perfect, topped with Rust-Oleum’s Furniture Lacquer to give a protective finish to the chalk paint. At first I was thinking of making our dresser very ornate with gold handles and add wood appliques to the drawers [kind of like this], but the longer I thought about it the more I realised it would be bad-fake [I’m not too keen on fake antiquing, unless it’s done really well and I didn’t think I could]. Our dresser is old and very possibly mid-century-something, so I decided to stick to a design that suited it a bit better. And something a bit funner.

Because our apartment is so small, there’s not much space between the end of our bed and the dresser. Our knees / pockets / hips were forever getting caught on the current handles, so I was on the lookout for a long handle that wouldn’t catch on our knees / pockets / hips. To make things just a bit more awkward, I wanted a handle that would fit the existing holes which were placed 416mm apart. I found a beautiful pair of handles on Etsy, but the order became not only very delayed, but complicated so it was cancelled. Which is the main reason this update took so long.

I checked the IKEA website and not only did they have solid non-knee / pocket / hip-catching handles that were spaced 416mm apart, but they were beautiful handles. They were black borghamn handles and they were solid iron. I’m so close to finishing our dresser update and in fact I’ll be heading out today to pick up the sweet, sweet handles in what I’m hoping will be the fastest IKEA trip ever [I’m sure I’ll be over-sharing on my InstaStories if you’re curious]. Wish me luck. 
DISCLOSURE – while this blog post is not sponsored, I did receive this paint and lacquer free of charge from Rust-Oleum. As always, all words and opinions are my own. I only work with companies I like and of course, think that you will too. Thank you for supporting the companies that support The Interior DIYer. 
Previous projects with Rust-Oleum – faux marble bedside tables  

Colour correcting a Christmas tree

Last Christmas we got a new Christmas tree. We had our previous skinny tree [as seen in this post] for 6 years, which we bought especially for our first apartment which was the size of a matchbox. Such a skinny tree always looked odd in our current living room, so last year I thought it was time to treat ourselves to a full sized tree.
I looked for a couple of weeks but couldn’t find a decent secondhand faux tree online, so we went for a new tree. I picked one out, we brought it home, I opened the box and immediately had an awful feeling. The colour was very wrong. It was way more yellow than a normal tree which made it look dead. A dead looking fake tree.

You can’t tell the true awfullness of the colour of our tree in last year’s pictures because I actually edited the colour on my computer before sharing the pictures. That’s how horrified I was with the colour. The feeling of dread crept up when I soon realised I’d be unboxing our vom-coloured tree again this year, but then I had a very simple idea – just paint it.

The above will give you a better idea of the colour difference – on the left is our previously Exorcist-Green Christmas tree compared to a piece of proper green garland. It may not look too bad here, but when you’re looking at an entire tree that colour, it was very obviously wrong. 
I headed to All City Graffiti on Crow Street last week on the hunt for a merrier green to spray paint our tree and found the perfect shade of ‘Amazonas Green’ …

That afternoon I took our entire Christmas tree outside and set it up / opened up all the branches. There was a light breeze, which I used to my advantage, and I used it to lightly mist the whole tree vs. spraying it with an intense stream of paint. Holding the can about 1 foot away from the tree I sprayed one section at a time, turned it, sprayed another section, turned again, and repeated until I was happy with the coverage. It was incredibly easy to paint in this way and I was finished in about 20 minutes [including drying time as the light breeze was again very helpful].

I’m really so much happier with the colour of our tree. The last thing I wanted to do was have to buy another Christmas tree as that would have been a complete waste and I’m very conscious of buying things unnecessarily, so I’m so glad it turned out looking as good as it does. It’s a proper Christmassy green now and it no longer makes me cringe when I look at it. Yay! o/

I put 2 sets of lights onto it this year [one plain, the other chasing lights] and I’m quite happy with just leaving it like that. I like the idea of just lights this year. Leaving it as a naked tree. What do you think? I’m going to add some sort of makeshift tree skirt and maybe some ribbon to the very top, but overall, no decorations. I just really like the idea of keeping things a bit simpler this year.