Since I last blogged about upgrading our bedroom, I’ve slowly but surely made some of the changes. Not all of them yet, but some. I didn’t think I had made a big enough change until I looked back at my before pictures. Yeesh.
That’s the thing about updating your home. It doesn’t happen in 24 hours like TV shows lead you to believe. It happens slowly over weeks and sometimes months and THAT’S OKAY. It’s only when you look back at what it looked like before that all your hard work is put into perspective. Even if you’re only half way there.
Contrary to my original plans to completely flip the floorplan of the room, I didn’t. I was able to iron out a lot of the layout problems without having to change too much of the room. One of the biggest and best changes I made was swapping the bed frame in our room with the one in the spare bedroom. The frame in the spare bedroom was very low, so swapping it and having a low bed in our bedroom sorted issue #3 on the list of problems.
So here’s what I’ve updated in our room so far …
– Repainted the skirting boards, window sill and door WHITE.
– Removed the heater from the middle of the room.
– Replaced the heater switch with a socket so we can use our TV [thank you again Maria for that tip!].
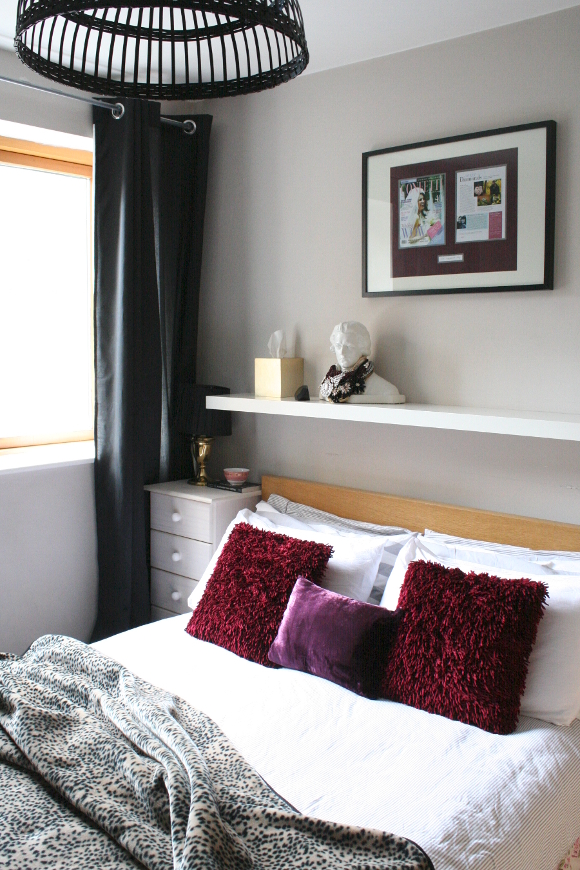
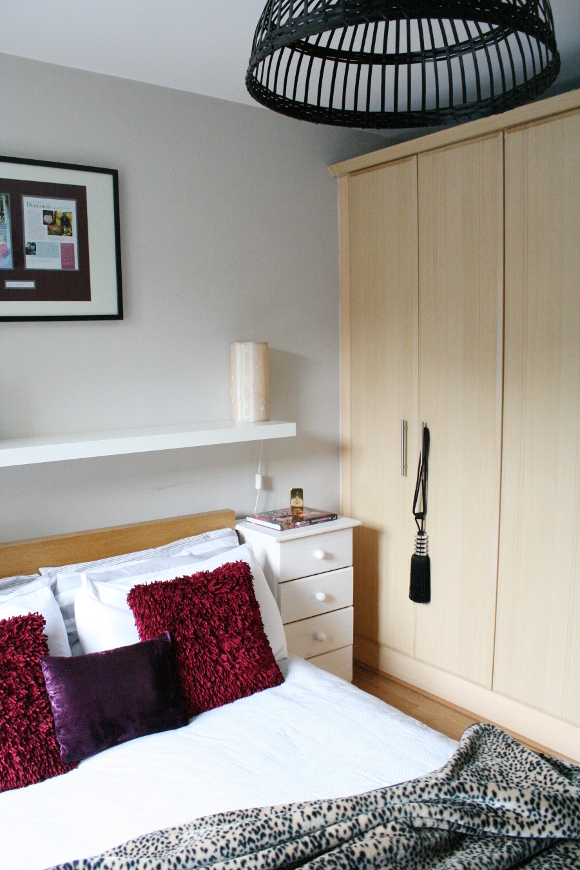
– Replaced the light fixture.
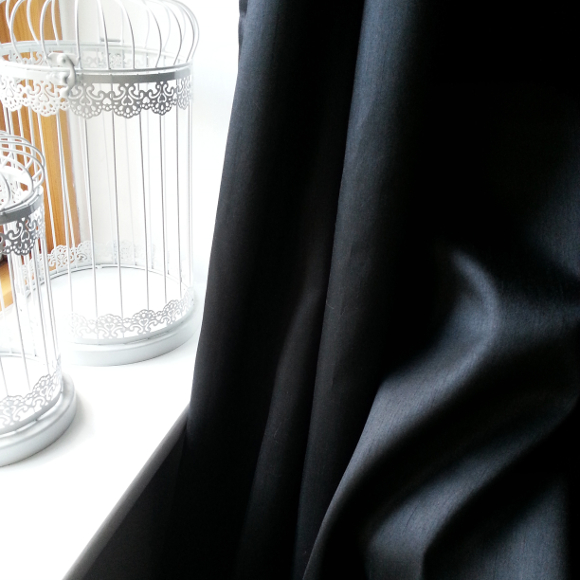
– Bought curtains – nearly new! In their original packaging, but bought second hand.
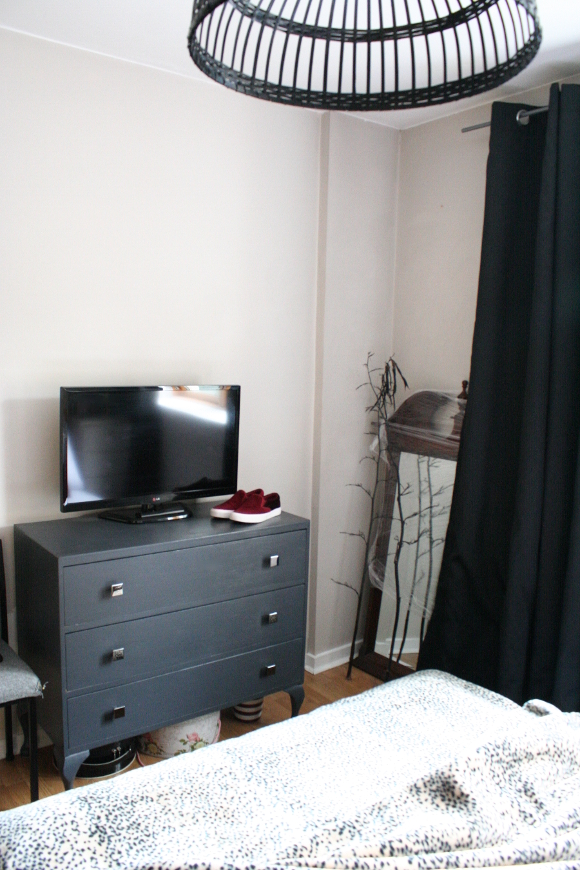
– Bought a longer curtain rod so the curtains can hide the unsightly mirrors and vent in the corner [as seen below compared to the 4th last picture here].
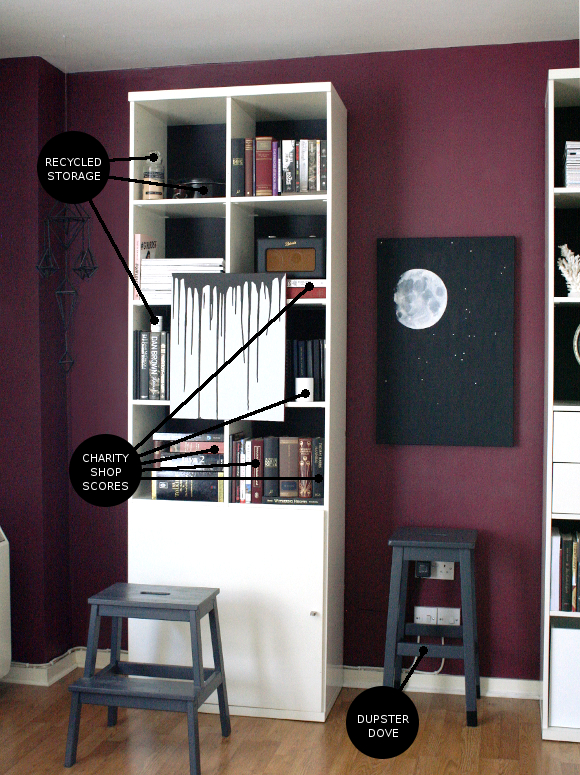
– Disassembled the awkward AF shelves.
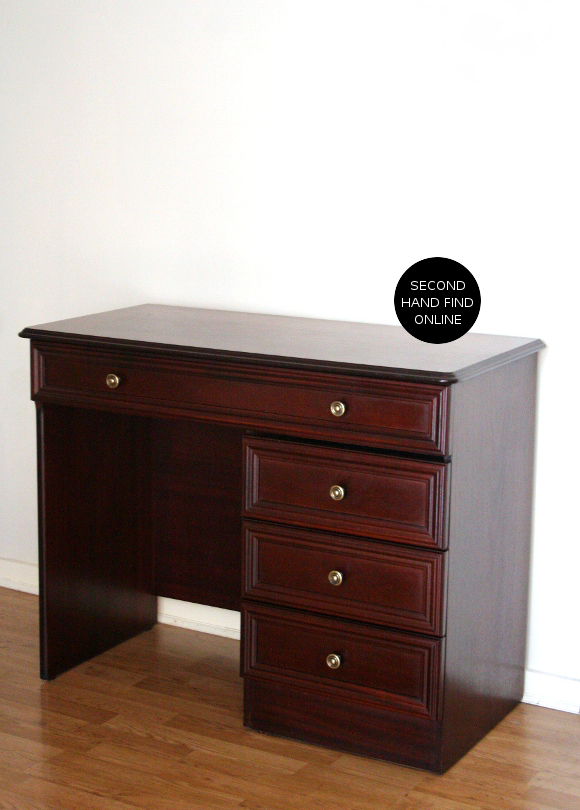
– Sold our IKEA bedside locker and bought two bedside lockers for 9 euro each, second hand!
– Got my hands on some red rasta pillows [not sure about the purple one though. It may go].
– Swapped the bed frame for the lower bed frame, and nearly decapitated myself in the process.
And here’s what’s left to do …
– Make a cover to cover or camouflage the current wooden headboard.
– Hang up / incorporate our [new-ish] mahogany mirror.
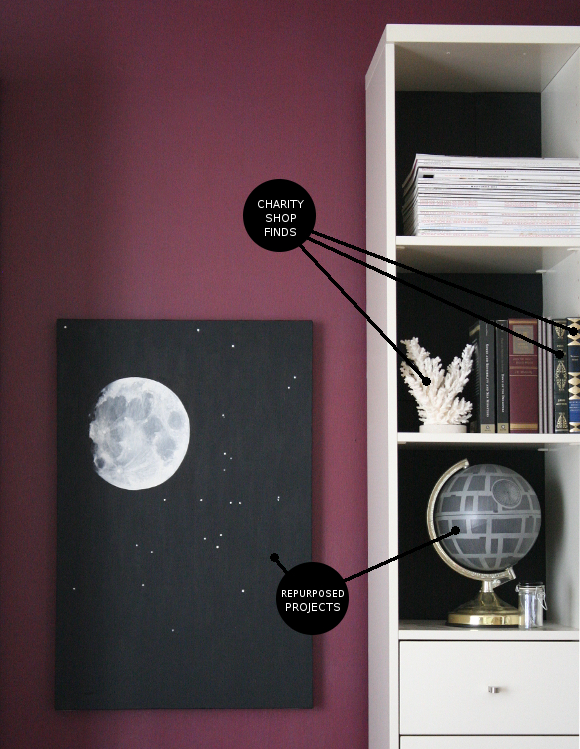
– Add artwork to the walls. I’m tired of boring walls. I’ll be DIYing some artwork too.
– Upcycle the bedside tables; possibly paint them and change the knobs.
– Find a pair of matching or semi-matching bedside lamps.
– Find a pair of matching or semi-matching bedside lamps.
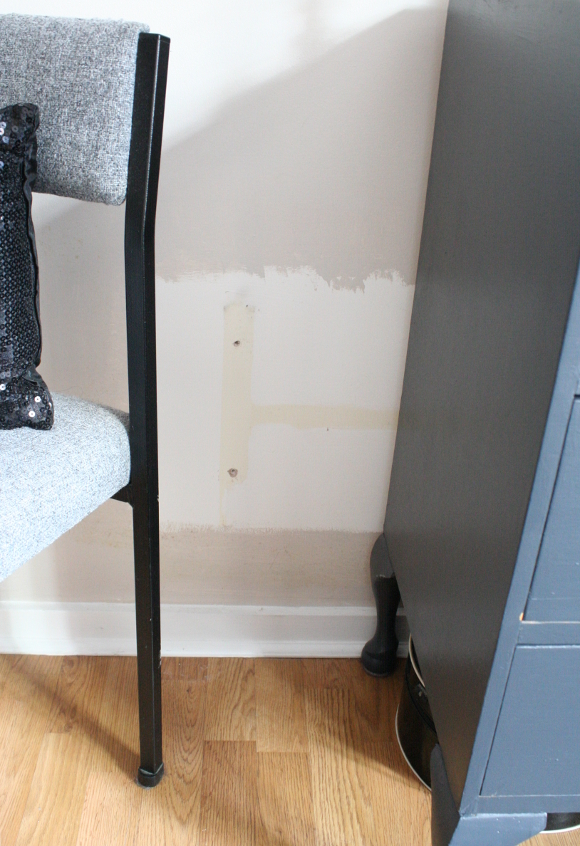
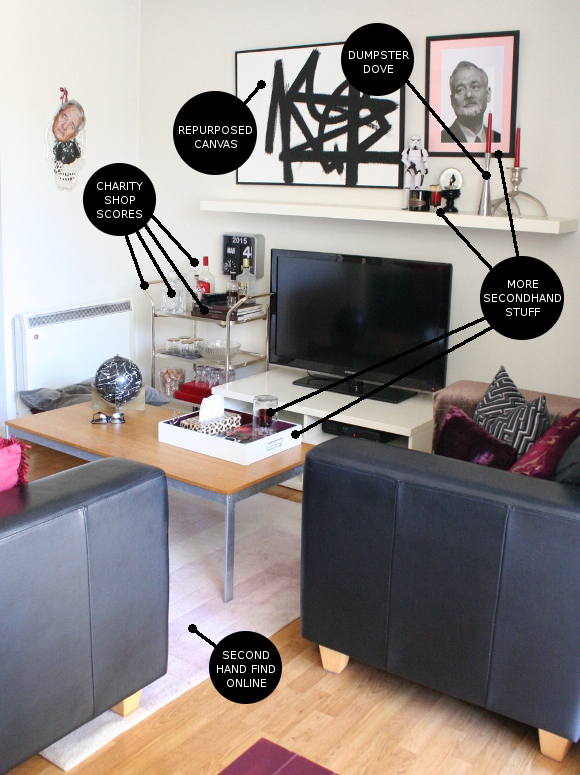
Above is to show where Dad DIYer helped me remove the heater from the wall [I’m not at all confident with electrics]. Having the heater removed means we can now place our dresser in the middle of the room at the foot of our bed; where it aught to be. For the moment, in the warmer months, the heater is stored under our bed as our landlord didn’t approve of it being placed under the window. So under the bed with it for now so we don’t have to put up with it. My old skip-salvaged desk chair sits next to our dresser and cleverly disguises the absence of paint on the wall.
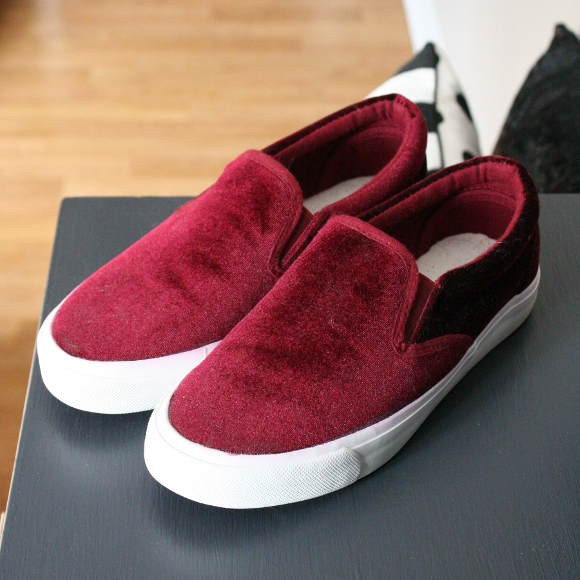
And finally, what inspired it all – I saw these red velvet shoes in Forever 21 around this time last year. I bought them solely for their pretty factor. I like velvet and I like quirky takes on the classics, which as lame as it sounds, is an inspiration for our bedroom makeover. Inspiration strikes at the most unusual of moments.
In the mean time, I’ve also been working on updating our spare bedroom on a budget, which for the most part was ready for our guests earlier this month, but I’ll be adding the final touches this week to it and can’t wait to share it! Stay tuned!