New second hand stool

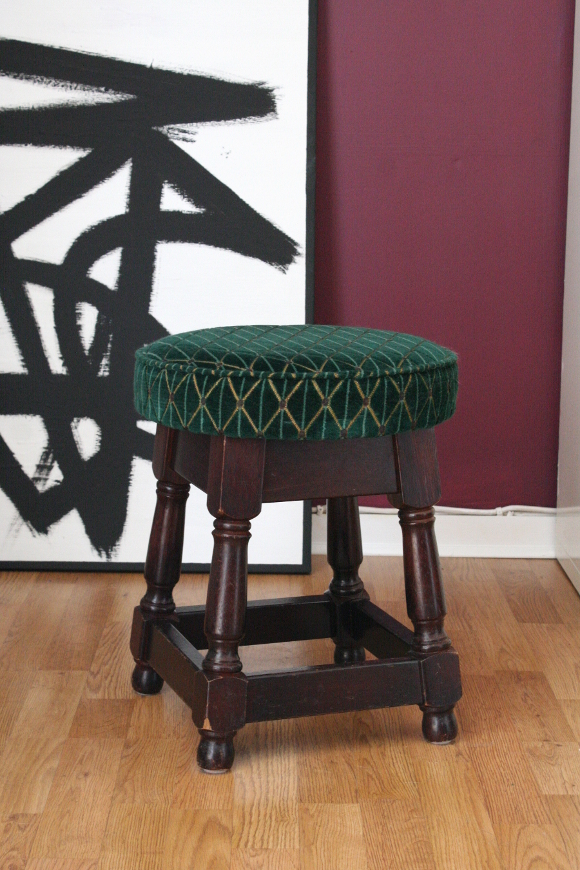
Last weekend Robert and I wandered around Mac’s Salvage Warehouse to quench our my thirst for vintage markets in lieu of the no longer Merchant’s Market. I was originally on the lookout for an old wooden ladder with some character for our living room [for blanket and throw purposes]. Unfortunately they didn’t have any ladders, but Robert did happen upon a behemoth stack of bar stools. Originally, I had my eye on some dark red stools, but Robert insisted there were some ‘lovely green ones‘ [vom]. See, gentlemen, he didn’t use the correct annotation. He should have said there were some ‘fabulous viridian coloured stools‘. I was sold. 

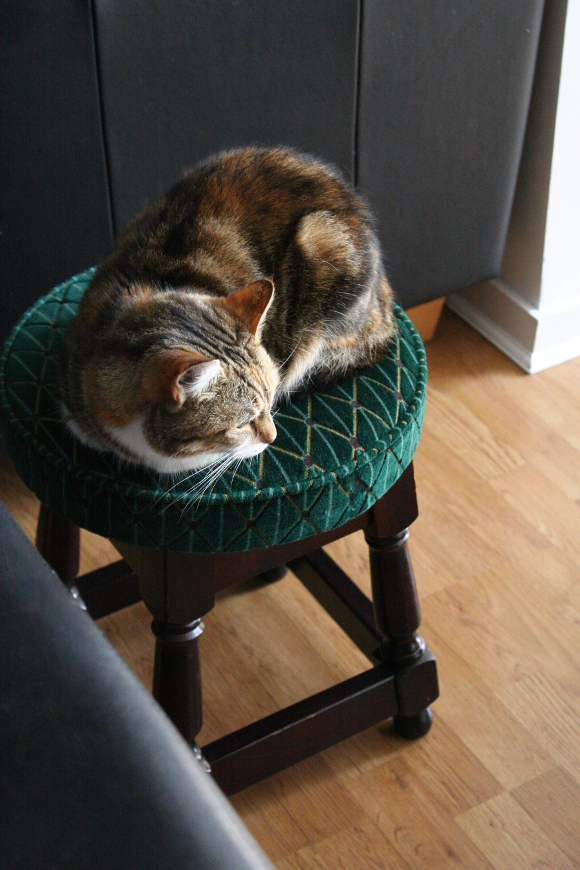
We settled on this stool as it had the least ware on the legs and zero visible ware on the upholstery. There was a minuscule issue with the fabric as the pattern had red, blue, yellow and pink details. “Not to worry,” I said. “I’ll just fix that with a Sharpie when we get home“. And fix it I did.

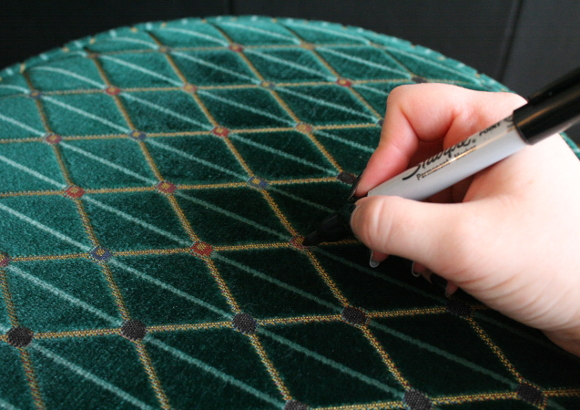
Not the most professional of fixer-uppers, but more times than I’d like to admit I’ve used a Sharpie on a project or two. Or seven. I use them to touch up loads of things [nicks on black picture frames etc], so I simply used my black Sharpie to colour in the colourful dots. 

TIP – if you decide to do this, make sure you don’t use the seat / fabric for at least half an hour after colouring it in, otherwise the ink may transfer. 

Something I am a bit stumped on is what to do with the wood legs. I quite like the dark finish that’s on them. It needs to be touched up in places, so I’m thinking of getting a varnish to fix the little scratches. But what do you think – would you just repaint the legs something entirely different? I was thinking black, but I like the colour of the wood too much. At the moment the wood doesn’t match anything in our apartment [other than our desk], but I keep reminding myself that we won’t be renting this apartment forever. I guess I’m still waiting to inherit that Victorian full of mahogany finishes. 

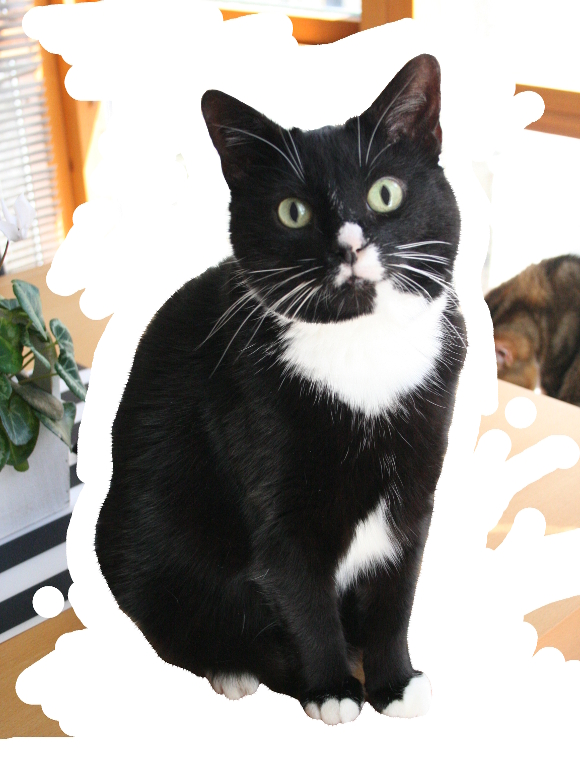
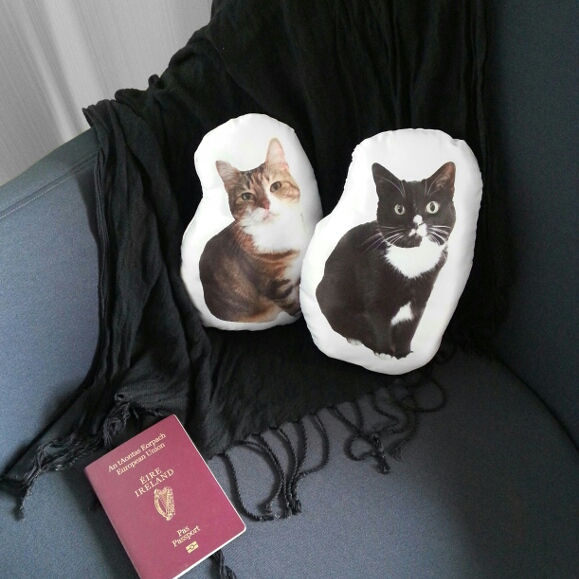
But for the moment, our new stool has been thoroughly approved by Juniper and Toshi. They take turns sitting, clawing and sleeping on it.

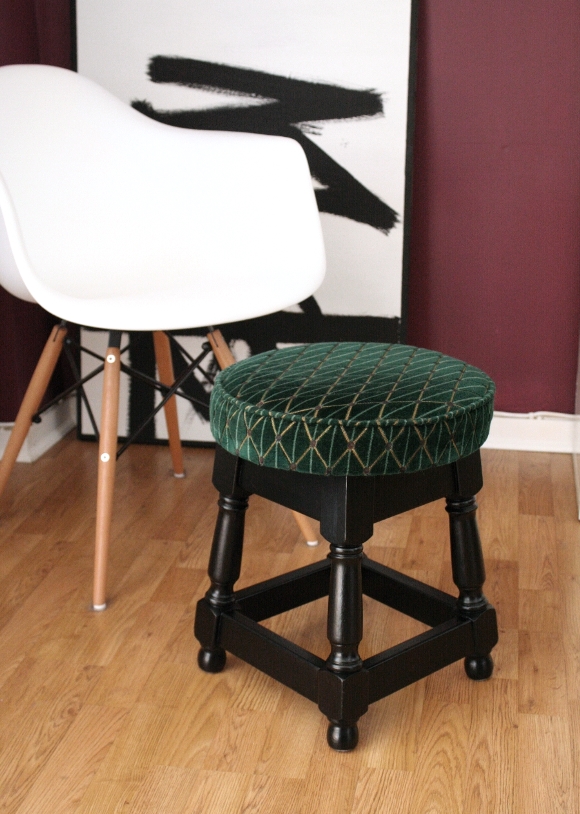
UPDATE: I painted the legs black! I was hoping to do it in high gloss black, but changed my mind at the last minute and chose mid sheen. I think it looks so much better. Except now I have my eye on updating my imitation Eames chair legs too. It’s a slippery slope, I know. But still … Can you imagine it with black legs?! Swoon!


House and Home – #PetsAndPieces

Back in May, House and Home called out on Instagram for people to share their #PetsAndPieces – showcasing our furry friends alongside [or in my case, on] our favourite furniture and pieces around our home. I couldn’t resist, so I tagged this photo of Juniper, among others.

Fast forward to present day, and who did I find looking up at me in the current House and Home magazine? Only just our little Juniper! …

“Alex, The Interior DIYer’s mischievous cat Juniper,
hanging out on the shelf.”

Thank you Anna for including our fur baby! I couldn’t resist sharing Juniper’s little feature here as well, as I already shared it elsewhere online. That curious face kills me every time. I also couldn’t resist sharing for the sake of a hashtag – #MyPussyIsOnPage6 – not many people get to write that while keeping their dignity wholly intact. Happy Friday, friends!

DIY Friday – travel pet pillows

Around this time last year when we were away on holidays, I shared a little picture of the pet travel pillows I made especially for us to bring with us since we’re crazy cat people to our core and really miss little Juniper and Toshi while we’re away. I figured being able to smoosh our faces into poor replicas of them would stave off a small amount of home sickness whenever we’re away. And since we’ve brought them with us 3 times since, it actually works!

And here’s how I did it …

Last year when I made these travel pet pillows, I had taken photos of each step, but when I went through my external hard drive I couldn’t find a single picture. So apologies for the lack of tutorial photos. It’s a fairly straight forward project anyways, and I’ll try to explain as best as I can how I did it. 

I first photographed Juniper and Toshi on their own, in good light, making sure they were facing me and being their cute selves. I opened each photo in Photoshop [or the Linux equivalent ‘Gimp’] and traced around them using the paint tool set to white. I carefully did this and coloured out the rest of the photo until the entire photo was white, with the exception for each fur baby. 

I saved each image as a jpgon a USB key and went to one of those gift kiosks in a local shopping centre that specialises in printing images onto objects. They printed Juniper and Toshi onto a square pillow each. As these were going to be travel pillows and the smaller they are the better, I sewed the pillow closer to the silhouettes of each cat and filled them with extra stuffing I had. That’s it really! 
We bring our travel pet pillows every time we’re away from home. Even during our Christmas holidays when we’re staying down the road with family for a few days, our pillowed kittens come with us too. As crazy as it sounds, it’s a little ritual we now have to take Juniper and Toshi out when we first get to our hotel and squeeze them a bit. 
Husband even has a few sneaky photos of me passed out, face mask on with a kitten pillow under each arm for every holiday we’ve been on since I made them. And no, you won’t find those pictures hitting the internet any time soon. Sorry 😉