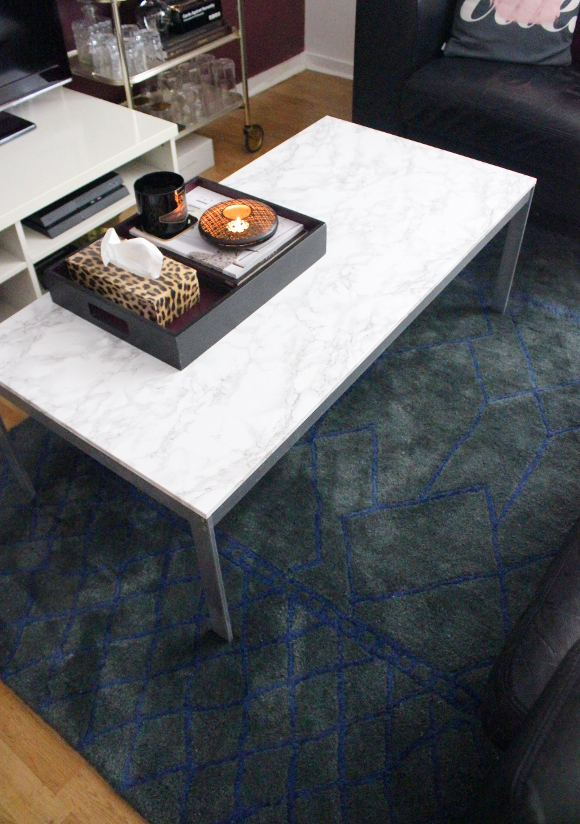
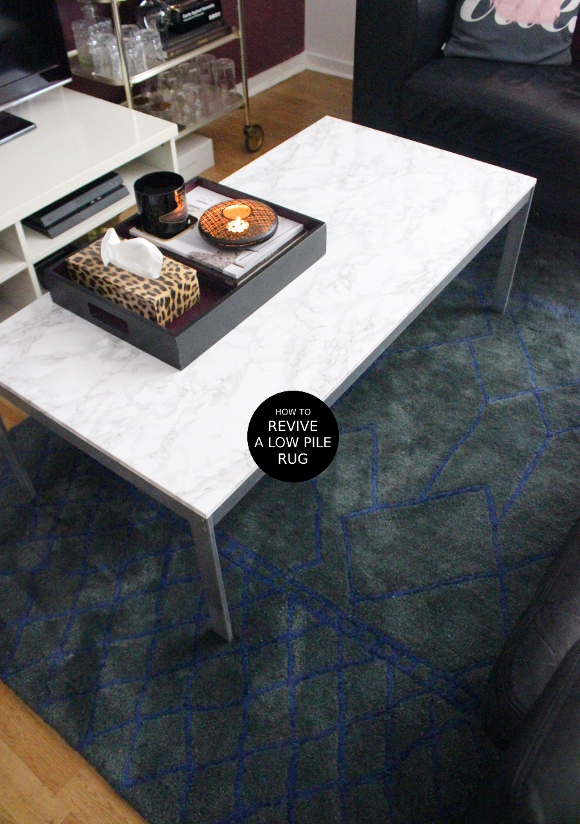
With two indoor cats and us being two predominantly indoor humans, the viridian rug in our living room gets its fair share of wear. Especially as it’s placed in a high traffic area and since during the winter months we spend most of our time on the couch, our fluffy rug can get pretty sad and flat looking.
As part of my usual morning routine, I give our rug a quick vacuum with our handheld on a daily basis to keep it tidy. However, recently it’s been getting a bit squashed and worn looking. I had a burst of energy one day so I decided to see if I could bring it back to its former floofy self. I grabbed some basic tools and along with my camera, I took some pictures as I went.
This isn’t a tutorial or project that’s particularly exciting in any way, but I figured if I benefited from this bout of spring cleaning, there’s bound to be one other person out there with an equally sick satisfaction who takes pleasure in bringing something back to its former self through good old fashioned elbow grease. Here’s how I brought our rug back to life …
WHAT YOU’LL NEED:
– a rubber brush of sorts [available in most hardware and home care stores]
– a pair of scissors to trim any stray pieces of wool
– a vacuum
– a dust mask [it’s not necessary, but I wore one so I didn’t inhale any rug fluff]
– a dust mask [it’s not necessary, but I wore one so I didn’t inhale any rug fluff]
STEP 1: using a rubber brush, I brushed the rug in the opposite direction to which the pile is running. This is easy to figure this out by running the brush in different directions; whichever direction brings it back to its former fluffy self is the right one. Do this with vigour. The best time would be immediately after an argument or if you have something really important that you should be doing but are looking for a justifiable procrastination, then get down on all fours and do this.
STEP 2: you may not need to do this step, but as we have cats and they occasionally pick at our rug [which I am totally fine with – it stops them from picking at the furniture], you may need to trim some stray pieces of wool. This is easy enough to do and the more often you do it the less you have to trim the next time. It’s not nearly as tedious as it sounds.
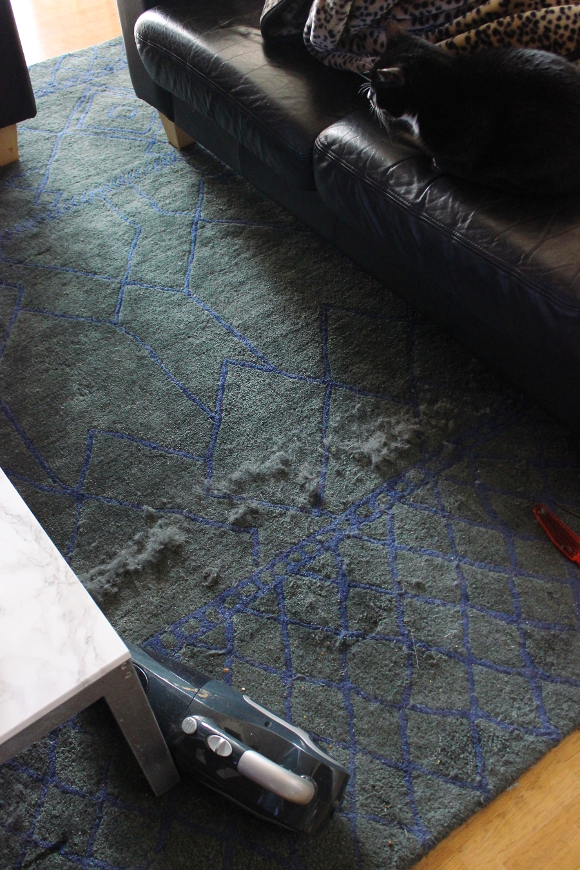
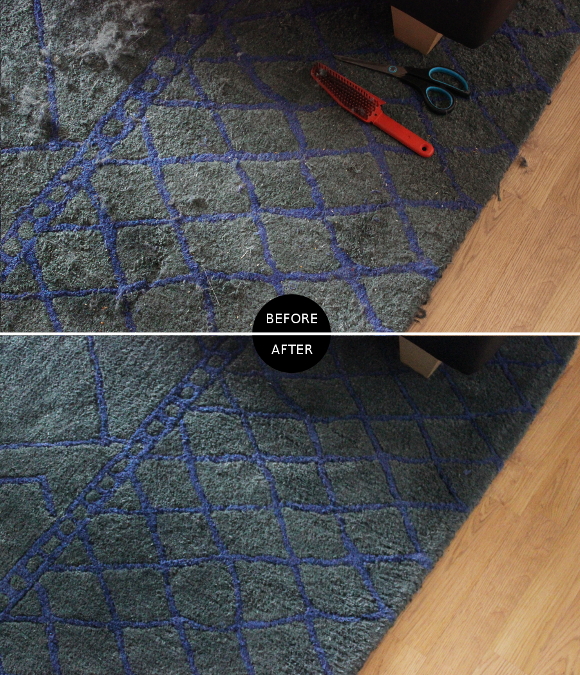
STEP 3: brush and trim one section at a time [I focused on about a two-foot band at a time], then vacuum up all the chaos. When it’s all done, sit back and smugly observe how awesome your rug looks again. It took me roughly an hour to do a really thorough job of the rug in our living room, but it may take you much less. I let our rug get quite bad before tackling it for the sake of a good before and after photo, so keep in mind it doesn’t always look as bad as the before photos.
This isn’t something I expect anyone let alone myself to be doing on a weekly basis. This is something you may do to refresh a rug before you have your mother in law or the Queen come to stay over. I’ve done this once previously to our rug since we got it four months ago, and it honestly brings it right back to life.
It really does look very close to new again. I now just consider its upkeep a form of cardio. Oh, and should you have a flatwoven rug, you can also check out my tutorial on how to repair a very worn [flatwoven] rug here!