From me and mine to you and yours, we hope you have a relaxing few days this Christmas season. Yes, this year is not going to be a normal Christmas, but if we do it right, next year will be so much better.
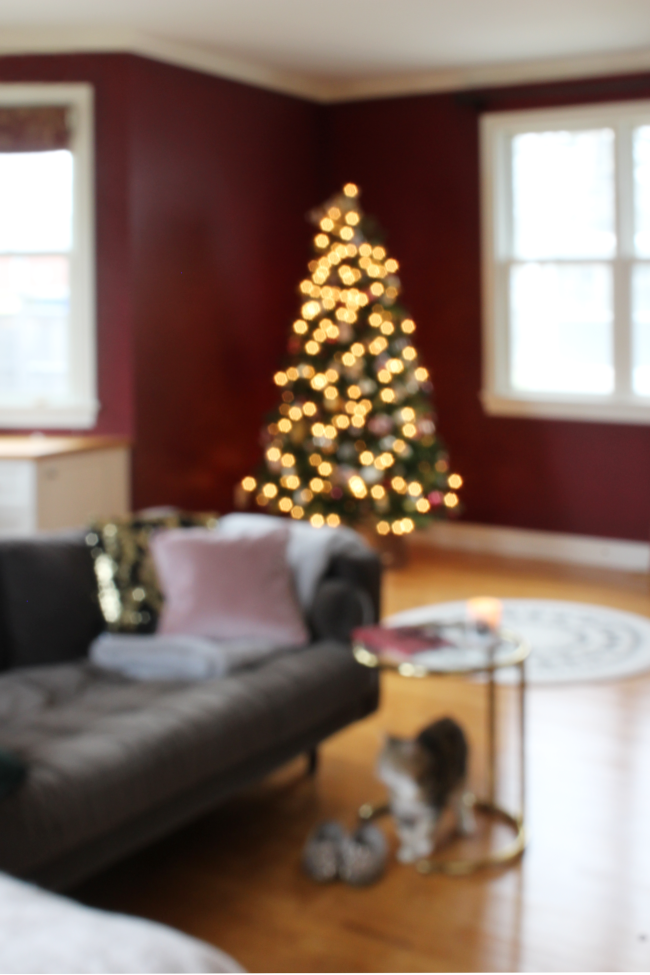
We’ve kept ourselves busy at home this holiday with lots of movies, toys, gaming and painting; I got a kick-start on painting our living room. It’s in no way complete as I’ve only been painting one section at a time. This is the only corner that’s been updated with burgundy.
However you choose to spend your time off, whether it is something that seems tedious like painting or not, I hope you get to do a few things you love and spend it with someone or something [pets included] close to you.
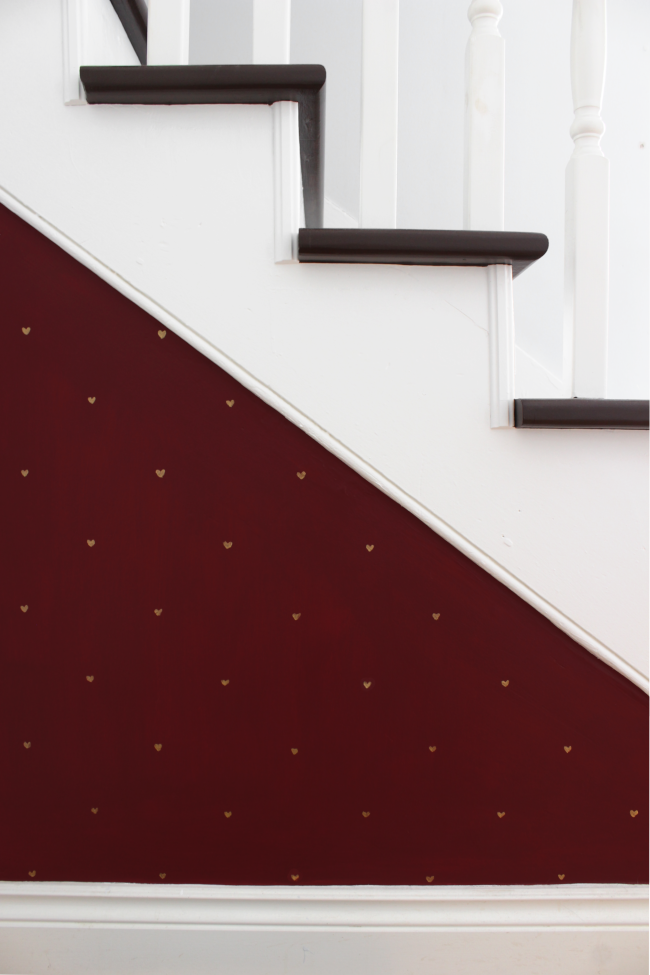
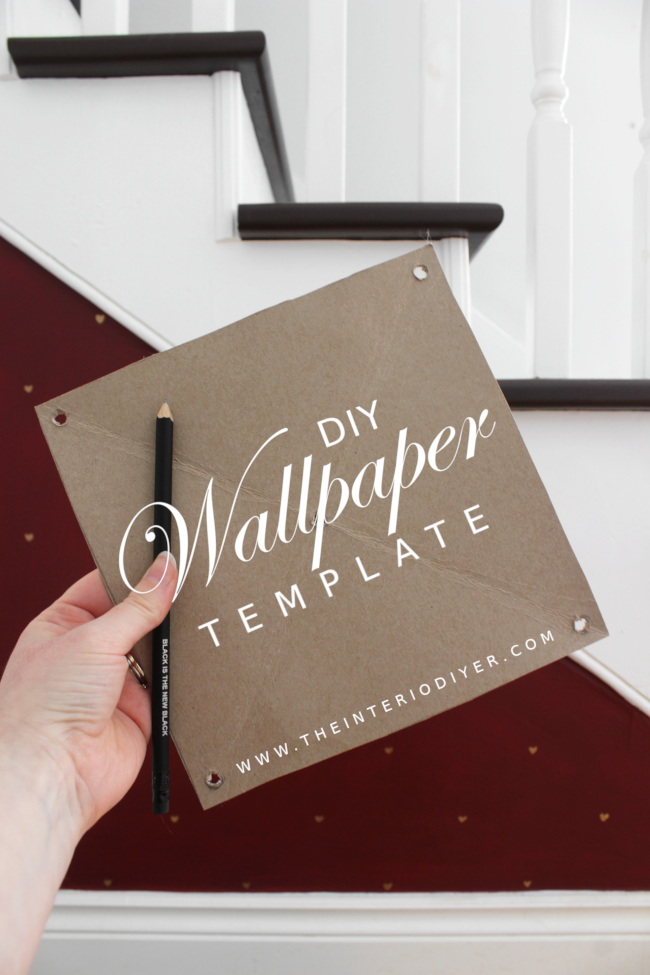
I’m taking my time with deciding how to decorate each area of our home. I’m still up in the air about a lot, but one thing I sporadically did on the weekend when Cora was having lunch was make a wallpaper template and quickly paint a small wallpaper-style pattern on the peek of wall under our stairs.
I painted this section burgundy during my lunch break a few weeks ago. I think I did it to make myself feel like I was making an update to our home [I currently have hundreds of ideas, but there are so many moving pieces and things have to be done in a certain order, therefore I’m getting nothing done].
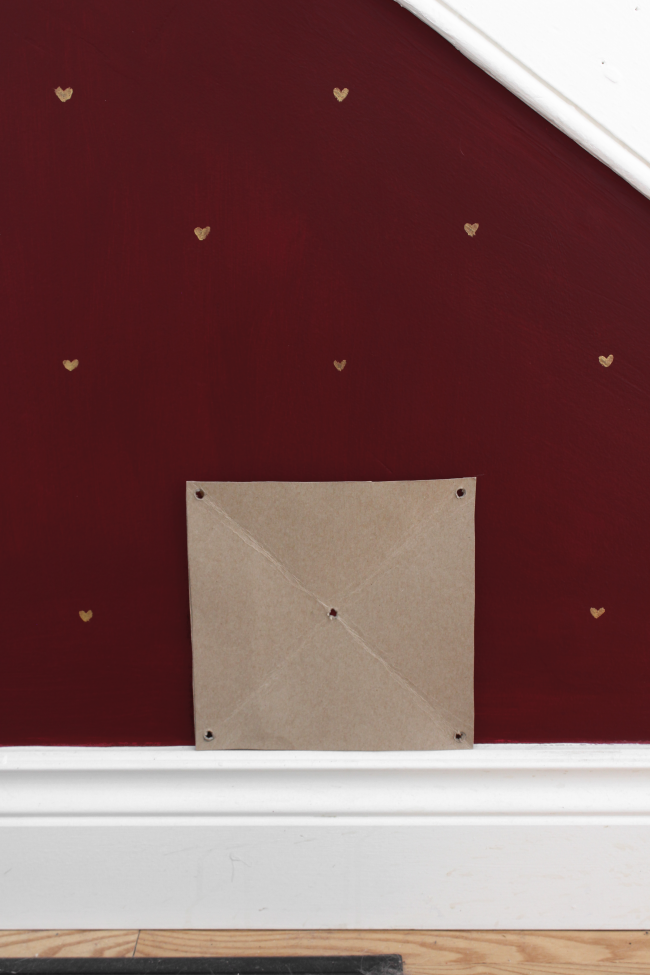
I then had the idea to paint a faux wallpaper effect*, just to see if it’s something I’d like to do. Using an empty cereal box, I cut out a square template. I folded it in half each way to find the center of the square. I marked the center and four corners with a pencil and then I laid the cardboard template on a folded up kitchen cloth and used my drill to carefully drill 5 holes. Yes, I could have used something else to make the holes, but it was literally within reach and there’s nothing I love more than being lazy.
Then I simply used my template to mark lightly with a pencil the pattern on the wall. Once you do one row, simply line up the template with existing pencil marks to make sure your lines are consistent. That’s it! It was so easy and fast to make. I painted little gold hearts as my pattern. They’re super imperfect, but I like that.
And yes, I’m hoping to paint our entire hallway like this. Because I’m a glutton for punishment.
*I’ve been seriously thinking about wallpapering our hallway for some time, but I cannot decide on a wallpaper. I’m way too indecisive. Plus, wallpaper is expensive and we’d need a fair amount to go up the stairway. So I’m going to try my hand at painting some.
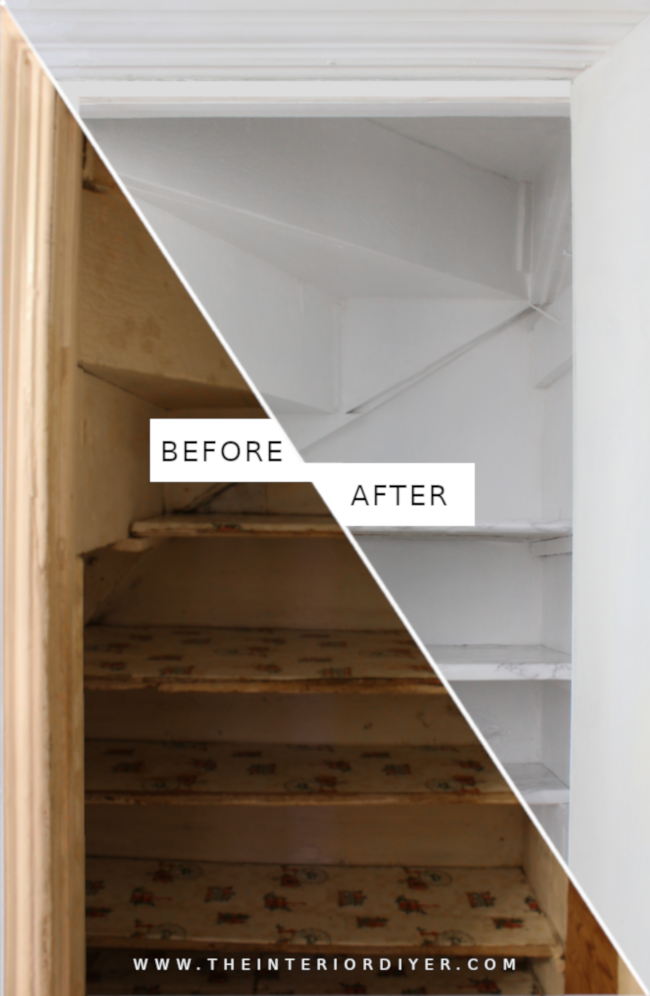
Updating our pantry was not only my first project this year, but the first project I worked on in our new home. It was the perfect small project to get me back in the swing of DIYing; it was a small space, it didn’t take long to complete, looked absolutely atrocious beforehand [which always ensures an excellent after] and cost me around $15 to update.
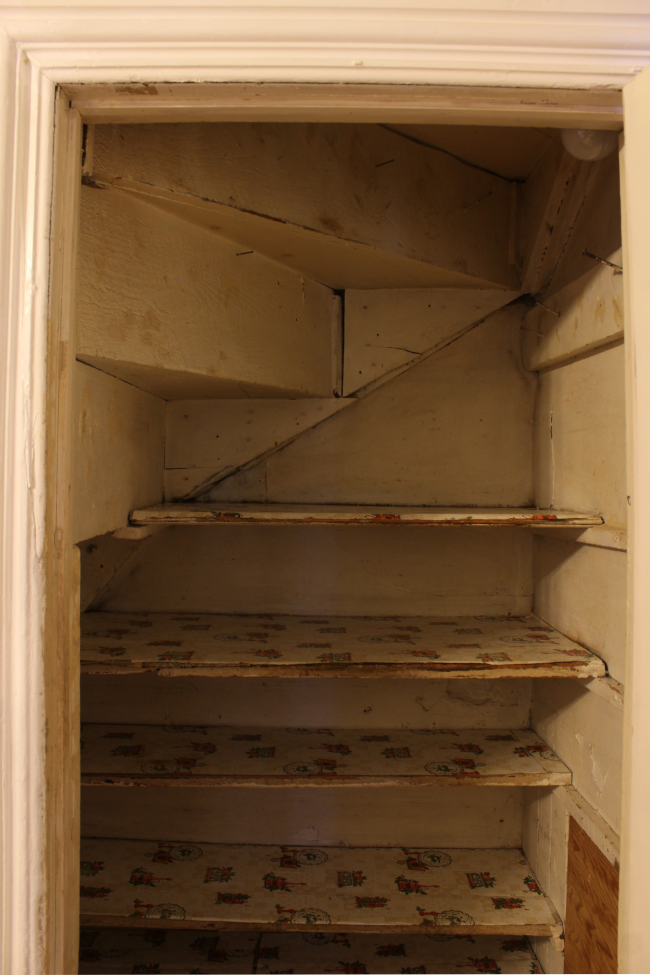
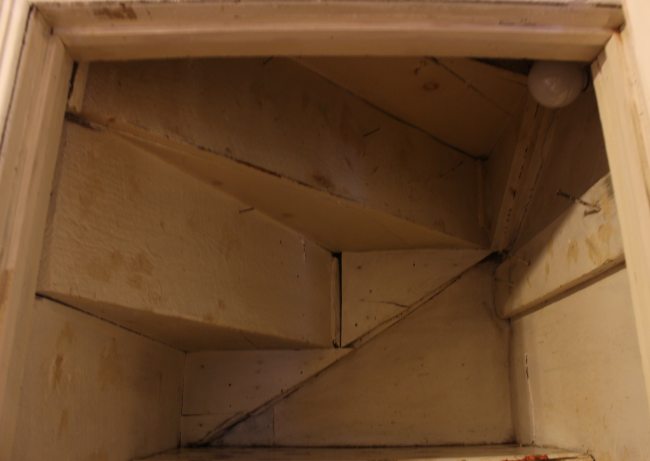
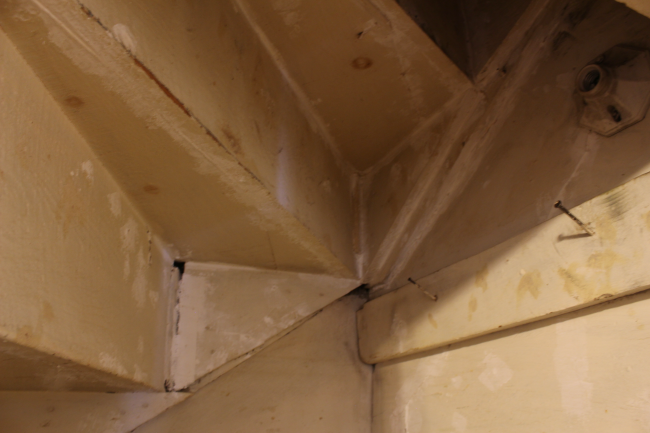
As a reminder and in case you haven’t seen any decent horror movies recently, this is what our pantry looked like before …
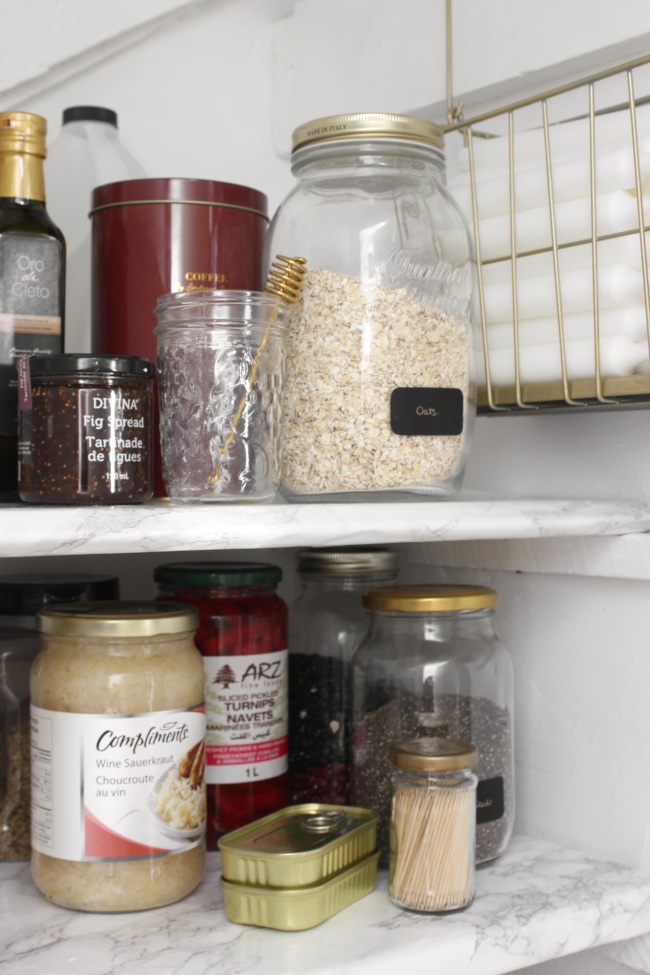
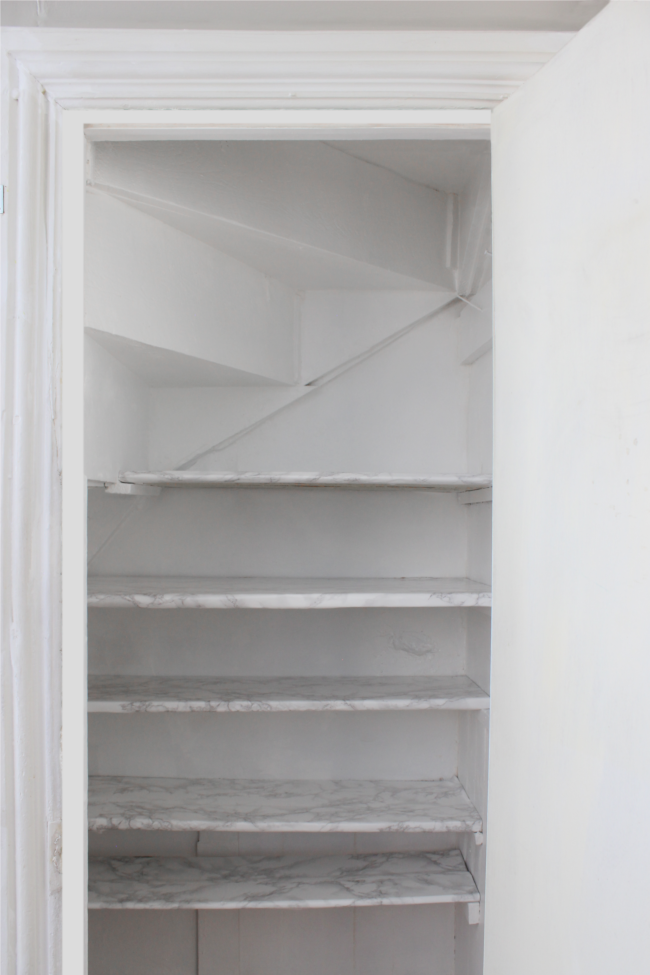
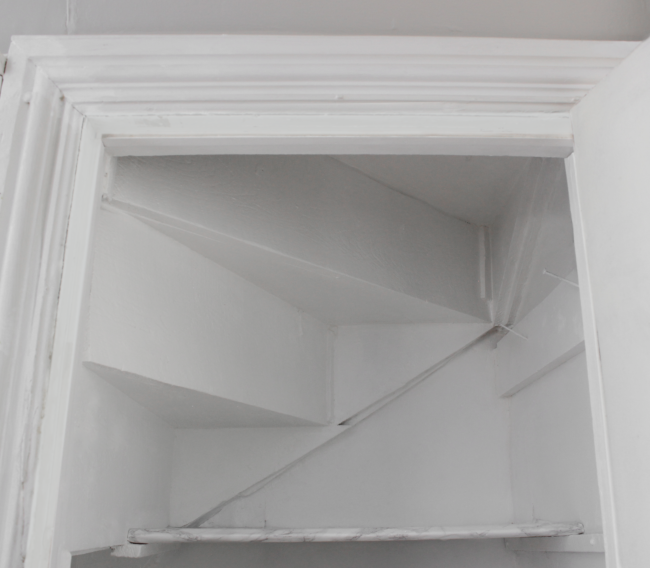
… Followed quickly by what it looks like now! I started updating our pantry by first of all, scrubbing it thoroughly. I used warm, soapy water with a bit of vinegar to clean the walls and underside of the stairs. When I removed the shelves, I found mouse droppings on the little shelf ledges – they most likely ended up there when the shelves were wiped over the years. I can confirm that as much as I love mice, we don’t actually have any in our home and the little poops are from some time ago. Still, as soon as I discovered said poop, I resorted to the bottle of Lysol wipes left by the previous owner and wiped the shelves, shelf ledges, stairs, walls and floors thoroughly. Because food.
After a thorough clean, I removed the extra nails, filled the holes and the many gaps of all shapes and sizes. To show that my ‘before’ pictures are not entirely exaggeratedly yellow, above you can see my first round of filler [first round of many in some places], which itself is off-white. Our pantry really was a nondescript shade of children’s nightmares.
I ended up giving the pantry 3 coats of semi-gloss white paint. I decided to keep the original shelves as they were already the perfect size and I figured it would be wasteful to replace them. They already worked perfectly, so it would have been frivolous to replace them. I cleaned them via chemical warfare with Lysol then covered them in my go-to faux marble contact paper by d-c-fix [I’ve used contact paper on a lot of projects. If you’re curious, you can see them all here. From kitchen counters to coffee tables. Also, you can see my tutorial on how to easily apply contact paper here!].
I am so pleased, and dare I say proud, with how my first project in our home turned out. However, I’m not completely finished with this space. I want to update the pantry door as well as get the sweet little pantry light working again [see more about me rescuing it from a life of paint on my Instagram here].