
A few weeks ago, while still in our current state of isolation, we went for a drive to get out of the house as we were beginning to feel more and more trapped in. While we were mid-way down a country road I saw a sweet little piece of furniture ruthlessly abandoned on the side of the road …
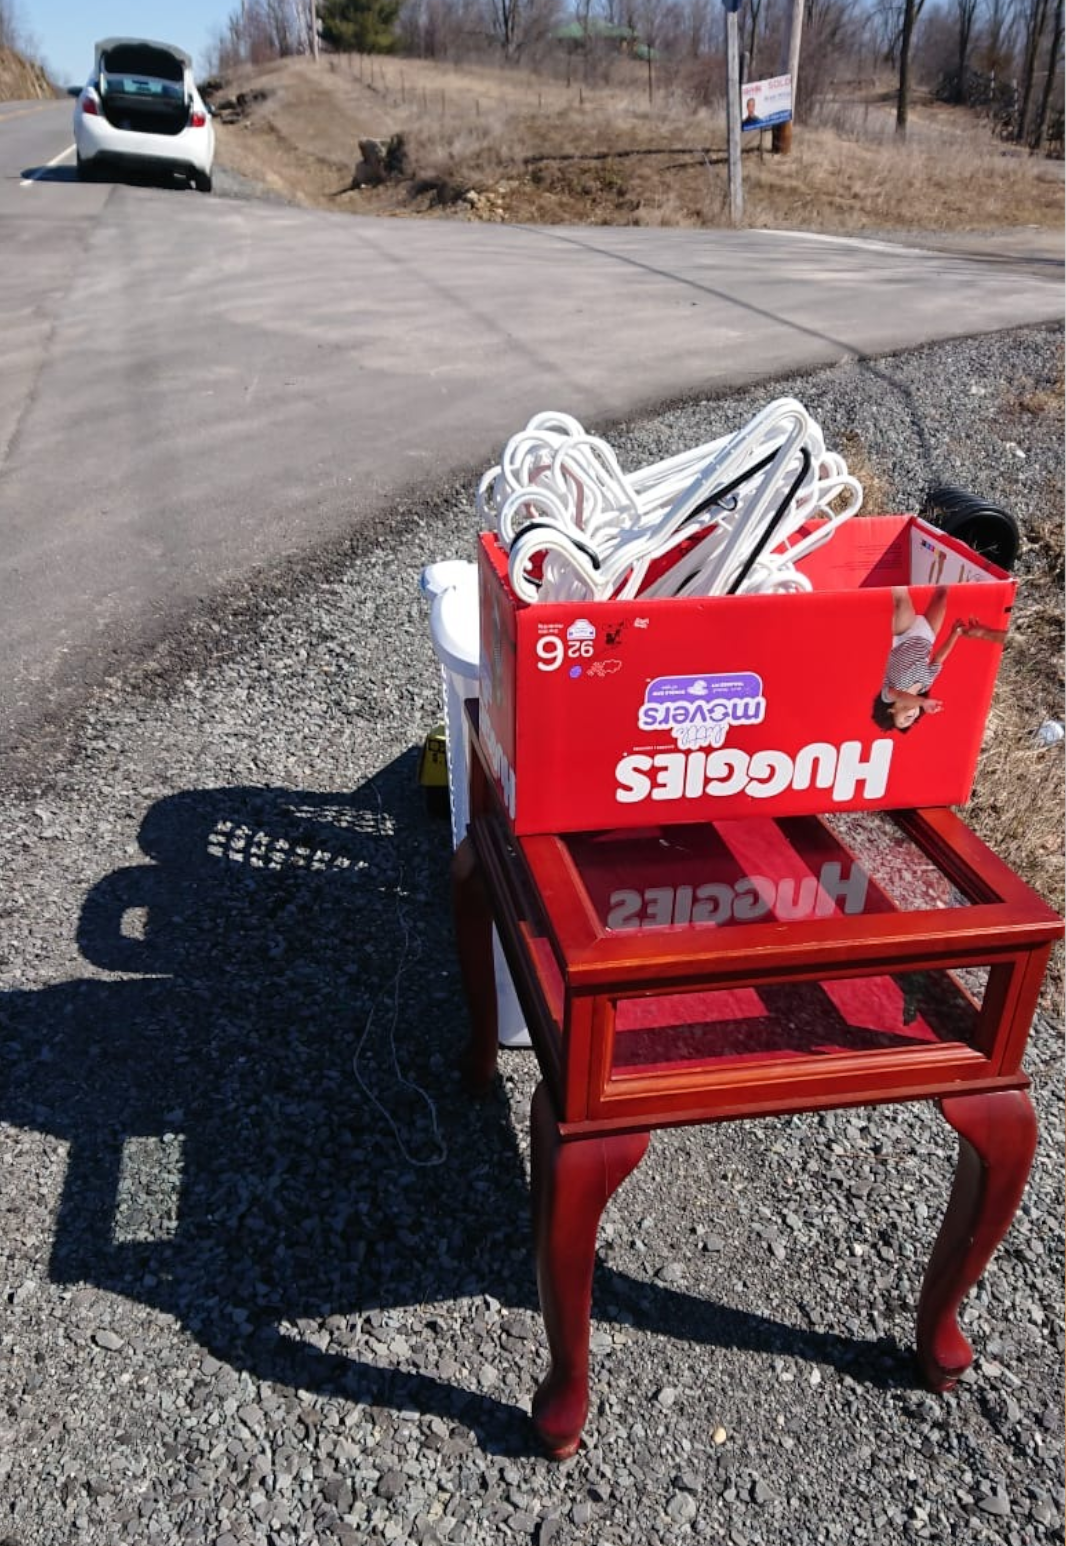
If you could hear the photo above it would sound like Robert grinding his teeth as he did a u-turn and popped the trunk so I could take yet another wayward piece of furniture home. To add insult to injury, the cabinet didn’t fit in the trunk so we had to secure it [safely] in the seat next to Cora in the back of the car. Robert was thrilled.
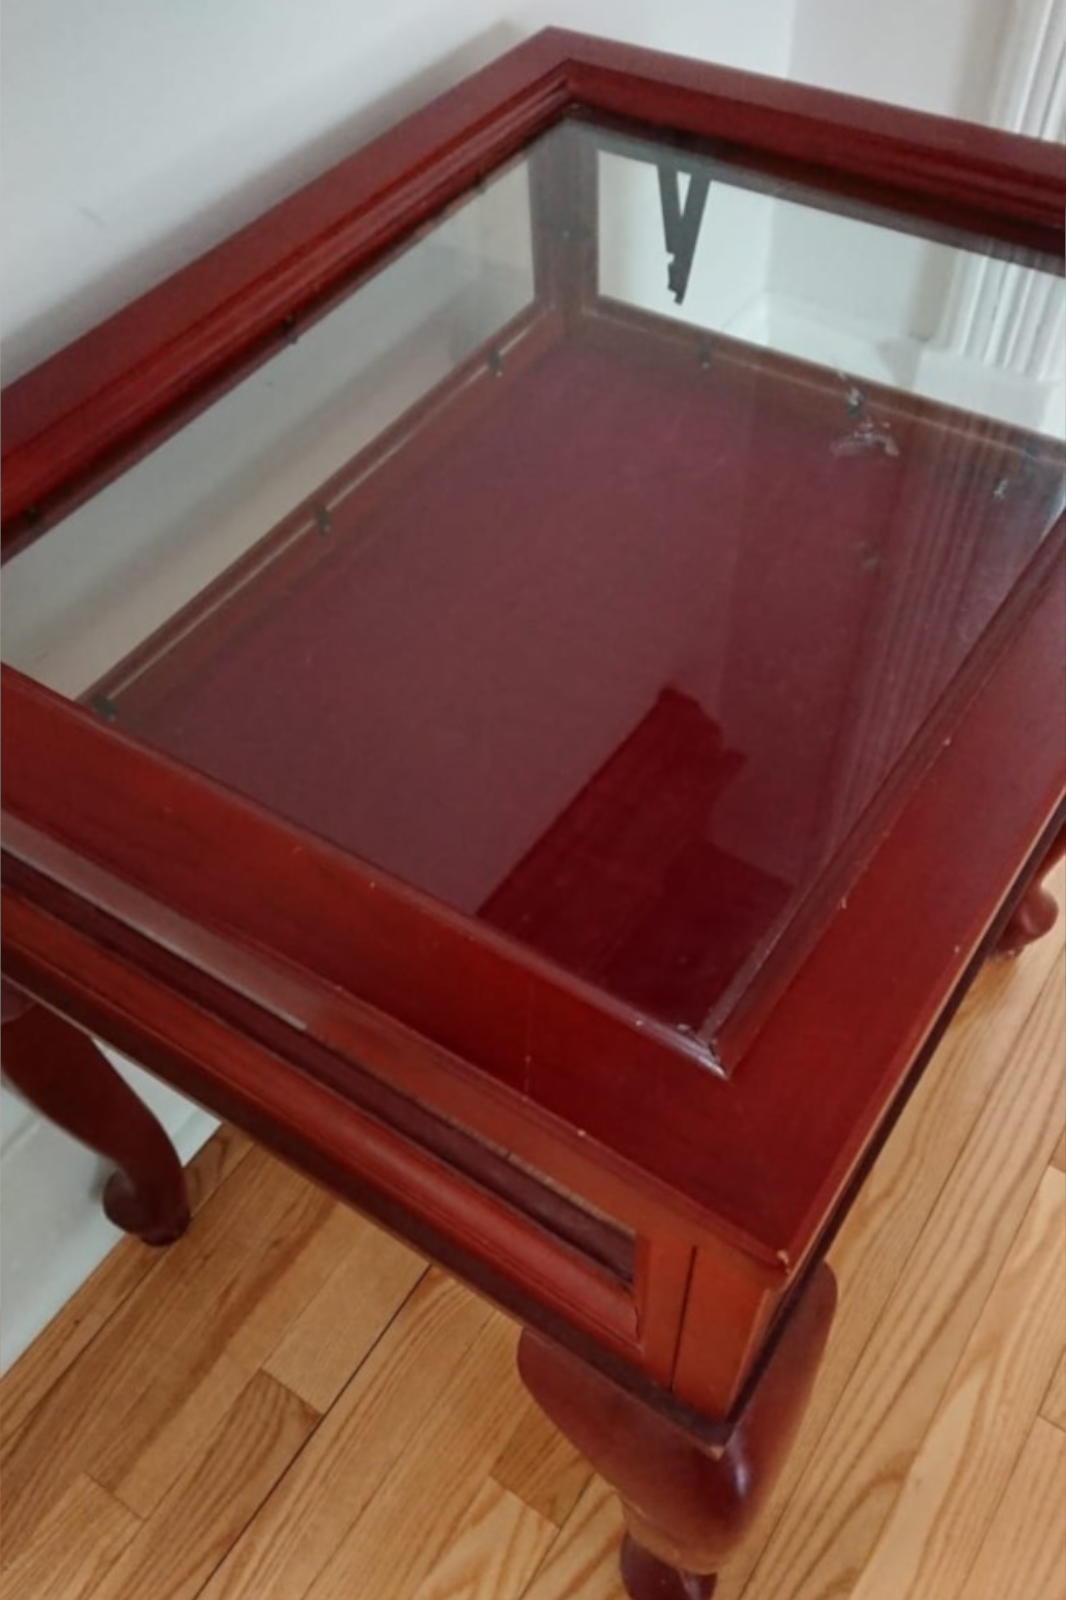
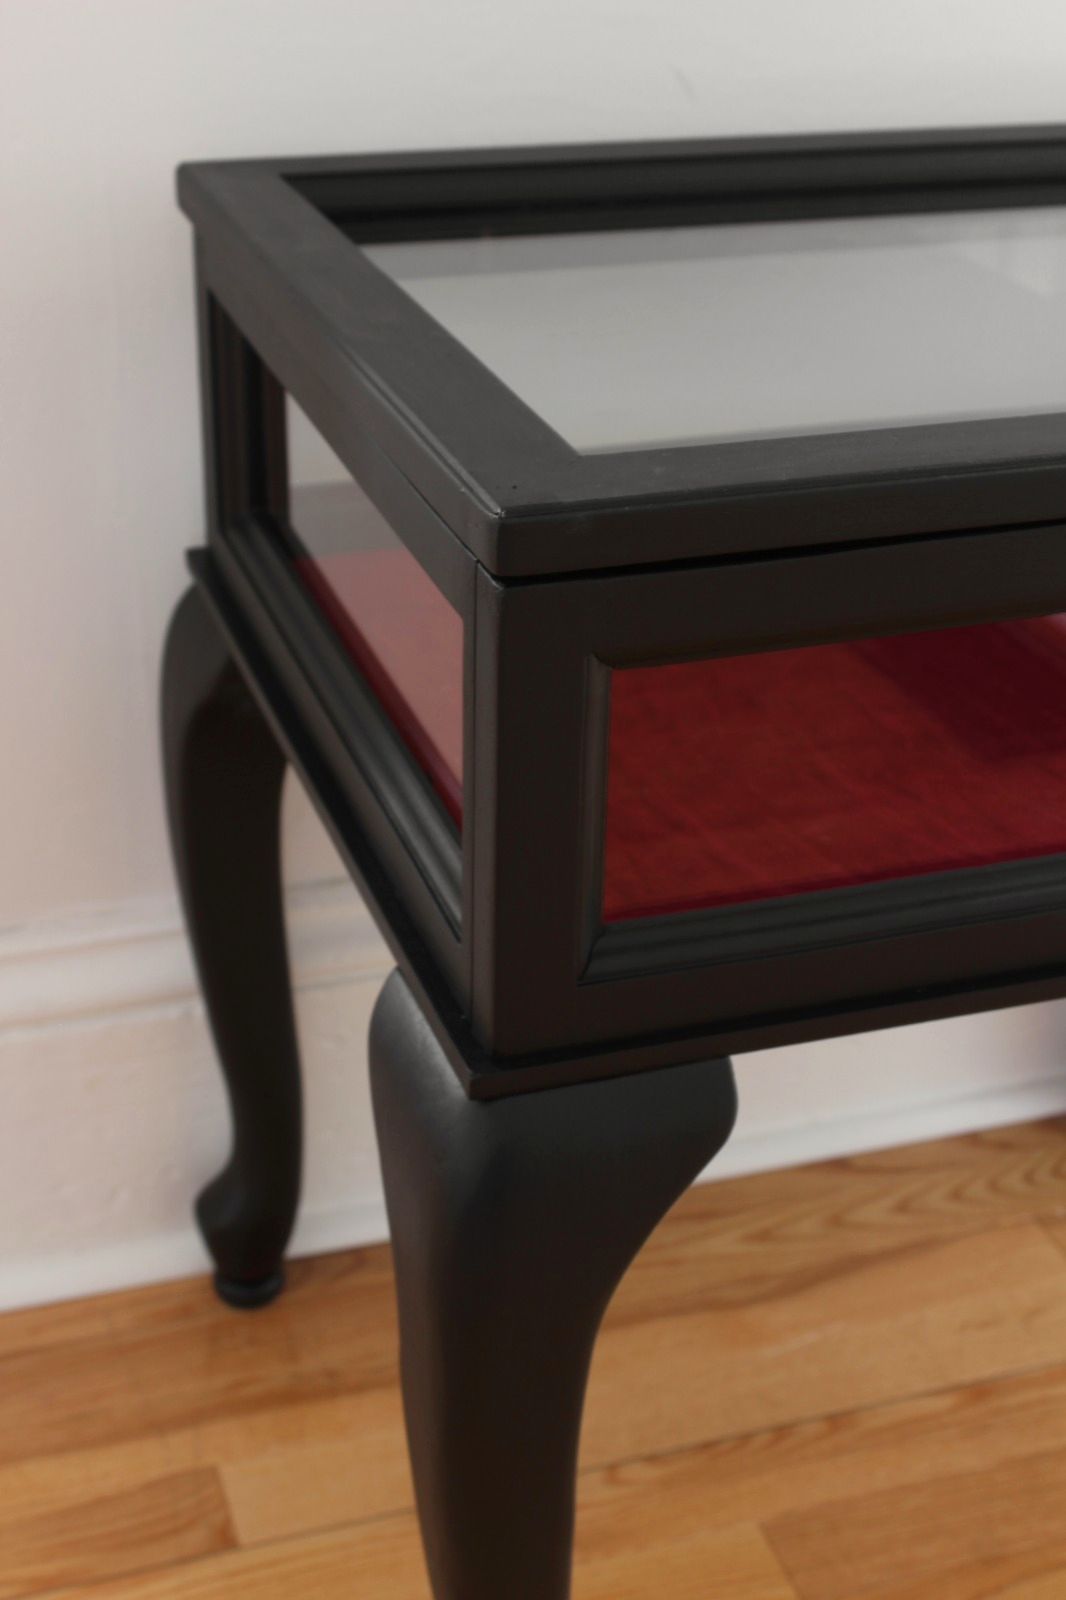
This was a piece I knew exactly how I wanted to update and needed to do little-to-no planning. I wanted to paint it with Fusion Mineral Paint‘s shade of Coal Black. No wonder this poor thing was abandoned as the finish of the wood wasn’t exactly complimentary to the velvet inside and the two clashed quite a bit [I thought. To each their own].
The first thing I did when I brought this little display cabinet home was wipe it down with antibacterial wipes because coronavirus. I removed all the little hinges holding the glass in place [you can see the black hinges in the photo above], carefully removed all the glass and got to work.
It was really straight forward project after that; using a small brush I smoothly applied 3 layers of Coal Black paint. I waited a minimum of 3 hours between coats of paint to ensure each coat was dry, but it will be a few more days before the paint is cured [want to know the difference between dry and cured? Fusion Mineral Paint has a great post all about it here].
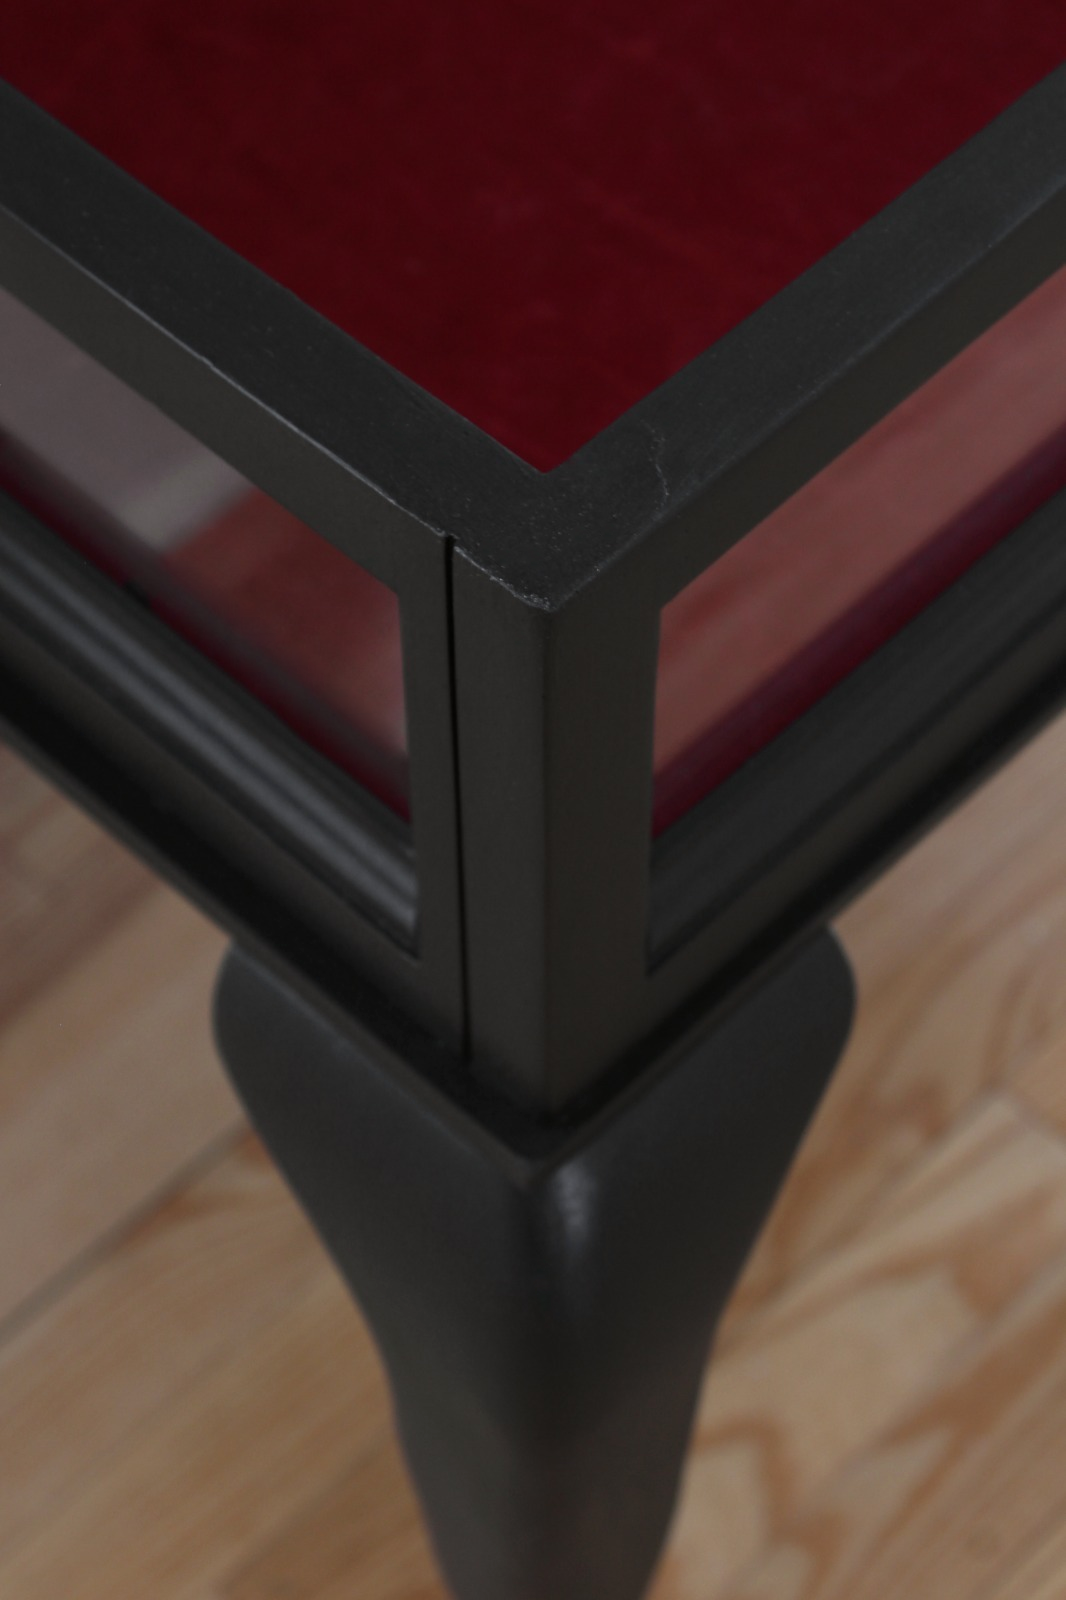
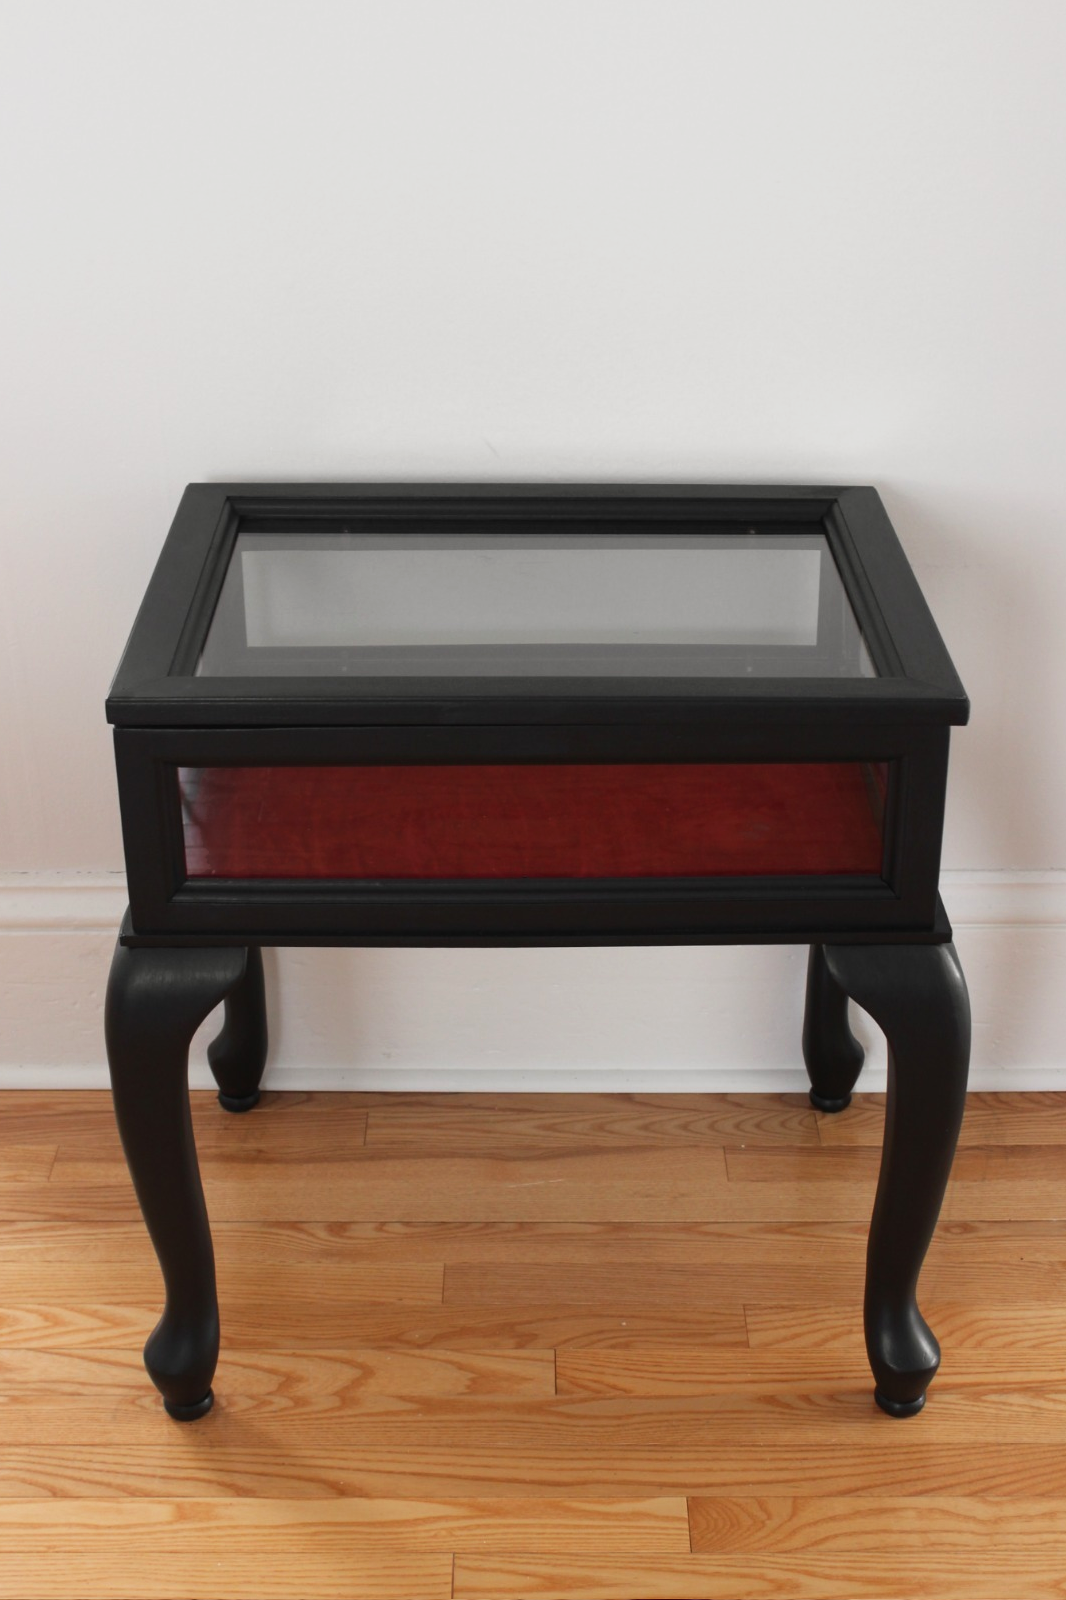
This was such a straight forward project and thanks to the incredible finish with Fusion Paint, the completed look is so perfect. I was debating sanding the edges of the display case after applying the paint [to give a similar distressed look like our Coal Black dining room hutch], but I decided against it since the “wood” finish / stain was such a strange colour, it is what would come through. I think that shade needs to stay under 3 coats of paint.
DISCLOSURE - while this post is not sponsored, I did receive this paint free of charge from Fusion Mineral Paint in exchange for a blog post. I only work with brands that I like and of course, think you will too. Thank you for supporting the companies that support The Interior DIYer.
This table was waiting for you! Can’t wait to see what you display in it/do with it! Fantastic as always, Alex x Always an Inspiration!
Thank you, Hilda! It doesn’t have anything particularly special in it at the moment but I have been wondering about putting maybe my feather collection in it. I have so many huge feathers from when we lived in Islandbridge and swans and herons lived along the Liffey.
I recently painted my bathroom vanity with mineral fusion paint and it turned out beautifully. However if I want the finish to be smoother, how do I do this?
There are two options I can think of, and maybe a combination of both would be best. Though, NOTE: I’ve not done either before so you may want to try this on a test piece of wood or discarded cabinet before you commit to your bathroom vanity. My thought would be to take an incredibly fine sandpaper and lightly sand the painted parts of the vanity. Sand in the same direction that you painted to keep in line with the brush strokes. You’d be sanding so lightly that you’re not taking layers of paint off, just the uneven surface. Wipe until all the dust is gone, then take a watered down version of FMP and paint it on. Something like 75% paint, 25% water. I’d imagine that would leave a softer finish.