Canadian man cave, office edition – progress!

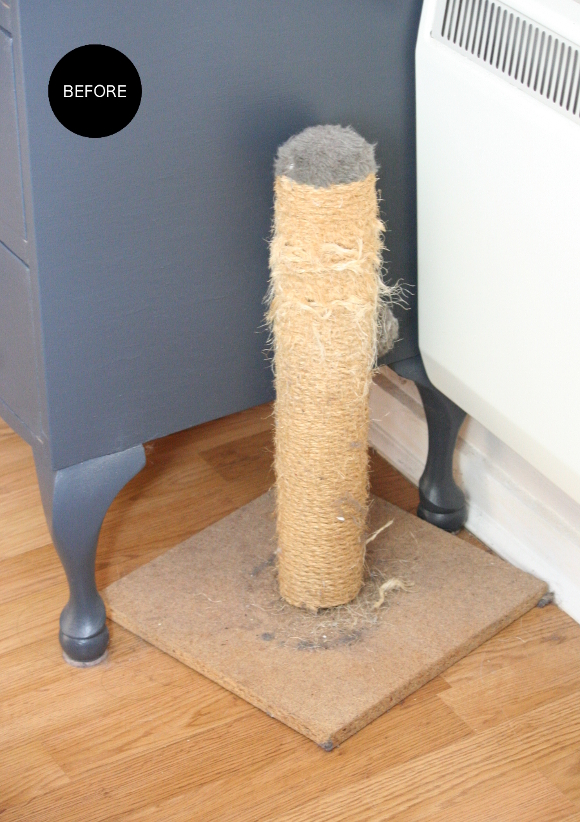
There’s been a bit of headway with the Canadian man cave office I’m designing for my broseph and I thought today I’d share some of the progress we’ve made. For a little reminder, you can see the before pictures here!
We first had to decide on a colour for the walls. I’m a huge fan of grey, but too dark of a grey would have been harsh in here. 

I had some Crown Paint test paint pots from when I repainted our living room years ago, so I thought they would be a good starting point. As it turns out, Crown Paint’s swan’s a swimming was a great fit [you can see it in the above picture: far left swatch as well as top right swatch]. My phone picture doesn’t do it justice, but it’s a warm, frothy latte-grey hue. Accompanied by some serious tunage, broseph and I painted his office in one afternoon and moved his furniture to better suit the space. 

I hung up an old map of Canada we had as well as my brother’s flag. As a temporary lighting solution, I hung up an IKEA Jara giant shade, but I’m not in love with it. At the moment I’m thinking B&Q’s angular Colours Tuck or Colours Keynes ceiling light for a serious statement. I’m unsure if we’ll hang curtains or not [there are wooden blinds in place already], but at the very least there’s a skylight that needs a blind [possibly a blackout blind] that we’ll be ordering from roofblinds.co.uk
I’d like to get more artwork and personal items up on the walls too. We have yet to do anything with the largest wall in the room [which is to the right of the above picture], and I’ve been brainstorming some better ideas for wall storage, so the shelves will be changing. But for a better and sleeker not only look, but layout. 
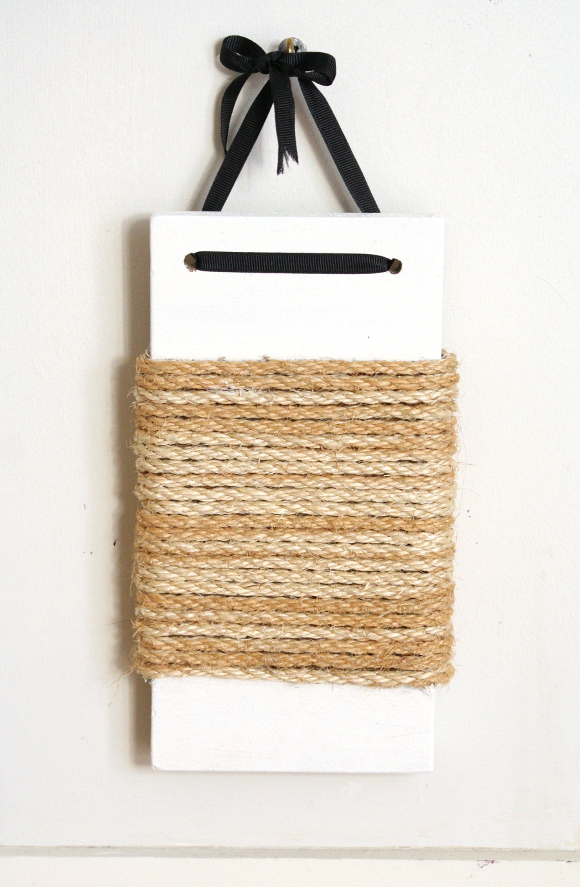
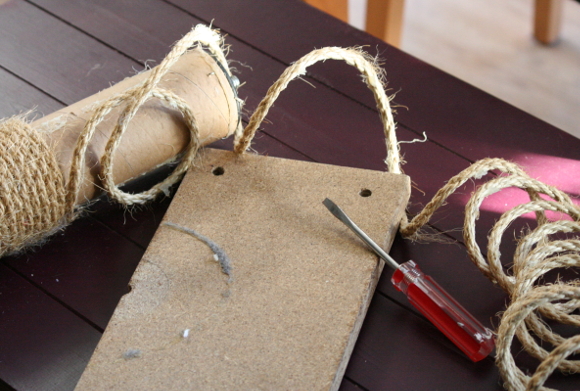
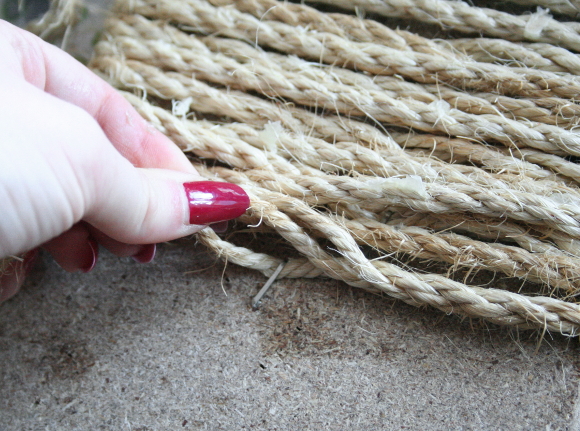
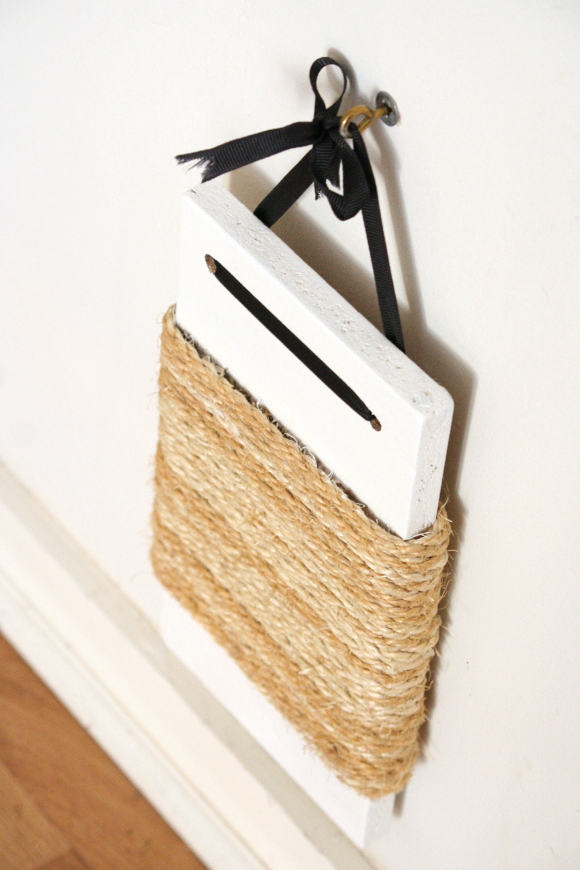
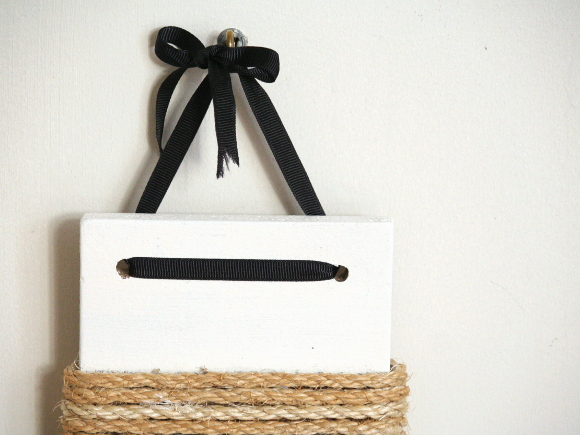
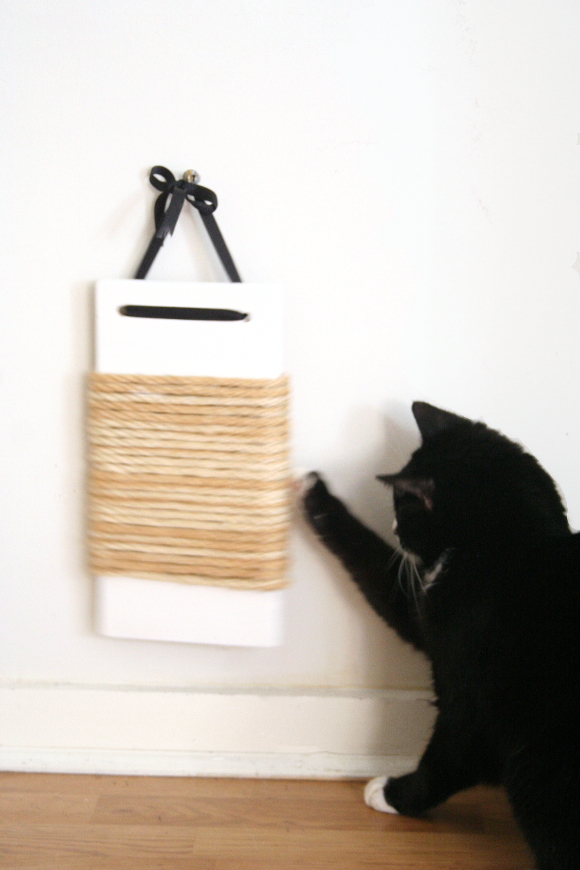
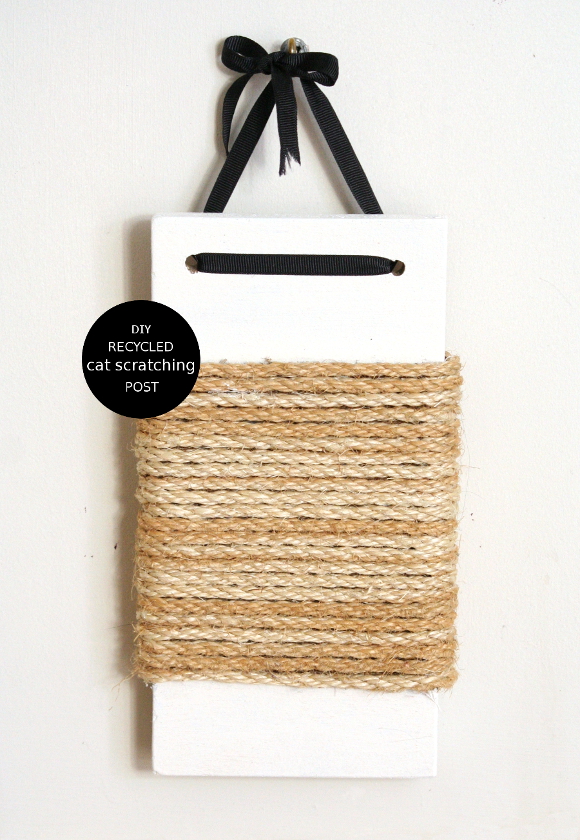
There are of course loads of DIYs and upcycling in the room that I’ve been documenting as we go, as creatively and cheaply as we can. I’m hoping to have the office ready for my broseph for the new year because everyone loves a fresh start after the holidays and he deserves a great one. 
I’ll be staying with my family for a couple of days over Christmas so I have no excuse. That is, unless Netflix and a bottomless tin of chocolates aren’t within reach! xx A

DIY Friday – recycled cat scratching post

Roughly this time last year I spotted this pin from Design*Sponge on Pinterest and I knew I had to recreate it in our home. Their pin was all about their stylish cat scratching post tutorial which showed you how to make a pretty cat scratching post to hang on your wall. 
I thought of that pin every time I saw our current haggard cat scratching post. Just look at it, cowering behind the dresser in our bedroom … 

I bought this scratching post close to 7 years ago when Toshi was a kitten. And if you’re curious + I want to share a picture of how painfully cute Toshi was as a kitten, whether you like it or not, here’s what our cat scratching post looked like way back then …

Squee! Our scratching post hasn’t aged very well thanks to two sharp cats, but that’s what it’s supposed to do, right? I kept remembering Design*Sponge’s tutorial and thanks to my recent nearly new wood challenge, I thought hey – I could just recycle our scratching post by reusing all its pieces in a new way! And so I did. And here’s how I did it … 

What you’ll need – an old cat scratching post, a saw and a drill, a staple gun, a screwdriver [for removing staples, if needs be], paint and some ribbon, but these aren’t necessary. You could leave the board au naturale and use extra twine at the top in stead. 

Method – I unscrewed the original scratching post from its base, enlisted in some DIY-expert-dad help and asked him to saw the base in half then drill two holes in the top; in order to hang it up [thanks again, dad!]. I unravelled the twine from the original scratching post and added it directly to the ‘new’ base.

TIP: if you want to paint the base, do that now. I only decided to paint it at the very end, and it would have been easier if I painted it at this point. 

I stapled the twine on the back of the board and started winding it around. Every second row I un-twisted the twine and stapled it to the back of the board [as seen above], to ensure the rope was extra secure. After all, there were going to be two cats picking at it. 

I wound the twine around until I was happy with the amount, and then stapled the twine a couple of times at the back to finish it off. I threaded a spare piece of black ribbon through the two holes and tied it tightly in a knot, then made it pretty by tying it into a bow.

Since there would be two cats hanging out of the new scratching post, I needed something tough that would hold up so I used a wall anchor. I measured the previous height of the scratching post and the height that our cats prefer to scratch at, and hung the new scratching post at this height. I threaded the ribbon through an eye hook and wound the eye hook into the wall anchor. Snug as a bug. 

So if you have an old eye-sore of a cat scratching post and want to have something a bit more chic for your feline friends, fear not for you already have the materials at hand.

And there you have it! I just hung up the new scratching post the other day and I have yet to see either Juniper or Toshi properly use it. Just yet. I had to trick Toshi to get that picture of her playing with it, but I know you won’t tell anyone. Us Bloggers are just a bunch of liars. 

 xx A

Mahogany mirror

This week we inherited a behemoth mirror. My parents moved homes a couple of months ago and since they don’t have as much space in their new home, they asked us if we would mind storing their mirror in our place. Well I mean, if we really have to. Insert heart-eye emoji here. 
I’m in the process of revamping the design in our bedroom. It’s a sad room, which is why you won’t see many photos of it here. I’m slowly chipping away at it and next week I’ll be sharing some before photos and ideas of what I’d like to do with the space. Including our new loaned mahogany mirror. It’s a very cold room both physically and visually [cold natural light], so I’m hoping to add lots of layers of warmth to cheer it up and make it more inviting. I think a bit of mahogany will do the trick …