Our (temporary) baby toy storage solution

For a long time, I’ve hoped to use an old coal chest to store Cora’s toys and an old coal bucket to store her diapers. They’re not what most people would think or want to use in their home, but they’re what I’ve wanted. 

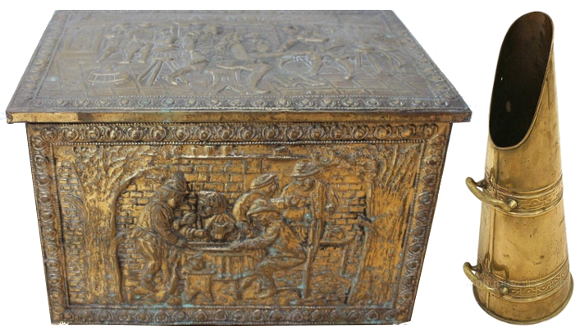
I found a really well kept coal chest in an Oxfam a few weeks ago, but I was tired and wasn’t in the mood to lug it home [plus, I had Cora and the pram]. I went back a few weeks later and as you can guess, it was gone. 

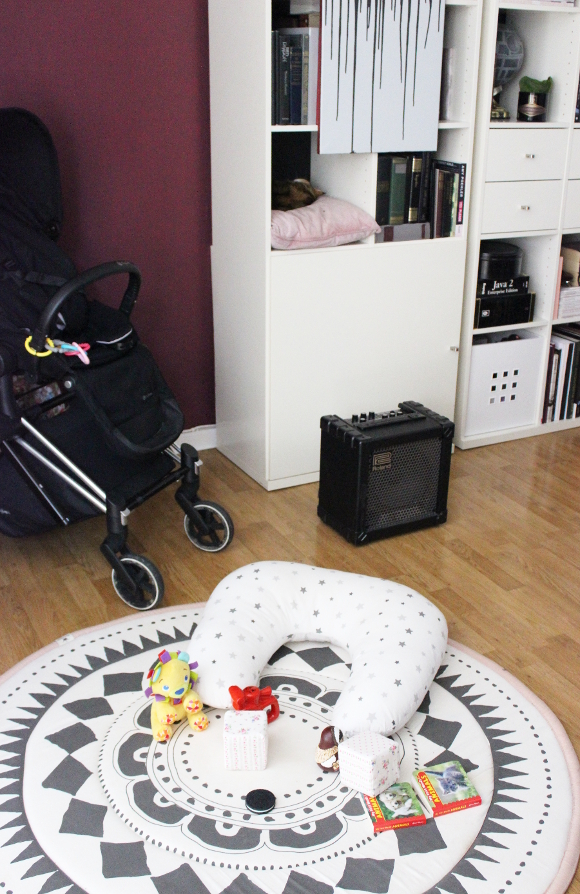
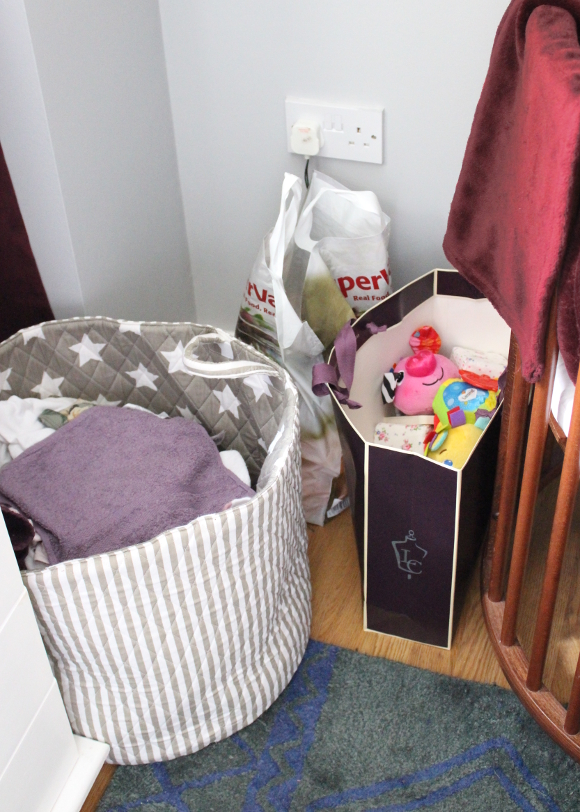
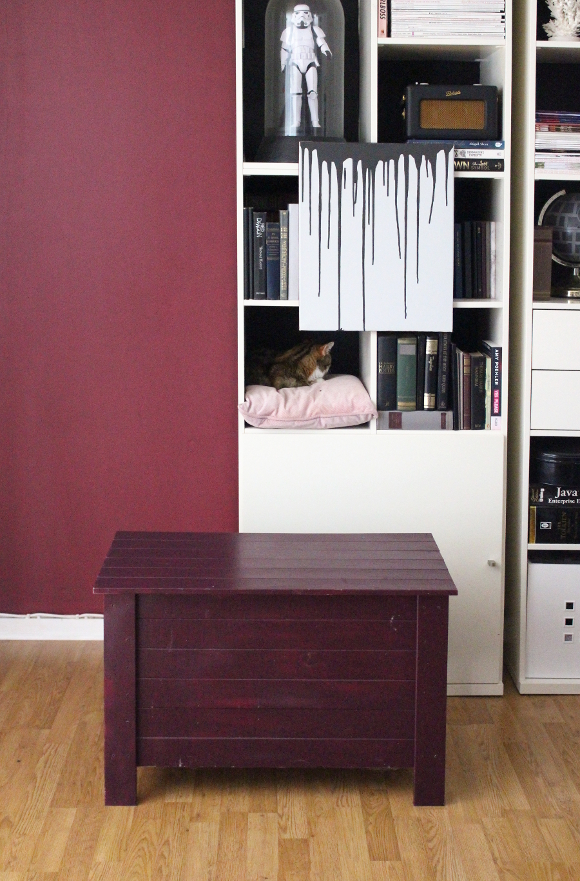
Until now, we’ve been using a rather elite plastic bag to hold Cora’s diapers. As for her toys, they tend to stay on the living room floor or end up in a paper bag next to her crib. I can’t see either her diaper or toy bags from the hallway, but I know they’re there. Lurking. And they bother me. I know the mess is only going to get worse, so until I find an unobtainably pristine child-friendly secondhand coal chest, we can use my old storage trunk. I bought it years ago from Argos and it’s served us well, but the current colour is too close to the colour of our walls. I’ve kept it for sentimental reasons, but I’d like to update it and make it look a bit more sophisticated – if possible. It’s a basic wooden chest, but I have no idea what to do with it. I was thinking of turning the top into a padded seat [and even adding a buttoned chesterfield-style top], but the rest; clueless. 

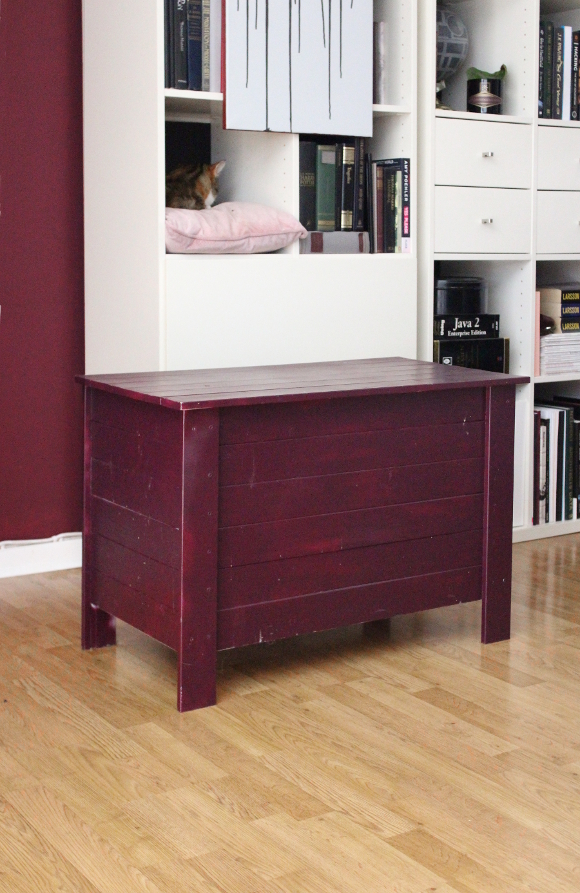
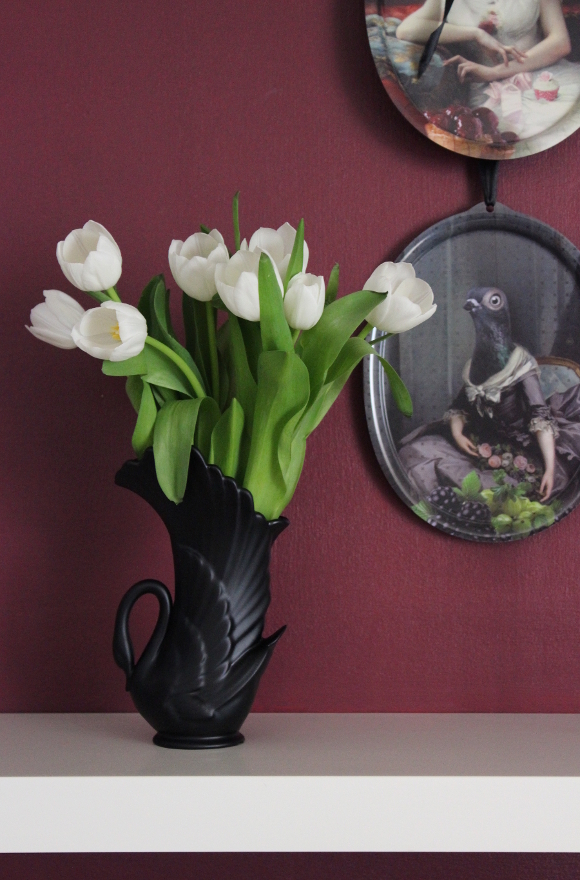
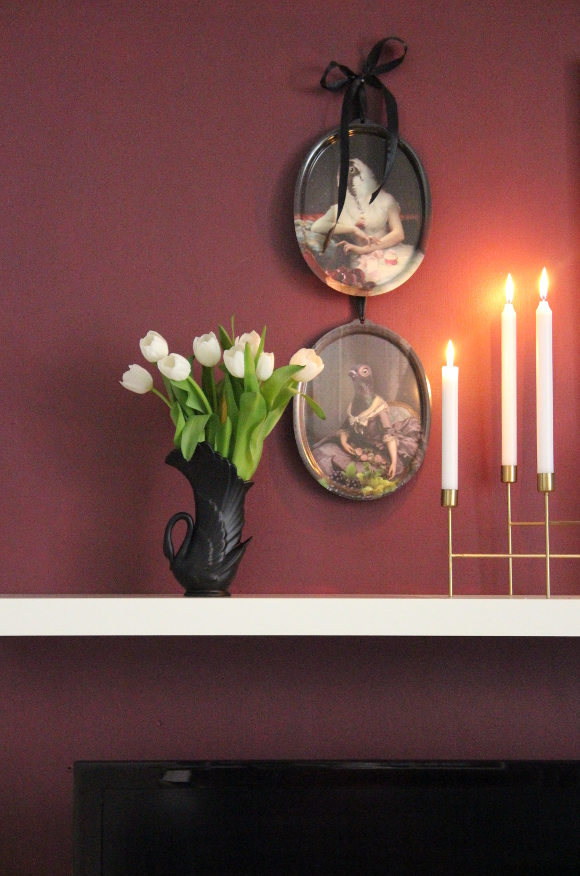
I’m still on the lookout for a secondhand chest and bucket, but in the mean time, I really don’t know what to do with this one. The only colour I’m vetoing is WHITE. It can’t be painted white because of those god forsaken dicoloured Ikea shelves. White only magnifies how yellow our landlord’s shelves are [I’ve considered painting them, but that would be more hassle than it’s worth].

I’m kind of thinking painting it black and adding a chesterfield buttoned top, but I really don’t know. Any and all ideas would really be greatly appreciated. What would you do with it if it was yours?

Things I daydream about that most people don’t

As a renter, there are many things I daydream about. Robert and I have been living together in rented accommodation for 10 years now and as time has passed, the more projects I’ve worked on along with projects I see so many talented bloggers and designers undertake, it makes me daydream about all sorts of things. Most of them the type of things I wholly accept most people don’t even think about. It’s become a substantial list these days, so I thought I’d share my embarrassing confession of the types of things I daydream about being able to do one day … 

– To tile a bathroom and / or kitchen. And I’m not talking about hiring someone to do it. I want to do it myself. With the One Room Challenge that’s happened over the past few weeks, I watched a few bloggers on Instagram stories share their newly laid tiles and I yelled at my phone when I saw they weren’t laying them themselves. I understand them not doing it themselves as the ORC has a really tight deadline, but I would just die to have an opportunity to do it myself. Regardless of how messy it is. 


– Add wall paneling to a room or multiple rooms. Design, cut, measure and do it all myself. See same reasons as tiling above. 
– Have a toolbelt and power tools. I asked for a toolbelt for my birthday last year (ie – this one from Woodies), but I guess it was too boring of a gift. I was 8 months pregnant at the time too so I guess they thought I shouldn’t be doing anything to warrant using a tool belt. That didn’t stop me though.

– Have an area of our home, a shed or a garage as a workshop. Somewhere to keep saws and drills and organised jars of nails and power tools. I’d also love to go to a series of beginners classes to learn how to use different tools so I can make use of all my imaginary tools.

– Have proper work wear for doing bigger projects. Work trousers or overalls, a toolbelt, steel-toe boots [these from Engelbert Strauss look exactly like the shoes I wore in high school!] and even a hardhat when necessary. They’d all stay in my dream workshop area and I’d Mr. Dressup my outfit as I walk through the space. 

– Have the opportunity to update a kitchen and be able to build storage that GOES ALL THE WAY TO THE CEILING, because nothing bothers me more than seeing kitchen cabinets that stop a full foot from the ceiling. No wasted space will be had in my grown up home.

– Put down flooring of some type. This goes along with my tiling and wall paneling fascination. I just want to see if I can do it. Regardless of how long it takes.

– Remodel a kitchen and / or bathroom and do it as eco-friendly as possible by sourcing as much as I can secondhand, especially using unexpected things. Have you ever seen Victoria Elizabeth Barnes‘ blog? Specifically, the time she turned an old piano into a kitchen island? My actual dream. 

I’ve even been daydreaming about building storage under our sink for the bin and recycling for years now, but I don’t mentions it because that’s not what most people want to talk about over dinner. Are you like me and have things you’ve always dreamed of doing, but think other people just wouldn’t get it? Or they’d think they’re weird things to daydream about? Well, you’re safe here.

Image sources … 
1. Image by Lucyna Kolodziejska 
2. Image by Victoria Elizabeth Barnes

DISCLOSURE – this is a sponsored blog post from Engelbert Strauss. As always, all words and opinions are my own. I only work with companies I like and of course, think that you will too. Thank you for supporting the companies that support The Interior DIYer.

Updating a secondhand vase with paint

I’m not off to a great start with today’s post as I can’t find any ‘before’ photos despite having our swan vase for close to 6 years, it seems I’ve never taken a photo of it. I saw this swan vase in a charity shop years ago and bought it [probably for something like €5] because I’ve always liked swans and thought it had a really nice shape. Unfortunately, I only realised how aged and discoloured the vase was once I brought it home, but since I like swans so much, I kept it in our storage cupboard. For something like 6 years. 

Last weekend Robert bought me flowers and I went to our storage cupboard, picked up the swan vase, and as I was putting it back down as I’ve done so many times before, a thought popped into my head – what if I were to spray paint it black? Oh. Oh I like that idea.

I went for my can of Rust-Oleum’s chalkboard paint [this is not an ad – I’ve had this can for almost as long as my swan vase and I’m a genuine Rust-Oleum fan], put a plastic bag over my hand, held the vase upside down, put my hand in the vase and carefully spray painted thin layers onto the vase. I didn’t use a primer as I the paint adhered really well to the vase, but depending on the piece you’re painting, you may need to use a primer. I let the vase dry for at least an hour before using it to be sure the paint was completely dry.

I don’t know why it took me so long to paint it. I’ve always loved that vase, but the colour gave me such a stink-face every time I reached for it that I’m just glad I thought to paint it. There are many people who may say I’ve destroyed an old or vintage vase by painting it, and I’m okay with that, but I’m using it for the first time since I bought it so that’s a good decision in my books.