The Interior DIYer now has shopable posts!

I’ve added a fun feature to my site from pipdig called Shopr!

I’ve been using pipdig’s Venture theme since I updated my blog at the beginning of this year. They occasionally send updates with interesting information to their users and recently they introduced their new Shopr plugin. I’ve been interested in adding a widget like this to my site for a long time now [because they look so fancy], but it was never really possible through Blogger and I was half always waiting until I had a more proper looking website. When pipdig emailed about their new plugin I couldn’t wait to try it out and LOOK AT HOW MUCH MORE I LOOK LIKE I HAVE MY SHIT TOGETHER …

Shop this look!

CIL Classic Burgundy
What We Do In The Shadows
$10.99
IKEA Jubla Unscented Candles
$8.99
IKEA Begavning Glass Dome
$14.99
Anthropologie Mimira Candle
$24
April & The Bear Letter Board
€60
CIL Classic Burgundy
What We Do In The Shadows
$10.99
IKEA Jubla Unscented Candles
$8.99
IKEA Begavning Glass Dome
$14.99
Anthropologie Mimira Candle
$24
April & The Bear Letter Board
€60
CIL Classic Burgundy
What We Do In The Shadows
$10.99
IKEA Jubla Unscented Candles
$8.99
IKEA Begavning Glass Dome
$14.99
Anthropologie Mimira Candle
$24
April & The Bear Letter Board
€60

Going forward, anything shopable can be found at the bottom of each blog post in a cute little carousel! As anyone who has jumped from Blogger to WordPress will know there are picture width issues, so I’m slowly making my way through my old blog posts anyways to resizing my photos, and in turn I’ll be adding some Shopr’s as I go.

Contact paper kitchen counters – test run!

I’d like to take 100% of the credit for this, but the first person I saw putting contact paper on kitchen counter tops was Linda of Make Do and DIY in her post the ultimate “new kitchen counter” cheat. It stuck with me in 2015 so well that when we moved into our Lower Town apartment, I knew I’d be adding some to our rental counters.

For me, buying enough contact paper for the kitchen was a mini investment. In my head it was a frivolous thing to want to buy. You have perfectly functioning countertops as is. Why would you want to cover them? But the reality is that our kitchen is a very dark room + the cupboards are really dark [not complaining], but also having dark countertops is just a bit too much dark. For a room that helps if you can see what you’re doing, I should say.

I did some work and once I saved up enough, I bought a few rolls for the kitchen. In the mean time, the One Room Challenge happened and I ended up using a few rolls to cover our dining room table, so this week I finally decided to test out some faux marble contact paper in our kitchen.

We have a single counter unit between the stove and the fridge in our kitchen so I thought this would be a perfect place to test the contact paper for a few weeks before committing to covering the entire kitchen [and hopefully ironing out any issues on a small scale vs. finding it doesn’t suit our kitchen after covering the whole thing].

This is the section of counter that gets the most use so if the contact paper can hold up here, it’ll have no problem working throughout the rest of the kitchen. I’ll use it as I normally would for a few weeks before making up my mind on covering the rest of the counter tops, but let’s face it, it already looks so much better so I’ve 85% already made my mind up! It’s beautiful! Cover ALL OF THE THINGS IN CONTACT PAPER! Now I’ve just got to convince the critical part of my brain that it’ll be practical.

I’ll blog an update in a few weeks regardless of whether I decided on covering the entire kitchen or not and will give honest feedback on it all. But for now, it’s already made this corner of our kitchen so much brighter! I’m crossing my fingers it works out.

If you’re curious to see how to apply contact paper like an expert, you can check out my four-step tutorial here!

Our Lower Town apartment kitchen – before

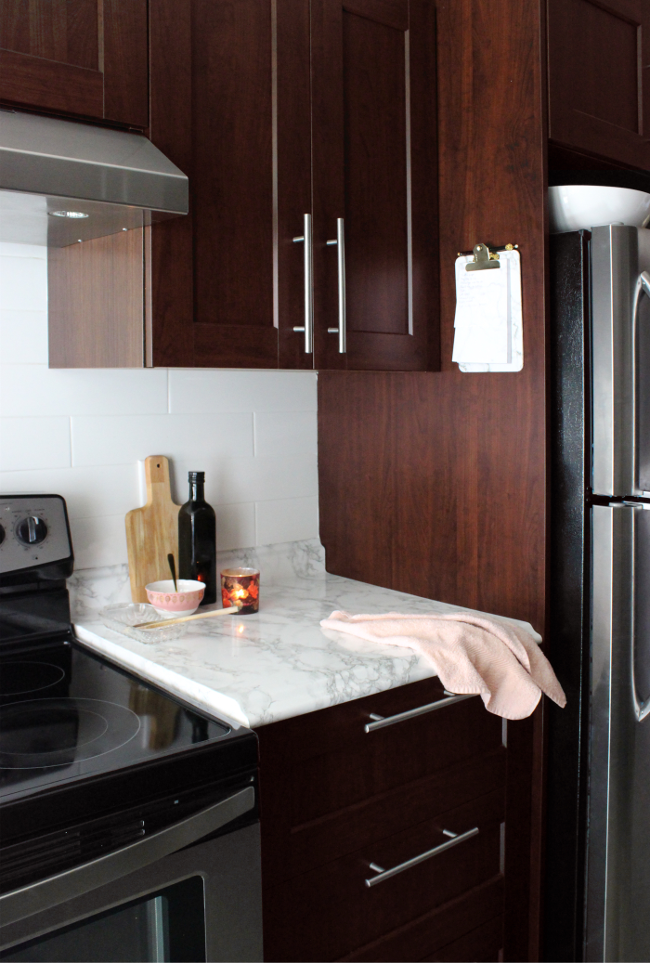
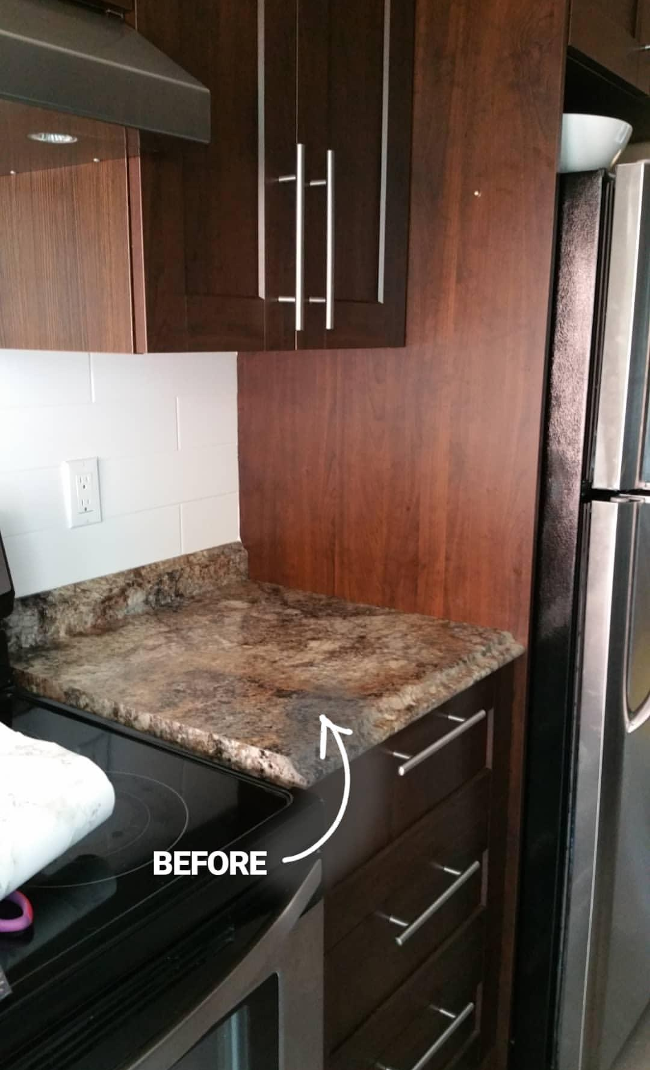
Over the next few months I’m hoping to update our kitchen. There won’t be much involved as it’s a really nice kitchen to begin with [vs. our old Dublin kitchen where everything made me want to scream], but I’d like to update the wall colour, paint the door and window trim white, update the countertops [in a renter-friendly way] and add a bit more personality here and there.

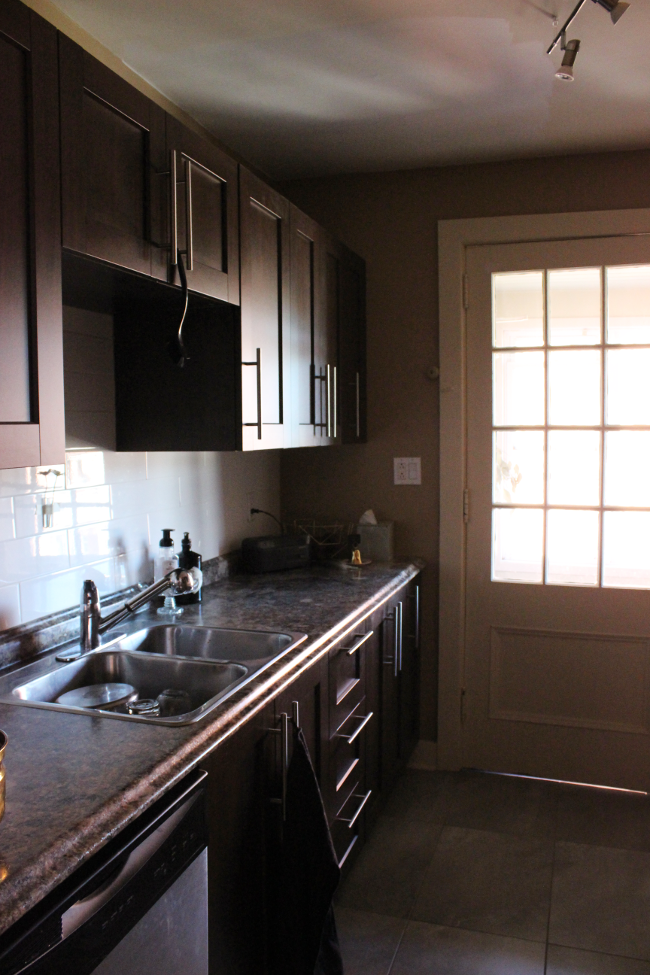
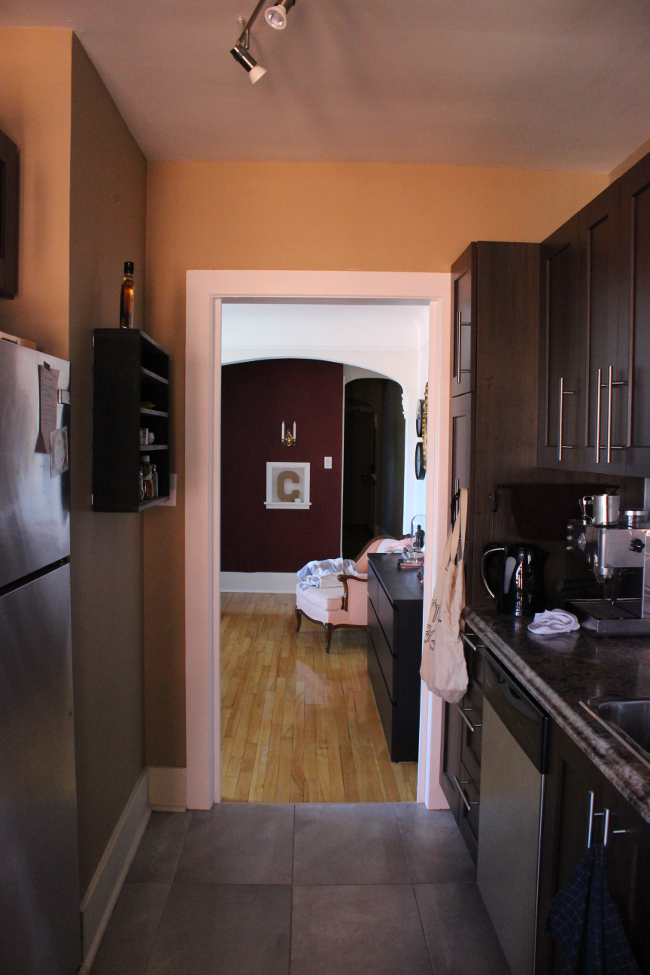
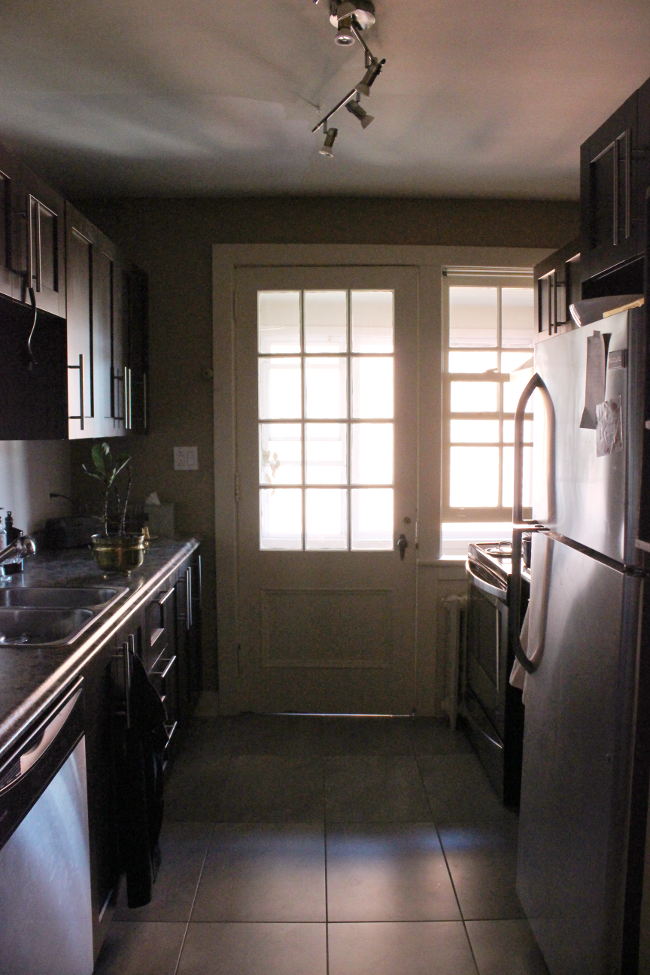
Our kitchen, by our standards, really big. It’s a long galley style kitchen that leads to the back porch at the rear of our apartment [you can see the porch in some of the pictures]. The porch itself faces the side of a building, so there isn’t much direct sunlight, but that doesn’t bother me at all to be honest. There’s a door and a window by the stove and I’m just waiting to bake a pie so I can let it cool in the window like in all the cartoons I used to watch when I was younger.

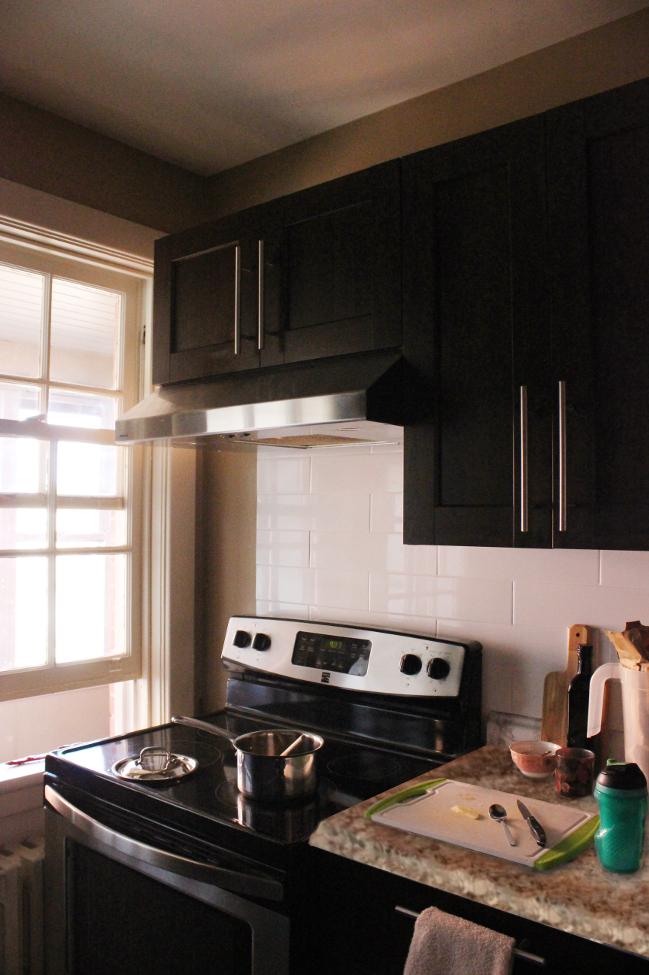
It doesn’t get a lot of natural light, but when the lights are on, it is bright enough. But I also wanted to show how dark the kitchen is in the middle of the day. These photos are true to life as it’s a really dark kitchen. I love dark rooms, don’t get me wrong, but not in a space where I’m wielding a sharp object and need to make sure that sharp object doesn’t accidentally come in contact with the rest of me or anyone I love. So I will be brightening this space as much as I can.

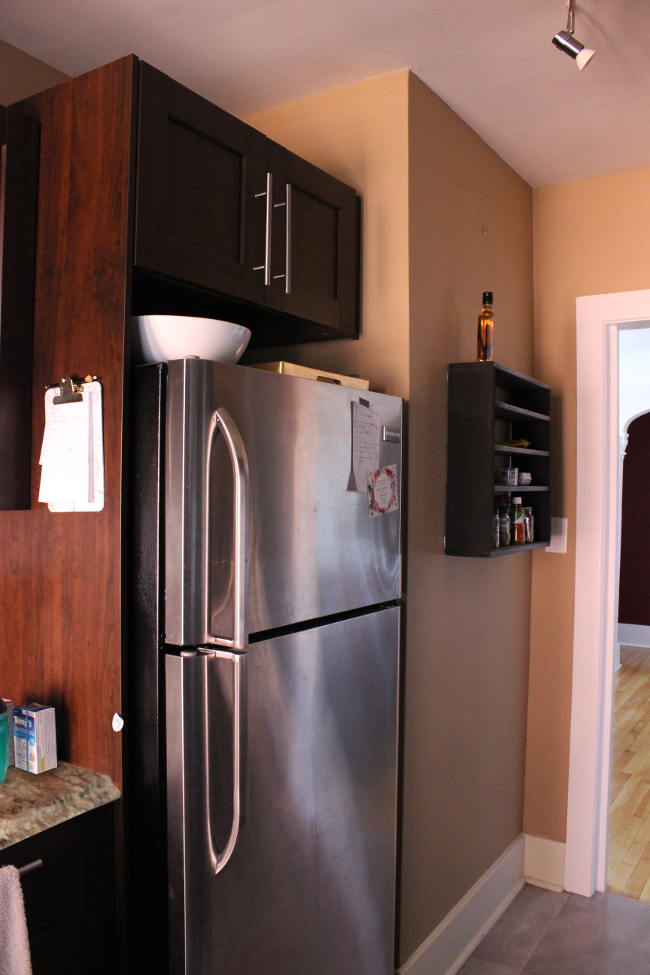
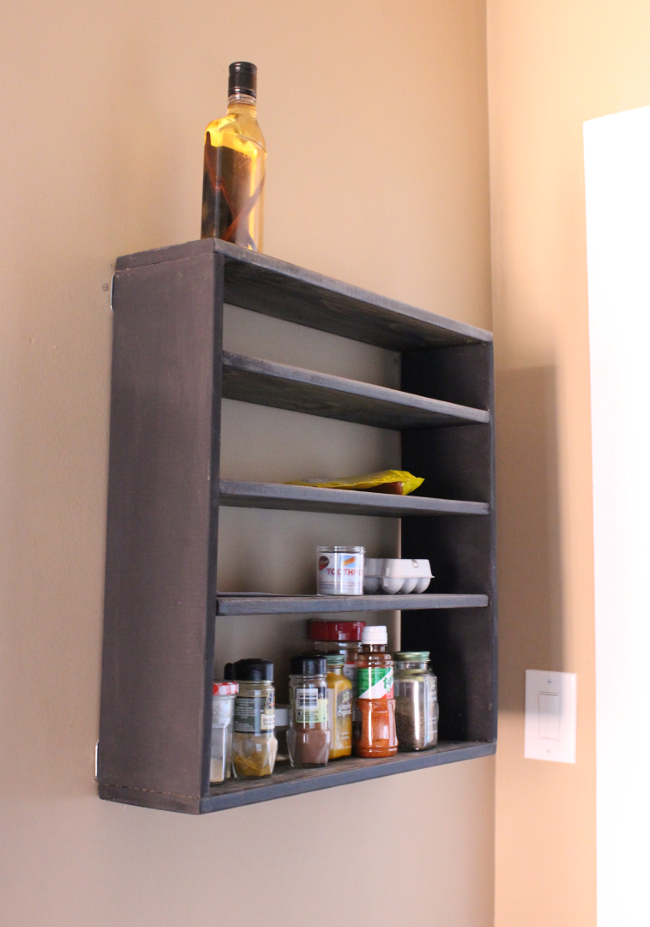
The previous tenants left a few things in our kitchen, all of which we are thankful for, but some we’ll be upgrading over the next while. Like the little shelving unit at the entrance to the kitchen. It’s a very home made piece [ie – not level and a bit haggard, but functioning], but I’d love to replace it with my curio cabinet which I’d love to fill with all different kinds of spices and herbs and unusual little jars and a mish-mash of fun things.

I’d also like to update the coffee machine that our predecessors left us. It’s a great machine and Robert adores it, but it’s loud and kind of takes up a lot of room. I’d like to pair it back to something a bit nicer with a little hand-cranked coffee grinder too; something I think Robert would love doing himself. Finding fun [and eco-friendly] gadgets to make his morning coffee a bit more special would be my olive branch for downsizing from his current behemoth coffee machine. Plus, it’s going anyways. Whether he likes it or not.

We’ll have more family coming to stay with us later this year, so this is something I’d like to have updated ahead of them arriving in September and October. It won’t be as dramatic as my One Room Challenge, but I’m excited to update our kitchen regardless! Even if it’s just a few small changes, it’s still something important to me to make me feel at home.