2015 in review

The end of most years I’m not too keen on the idea of a roundup post. But if you make the mistake of scrolling through the past year of your blog, it’s near impossible to not pick some favourites to write about. I’ll try to keep this brief, so I’ve picked a handful of my favourite memories and projects from this year. 
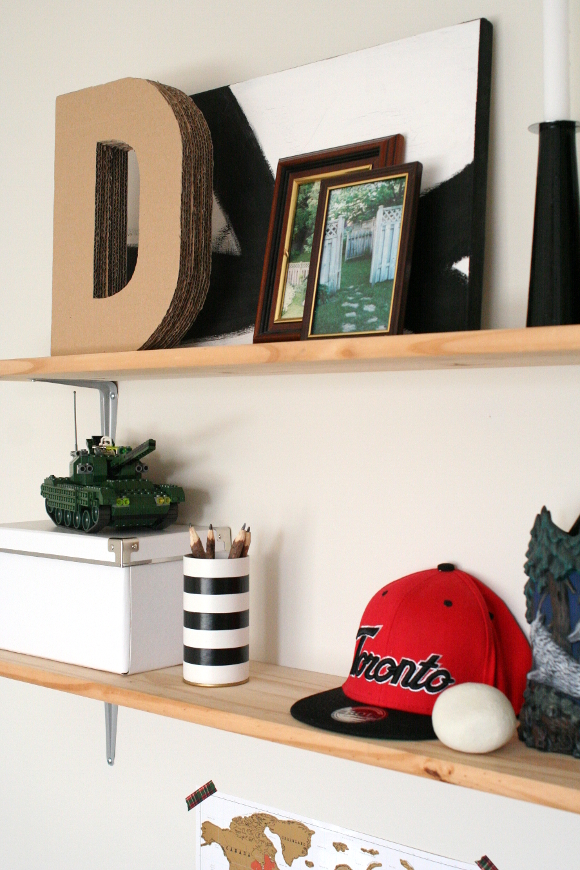
2015’s game started strong with the completion of the Canadian man cave office I designed for my Broseph [above]. I really loved taking that theme and running with it. I still spot pieces I’d love to add to his office, but I really have to stop myself. I still have serious office envy.

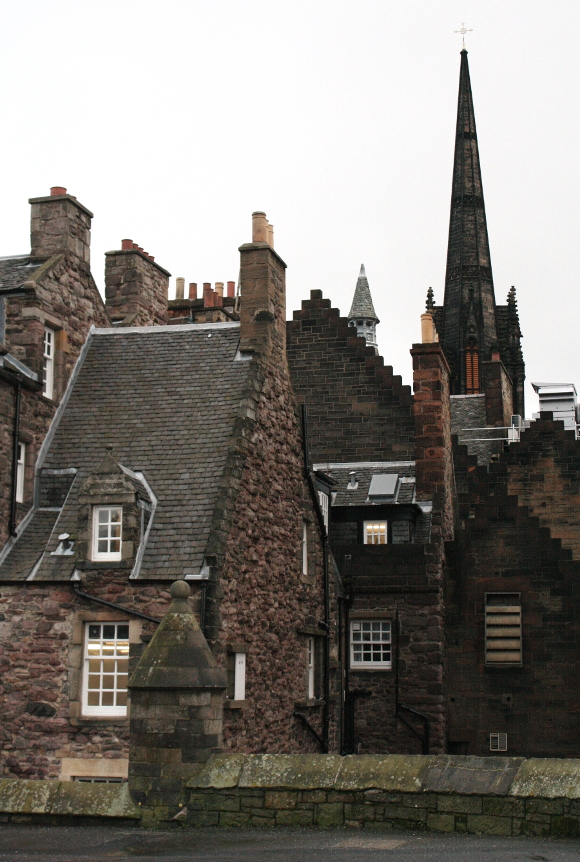
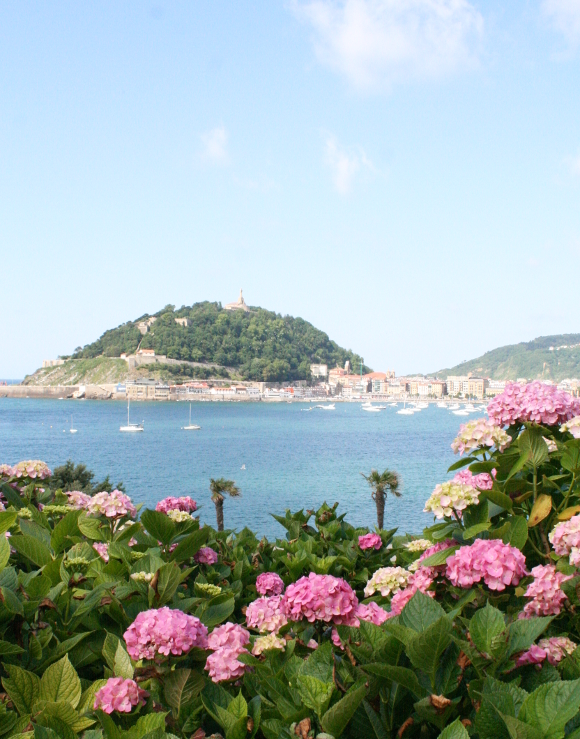
We traveled near and slightly less near this year to Edinburgh, Scotland and San Sebastian, Spain [also Bilbao]. I love seeing new places and crossing new countries off my list, but I’m also not the best with traveling so I’m a bag of emotions at the best of times. Over the next year I’d love to visit Iceland, Netherlands, Poland and Japan, but we’ll see how far my nerves get me.

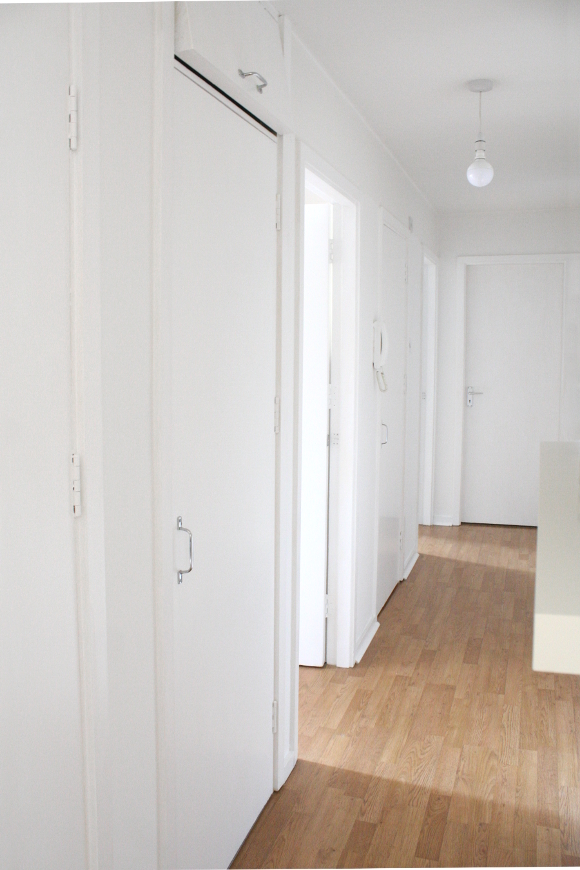
One of the biggest, most time consuming and monotonous projects I took on this year was conquering the disgusting yellowed doors and skirting boards throughout our entire rental and repainting them white. It may not seem like a big deal, but to us it made a huge change [you should really see the before pics]. I’m still deliriously happy with how much it’s changed our home. Projects like this don’t make an impression on anyone else but you. I like those changes though. When people eventually go “Oh! I just noticed the ugly yellow is gone!” Clean and fresh and not gross.

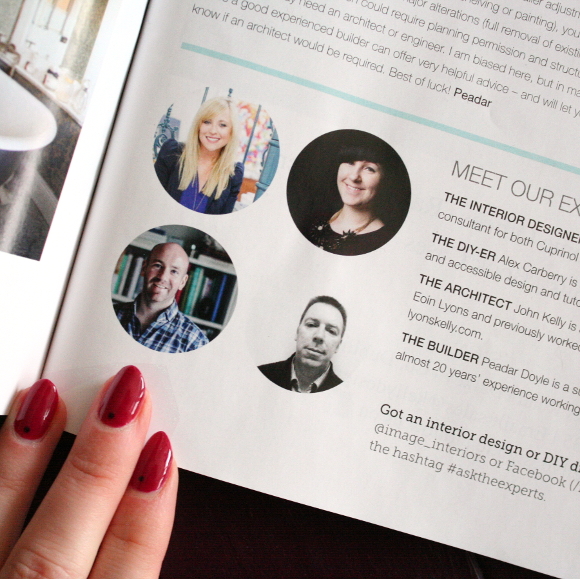
My mind was fairly blown this year by the people that got in contact to work alongside with. I teamed up with Woodies and created a huge variety of DIY tutorials for them, I became Image Interiors & Living’s DIY Expert, conducted interviews and corresponding blog posts for Colortrend paint twice, wrote for the Irish Independent and the Sunday Times, created some fun posts for Harvey Norman’s blog and partnered with Wayfair.co.uk again for some Star Wars goodness to name a few [all of these and more can be found here].

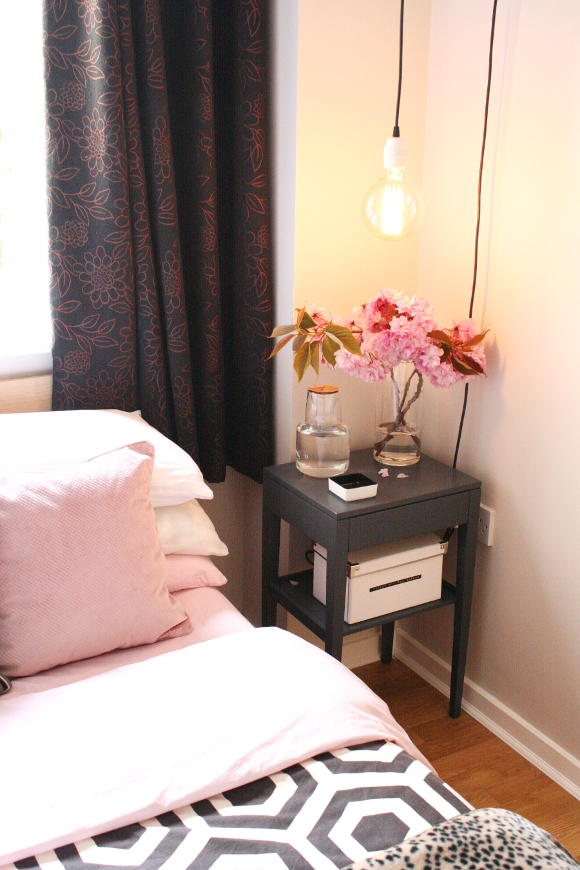
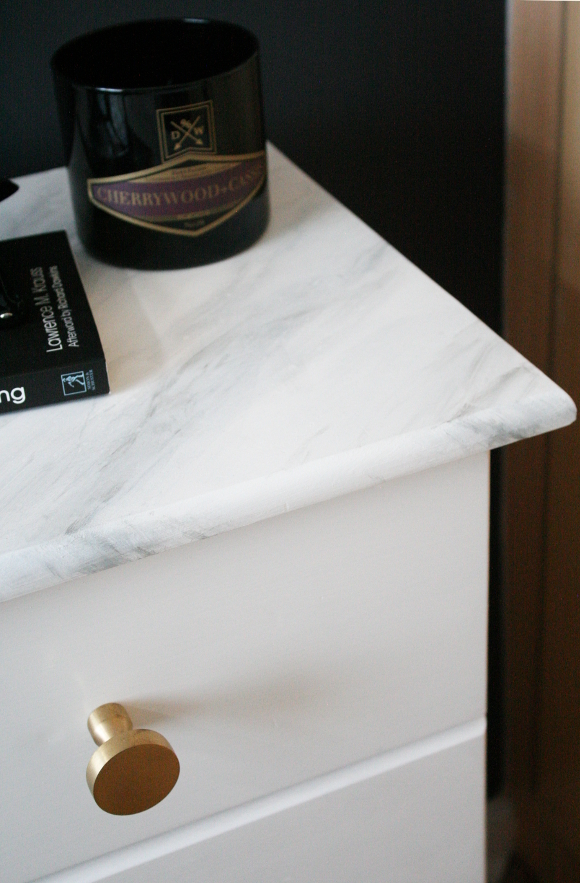
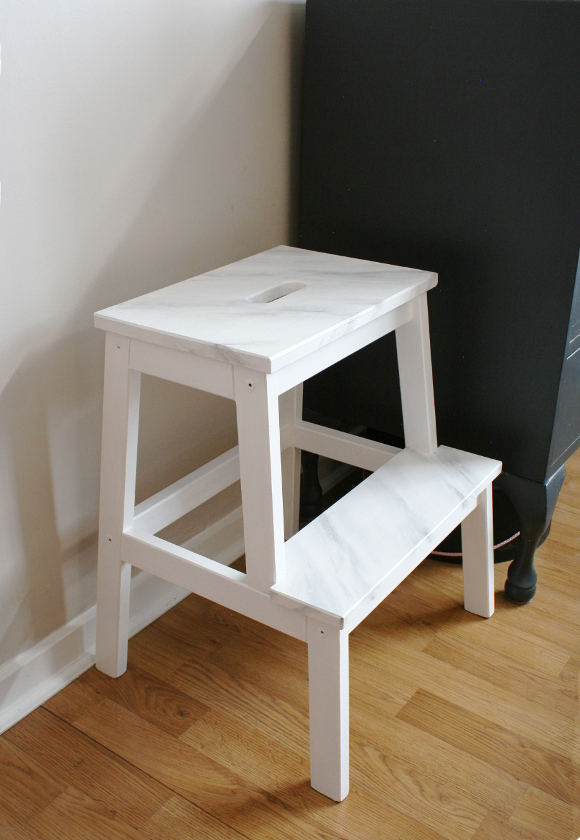
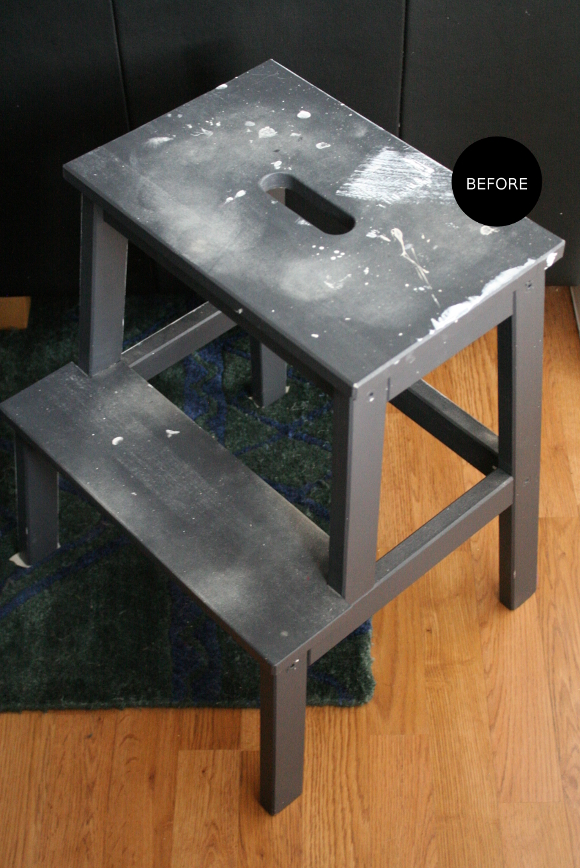
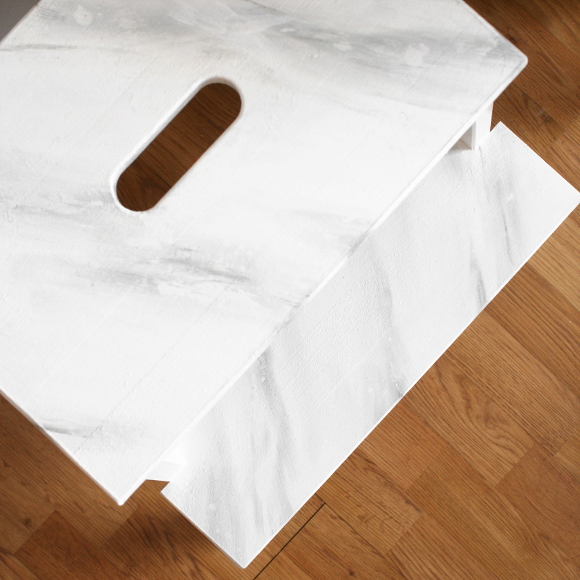
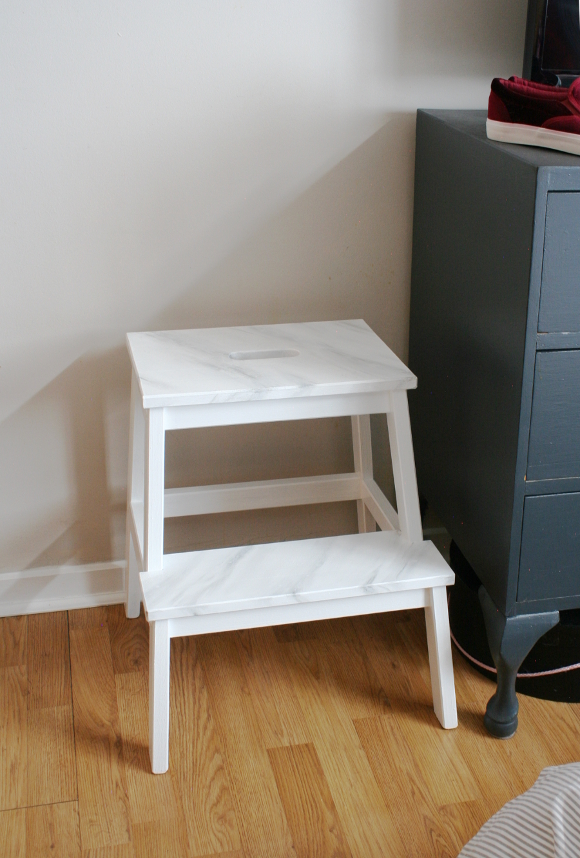
But if I’m honest, my favourite projects this year [and TBH, always and forever] are projects where I upcycled and updated otherwise unwanted or unloved pieces. For example, the upcycled vacuum cord pendant light in our spare bedroom and the updated faux marble bedside tables in our bedroom. Things like that will always be my passion. That’s what gets me really excited and wanting to scream from the roof tops that style and the contents of your home don’t have to come with a hefty price tag. And sometimes, no price tag at all [if you wanna see all my DIYs, check out my DIY Tab]. And if you’re stumped about upcycling or upgrading a piece and want some help, get in contact! I would just die to help other people out with making the most with what’s already available. I’m hoping 2016 will be the year everyone becomes a bit more conscious of where their stuff comes from and at what cost. 
At the very least, I hope you had a lovely 2015. Even if not all of it was perfect, it got you to where you are now. And from me, a massive thank you. If you’re reading this or ever read any of my blog posts, thank you. I know it won’t be translated fairly well through a screen, but it really means a lot to me xx

IKEA Bekvam step stool gets a faux marble makeover

After a very welcome few days with no agenda other than eating, remembering to occasionally change position so I don’t get DVT, more eating, drinking and throwing my sleep routine into complete chaos, I decided it was time to actually do something. Something not too challenging that could be done whilst watching endless seasonal movies and Top Gear. Queue the need to repaint something.

After updating our bedside tables, I had plenty of Rust-Oleum paint left over. Our IKEA bekvam step stool was looking mighty haggard after I used it while sanding and repainting all the doors and skirting boards in our hallway last spring, so I had the idea to give it the same treatment as our bedside tables. Marble-ise it. It’ll be marbleous! [sorry / not sorry].

I took it through the same steps as our bedside tables with the exception of using more coats of white paint to cover the dark grey. Ideally I would have disassembled the stool, except that long ago I painted over the hardware the first time I painted it [now 3 colours ago]. I know, bad DIYer. But that was in my hasty youth and I have since learned. 

Once I had enough layers of white paint all over, I used a really subtle marble effect on both steps. It shows up incredibly subtle, so I may paint the rest of the stool black to really make the steps pop, but I’ve yet to decide on that. For now, it’s miles better than before. And if the steps get scuffled, I think it’ll only just add to the marble effect.

So what about you? Have you made use of your time off this season? Or are you still hiding under the duvet? I actually didn’t realise today was Monday until about 13:00, soooo … 😀

Disclosure – while this blog post is not sponsored, the paint I used for this update was leftover from paint I received free of charge from Rust-Oleum. Just FYI-ing you so you’re in the loop. I only work with companies I like and of course, think you will too. Thank you for supporting the companies that support The Interior DIYer. 

Faux marble bedside table update and tutorial

As part of my seemingly never-ending saga to update our rental, one of the rooms which is unfortunately ignored decor-wise the most is our bedroom. Which makes zero sense because it’s the room we spend the most time in. 

Our rented apartment didn’t come with bedside tables and as you can imagine, that was tremendously awkward. We needed bedside tables mainly for storage so they had to have a lot of drawers and a good sturdy shape. Earlier this year I kept an eye on adverts.ie for a set of bedside tables I could update and eventually found a pair for €9 each. SOLD! They had a faux wood finish which was a bit bleugh, but they had a great shape and I knew I’d eventually update them. As a reminder, here’s what they looked like before [try not to be jealous of our glamorous bedside light situation] …

I’ve worked with Rust-Oleum before, so when they got in contact about their new line of furniture paint and asked if I had some furniture I’d like to update, I immediately thought of our bedside tables. I also like to make more work for myself, so I thought why not try my hand at creating a faux marble effect for the top too? I panicked as I started, but I have to admit, they look absolutely incredible. Even Robert has said a number of times “I cannot believe that’s not actually marble“. I did not pay him to say that. 

I began by disassembling the bedside tables [took the drawers out and the handles off] and gave everything 3 coats of Rust-Oleum’s ‘Cotton’ white furniture paint. The reason I painted 3 coats was to ensure I covered the dark wood knots for an even finish all over [you can see the original finish and knots on the inside panel below. What a difference some white paint makes].

I then started on the faux marble top. Here’s how I did it … 

1. I began by painting a layer of white paint in the same direction I wanted the grain of the marble to go.
2. Using Rust-Oleum’s ‘Slate’ grey, I roughly marked the main marble bands across the top of the bedside table. 
3. Using a dry brush, feather the ‘Slate’ grey paint into the white paint. This gives a base to the faux marble look. This doesn’t need to look perfect, but smooth strokes do look the most convincing. 
4. Dip your fingers in some water and flick little droplets onto the top of your bedside table. This sounds mad, but trust me. 

5. Using a rag or piece of kitchen towel, dab off the excess water droplets. What this does is lift a very soft layer of paint and reveals the white paint underneath [as seen better in the picture below]. You can feather this again with a dry brush to smooth any imperfections.
6. Add further detail to the faux marble effect by using the ‘Slate’ grey with a thin paint brush and adding subtle marble veining throughout. You can soften any bits with either a dry brush or with a wet finger. Mix things up and see how it best works for you. Remember – the less perfect it looks and the less symmetrical the pattern, the better. 

I let the bedside tables dry with the drawers open slightly and nothing on top for a minimum of 24 hours to ensure the paint dried completely. I couldn’t resist getting new handles for our bedside tables too, and at a whopper of a bargain.


I really am impressed with the finish from Rust-Oleum’s furniture paint. It dries very quickly which means my initial 3 coats of paint were done and dry in under an hour. I have a good amount of paint left over after painting each set of bedside tables, so I’ve had my eye on our IKEA step stool for repainting it white and doing a similar faux marble finish on each of the steps. Well lush!

UPDATE: see our updated IKEA Bekvam step stool here

Before you plan on buying a new set of bedside tables or furniture, just think of all the sad furniture out there in need of a home. They can not only look fabulous but feel fabulous and loved once again. Think of all the second hand furniture and their potential … All they need is love. Okay, less sap. Thank you again Rust-Oleum for helping me update our sad bedside tables! Happy Friday, friends xx
Disclosure – this blog post was sponsored by Rust-Oleum, who also sent me the necessary paint for updating our bedside tables free of charge. As always, all words and opinions are my own. I only work with companies I like and of course, think that you will too. Thank you for supporting the companies that support The Interior DIYer.